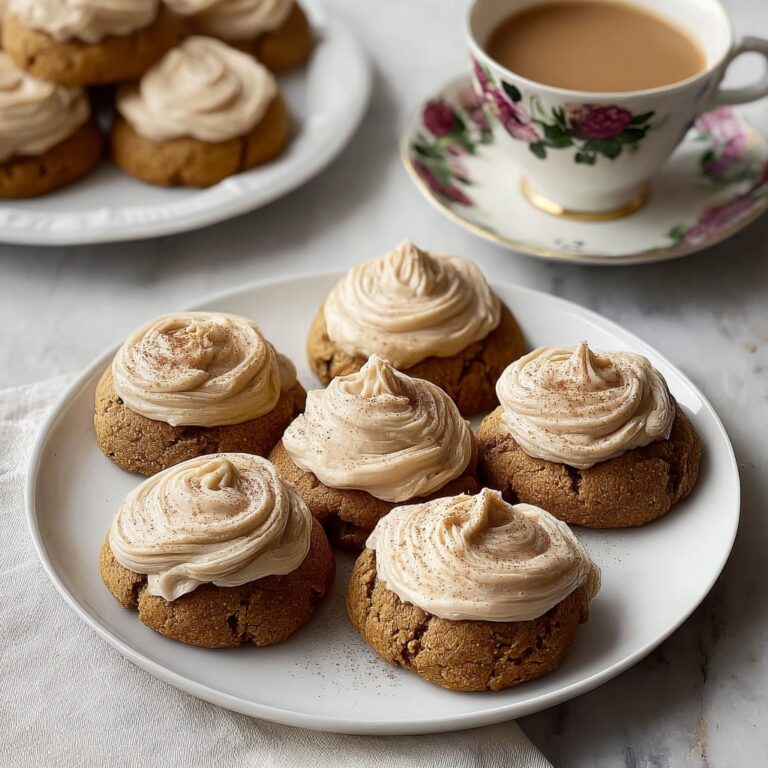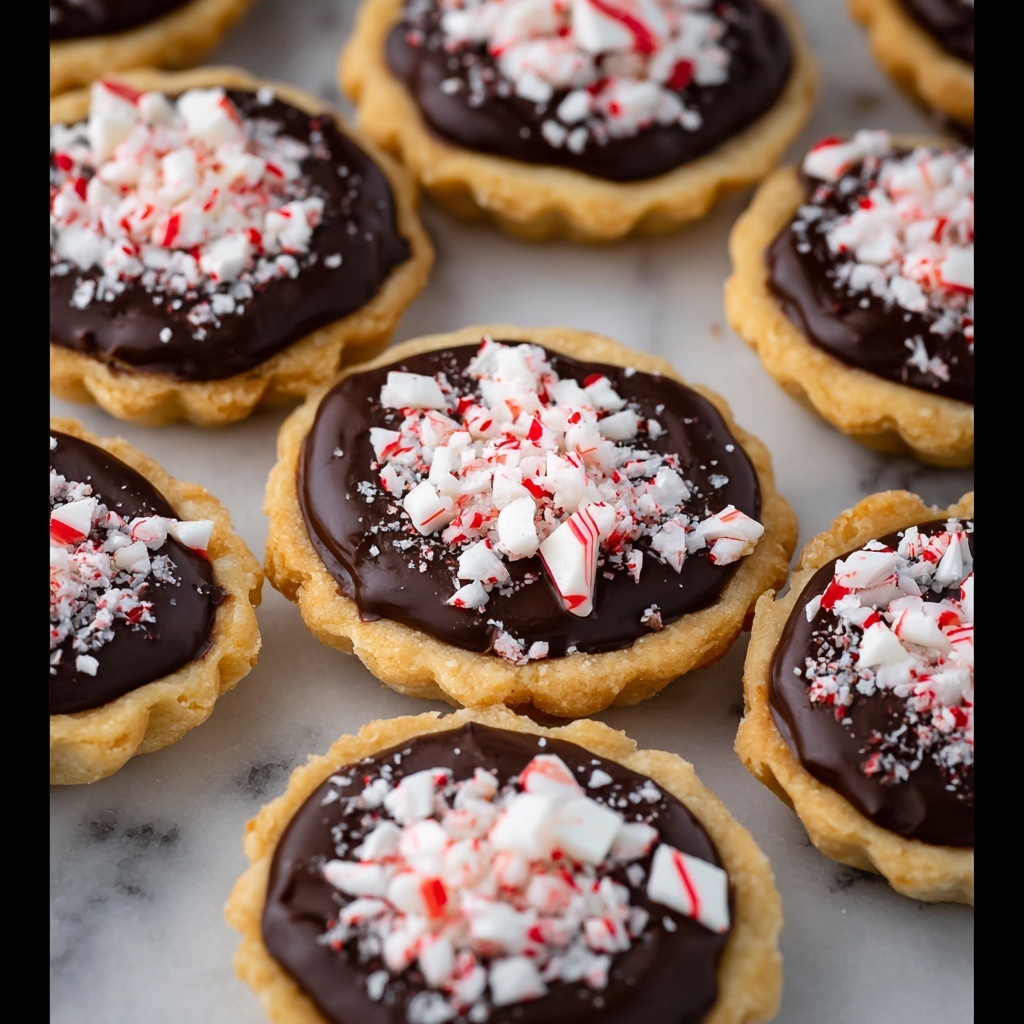
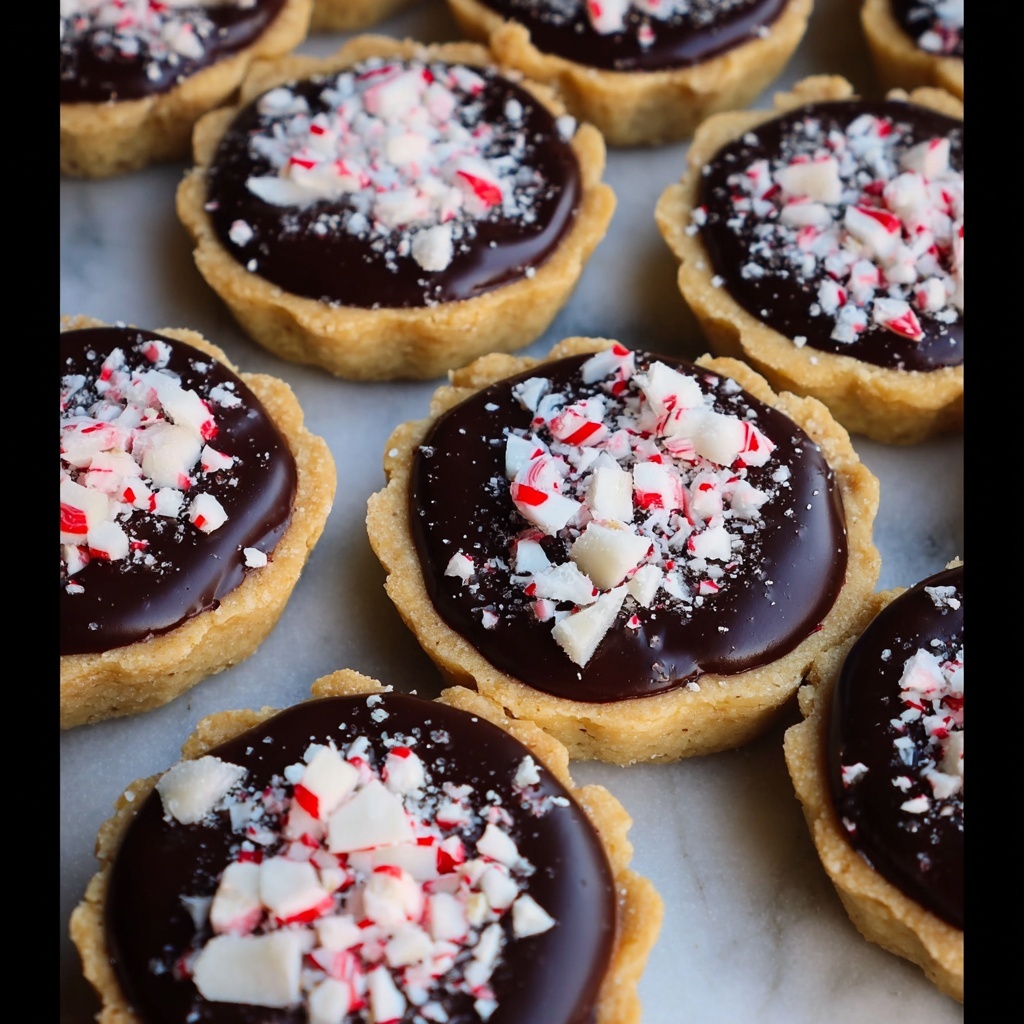
If you have a soft spot for the classic, elegant treats from your childhood, then you are going to absolutely adore this Copycat Pepperidge Farm Milano Slices Cookies Recipe. These delicate, crisp cookies sandwich a layer of luscious semisweet chocolate, beautifully balanced with a hint of peppermint crunch that elevates every bite. Creating them at home is not only rewarding but surprisingly easy, giving you that nostalgic joy with a fresh homemade touch. Whether it’s for a cozy afternoon snack or to impress guests at your next gathering, this recipe delivers all the flavor and texture you love from Pepperidge Farm Milano slices.
Ingredients You’ll Need
Getting the right ingredients for this copycat recipe is key, and don’t worry—they are all simple staples that come together perfectly to create the iconic flavor and texture of Milano cookies. Each one plays a role in ensuring the cookies are crisp, flavorful, and beautifully balanced.
- Baking soda (½ teaspoon): Reacts with vinegar for the right cookie lift and texture.
- White distilled vinegar (1½ teaspoon): Adds subtle tang and helps tenderize the dough.
- Unsalted butter (½ cup): Provides richness and a buttery, flaky bite.
- Granulated sugar (¾ cup): Sweetens and helps the cookies crisp up during baking.
- Large egg (1): Binds ingredients and adds moisture for the perfect dough consistency.
- All-purpose flour (2⅓ cups): The base of the cookie dough, creating structure without heaviness.
- Kosher salt (1 teaspoon): Enhances the sweet and chocolate flavors brilliantly.
- Semisweet chocolate (6 ounces): The luscious, melty layer that defines the Milano cookie experience.
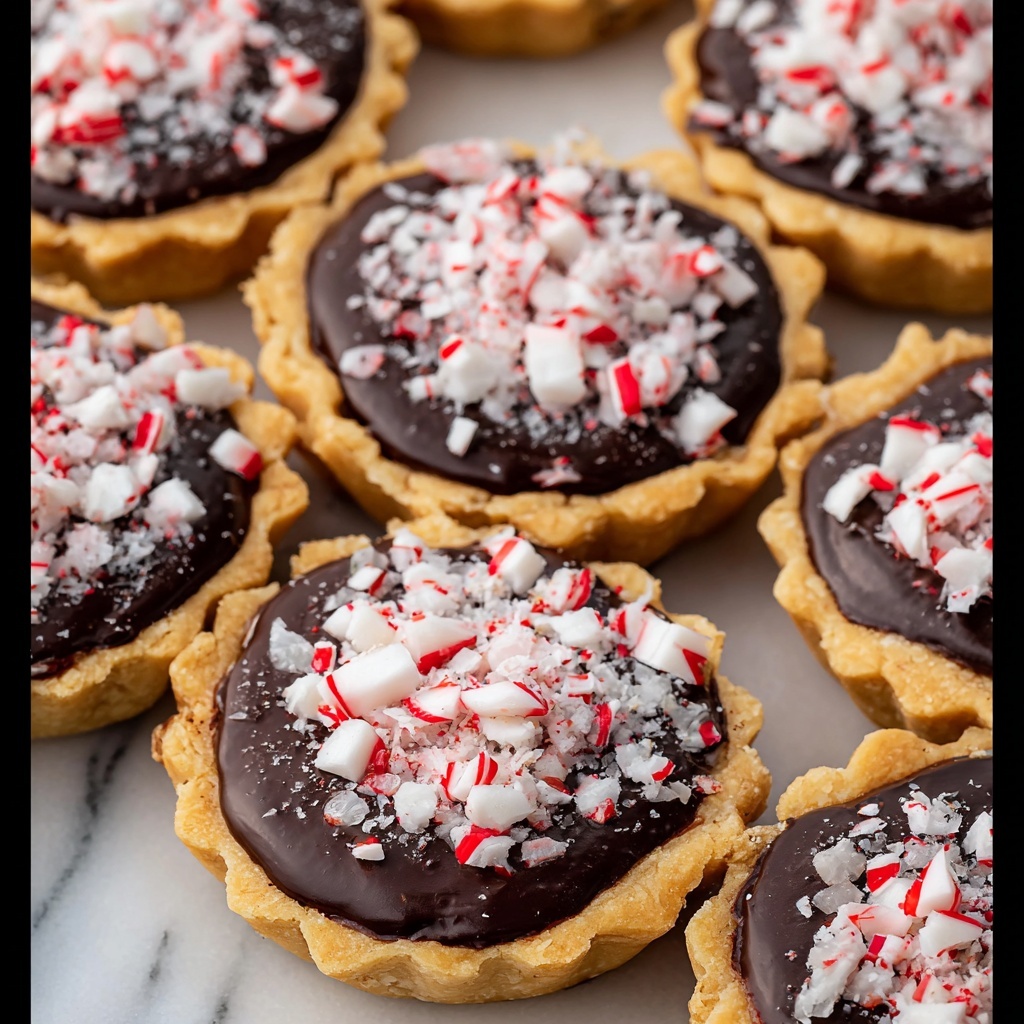
- Peppermint candies (8): Crushed on top for a festive, refreshing crunch and a pop of color.
How to Make Copycat Pepperidge Farm Milano Slices Cookies Recipe
Step 1: Prepare the Leavening Mixture
Start by combining the baking soda and white distilled vinegar in a small bowl. Stir gently until the baking soda dissolves completely. This little fizzing magic is what gives the dough just the right lift and texture, so don’t skip it!
Step 2: Cream Butter and Sugar
Using a stand mixer fitted with the paddle attachment, cream the unsalted butter and granulated sugar on high speed. Keep going until the mixture looks fluffy and creamy, roughly three minutes. This step is crucial because it introduces air into the dough for a light and tender cookie.
Step 3: Add the Egg
Once you have a perfect creamy base, add the large egg and let the mixer run for another minute. This binds everything beautifully, giving your dough that smooth consistency you’ll want for rolling out later.
Step 4: Incorporate the Leavening Mixture
Pour in the baking soda and vinegar solution and mix it into the butter and sugar mixture until fully combined. This integrates the lift you prepared earlier so evenly that each cookie will have that delicate crispness.
Step 5: Mix in Dry Ingredients
Whisk the flour and kosher salt together in a medium bowl. Then add this dry mixture to your wet ingredients and mix on low speed until just combined. Avoid overmixing at this stage since you want your cookies tender, not tough.
Step 6: Chill the Dough
Gather the dough onto some plastic wrap and shape it into a disk. Refrigerate the dough for at least 30 minutes to make it easier to roll out and to help lock in the flavors.
Step 7: Preheat and Prepare Baking Sheets
While your dough chills, preheat your oven to 350°F and line three large baking sheets with parchment paper. Position your oven rack in the center for even baking. Getting these details right ensures your cookies bake to golden perfection.
Step 8: Roll and Cut the Dough
Lightly flour your workspace and roll out the dough to about 1/6-inch thickness—a delicate thinness that’s essential for the iconic Milano crispness. Use a fluted round cookie cutter, roughly 1¾-inch diameter, to cut shapes. Space them about an inch apart on your baking sheets to allow just a bit of spreading.
Step 9: Bake Until Golden and Crisp
Bake for 11 to 14 minutes, keeping an eye for a lovely golden brown color on the edges. I prefer mine extra crispy, and these minutes allow that perfect balance between crunchy and melt-in-your-mouth.
Step 10: Cool Completely
Transfer your freshly baked cookies to a cooling rack and let them cool completely. This step is vital before adding the chocolate layer to avoid melting and make the finishing look picture perfect.
Step 11: Melt the Chocolate
Melt semisweet chocolate in the microwave on high, stirring every 15 seconds with a clean rubber spatula until silky smooth. This quick method prevents burning and ensures shiny, delicious chocolate for your topping.
Step 12: Crush Peppermint Candies
Place your peppermint candies in a zipper-style plastic bag and crush them gently with a rolling pin. The pieces should be small enough to sprinkle but large enough to add festive texture and flavor.
Step 13: Ice and Sprinkle
Spread a thin layer of the melted chocolate on the bottom side of one cookie and sprinkle with crushed peppermint. Sandwich it with another cookie to form the signature Milano slice shape. Let the chocolate set completely before serving or storing – patience here rewards you with that perfect snap!
How to Serve Copycat Pepperidge Farm Milano Slices Cookies Recipe
Garnishes
While the crushed peppermint candies provide a natural garnish, you might also try a light dusting of powdered sugar for a snowy effect. Fresh mint leaves on the side can add a charming aroma and hint of freshness when serving.
Side Dishes
These cookies are best enjoyed alongside a cup of hot tea or coffee. Their subtle mint accent complements the bitterness of dark brews perfectly. For a festive touch, serve with a small glass of eggnog or hot cocoa with whipped cream.
Creative Ways to Present
Try stacking these Milano slices in clear glass jars tied with a ribbon for a charming gift idea. You can also arrange them on a tiered dessert platter alternating with fresh berries for a stunning cookie platter that’s sure to impress.
Make Ahead and Storage
Storing Leftovers
Keep any leftover cookies in an airtight container at room temperature, where they will stay fresh and crisp for up to five days. Make sure the chocolate is fully set before storing to avoid sticking.
Freezing
If you want to keep these delights longer, wrap individual cookies in plastic wrap and place them in a freezer-safe container or bag. They freeze well for up to 3 months and thaw quickly at room temperature.
Reheating
To refresh the crispness after thawing, place the cookies in a preheated 300°F oven for about 5 minutes. This will re-crisp the dough without melting the chocolate topping.
FAQs
Can I substitute peppermint candies with another flavor?
Absolutely! While peppermint is traditional and adds a lovely brightness, you can use crushed toffee, chopped nuts, or even freeze-dried berries for a different twist on the topping.
Is it necessary to chill the dough before baking?
Yes, chilling the dough makes rolling easier and helps the cookies maintain their shape during baking, resulting in that classic Milano thin and crisp texture.
Can I use chocolate chips instead of melting wafers?
You can, but melting wafers are ideal because they melt more smoothly and easily for spreading. Chocolate chips may need extra care to avoid seizing or uneven melting.
How long do these cookies stay fresh at room temperature?
Stored properly in an airtight container, these cookies maintain their delightful texture and flavor for about five days.
Can this recipe be doubled for larger batches?
Definitely! The ingredients scale well, just mix dough in batches if your mixer bowl isn’t large enough, and adjust baking sheets accordingly.
Final Thoughts
I can’t recommend this Copycat Pepperidge Farm Milano Slices Cookies Recipe enough if you’re craving that perfect blend of crisp, chocolaty, and refreshing mint goodness. It’s surprisingly simple to make and results in a treat that tastes as special as the store-bought kind, but with your unique homemade love baked into every bite. So go ahead, dig out that rolling pin and prepare to impress yourself and your loved ones!