
If you have a soft spot for bread that feels like a warm, fluffy cloud wrapped in a subtle sweetness, this Japanese Milk Bread Recipe will quickly become your go-to comfort treat. Renowned for its pillowy texture and delicate crumb, this bread is as delightful to make as it is to eat. Every bite melts with a buttery, subtly sweet richness that sings of home baking done right. Whether you are a seasoned baker or just starting out, embracing the technique behind this Japanese Milk Bread Recipe will reward you with a loaf that’s perfect for sandwiches, toast, or simply enjoying plain with a little butter.
Ingredients You’ll Need
Getting ready to make this Japanese Milk Bread Recipe is a joy, especially because the ingredients are straightforward yet essential. Each one plays a key role in creating that iconic soft texture and subtly sweet flavor that defines this bread.
- All-purpose flour (1 1/2 cups plus 5 tbsp extra): The base for the dough; extra flour helps manage stickiness during kneading.
- Sugar (2 tbsp): Adds just enough sweetness to balance the richness.
- Salt (1/2 tsp): Enhances flavor and controls yeast activity.
- Active dry yeast (1 tsp): The magical leavening agent that helps the bread rise and become airy.
- Warm milk (2/3 cup at 105-115°F): Activates the yeast while contributing to the bread’s tender crumb.
- Condensed milk (2 tbsp, room temperature): Adds moisture, sweetness, and a slight caramel flavor to the dough and filling.
- Softened butter (2 tbsp): Brings richness and contributes to the bread’s soft texture.
- Maraschino cherries (8-10 pieces, drained): For a touch of fruity sweetness in the filling.
- Raisins (2 tbsp): Adds natural sweetness and chewiness.
- Sliced almonds (1 tbsp): Introduces a subtle crunch for textural contrast.
- Chopped cherries (for garnish): Enhance both look and flavor at serving.
- Blanched almonds (for garnish): Stylish and tasty on top of the baked loaf.
How to Make Japanese Milk Bread Recipe
Step 1: Activate the Yeast
Start by combining 1 teaspoon of sugar, warm milk (105-115°F), and active dry yeast in a large bowl. Stir gently and then let it rest for about 5 minutes until the mixture becomes foamy—this shows your yeast is alive and ready to work its magic on the dough’s rise.
Step 2: Mix the Dough
Add 1 1/2 cups of all-purpose flour, the remaining sugar, salt, condensed milk, and softened butter into the yeast mixture. Using a wooden spoon, stir everything together. You’ll notice the dough is sticky—that’s good! Gradually sprinkle in the reserved 5 tablespoons of flour little by little to manage the stickiness without drying the dough out.
Step 3: Knead to Perfection
Flour your working surface generously, then turn the dough out onto it. Knead the dough for about 6 to 10 minutes, adding a dusting of flour to your board and hands as needed. Your goal is to work the dough until it’s smooth, elastic, and springy—a true sign that gluten is developing beautifully.
Step 4: First Rise
Shape your dough into a neat ball and place it in a greased bowl. Cover it with a clean kitchen towel and let it rise for 1 and 1/2 hours. Patience here is key because this slow rise gives your bread that iconic soft texture.
Step 5: Prepare Condensed Milk Filling
While the dough is rising, mix together softened butter and condensed milk until it reaches a smooth paste consistency. Remember, the butter needs to be very soft and the condensed milk at room temperature for the best blend.
Step 6: Shape and Layer
Once the dough has doubled in size, punch it down gently and roll it out into a 12 by 8-inch rectangle. Spread the condensed milk filling evenly over the surface. Then, with a sharp knife or pizza cutter, cut the dough vertically into 4 long strips.
Step 7: Layer the Strips
Stack these strips on top of one another, filling side up. After stacking, cut the whole layered stack into 8 sections. This layering technique helps create the bread’s wonderfully tender interior and gives it that signature pull-apart look.
How to Serve Japanese Milk Bread Recipe

Garnishes
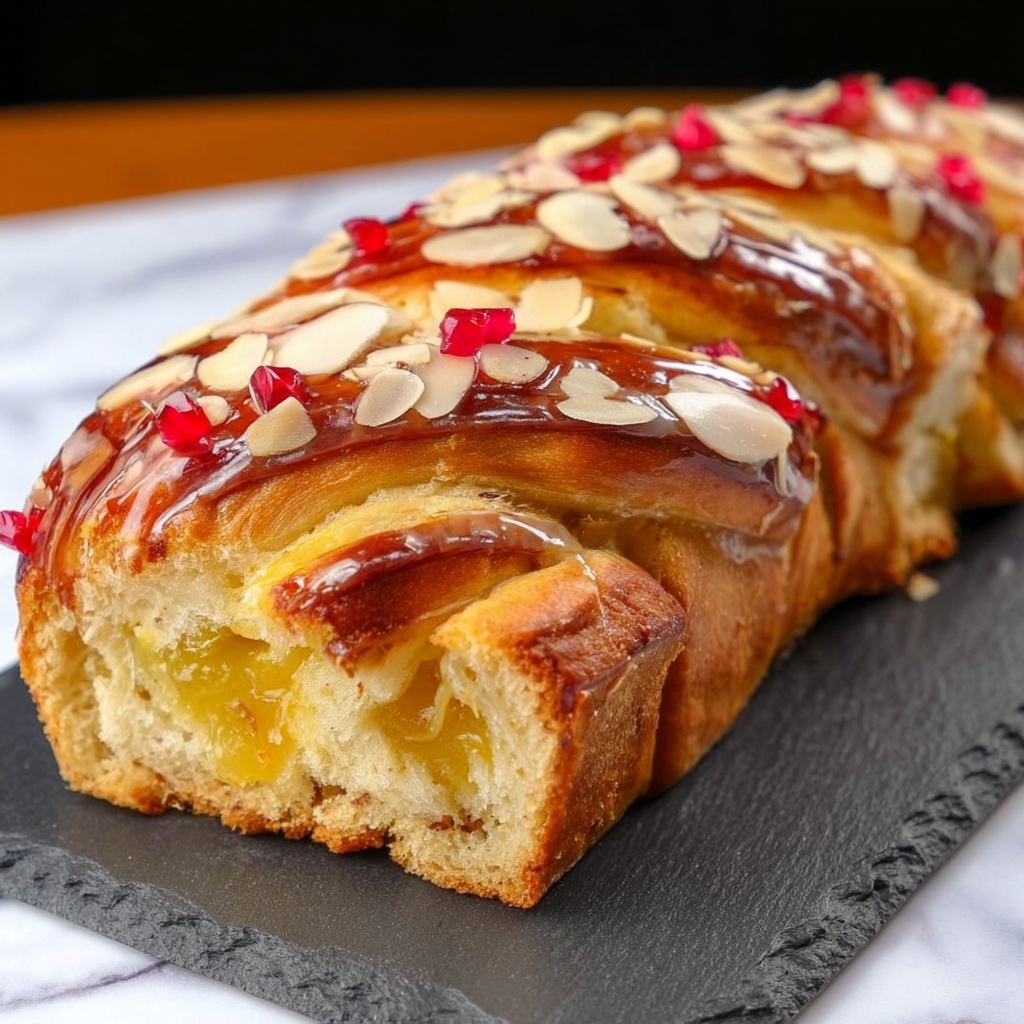
For a visually stunning and flavorful finish, sprinkle chopped cherries and blanched almonds on top after the final shaping. They add a festive touch and a delightful mix of textures that beautifully contrast with the softness of the bread.
Side Dishes
This bread pairs wonderfully with savory or sweet accompaniments. Serve alongside a bowl of warm miso soup, some creamy custard, or your favorite jam for an irresistibly comforting snack or breakfast.
Creative Ways to Present
Try slicing your Japanese Milk Bread and using it to make elegant tea sandwiches with cucumber and cream cheese or a luscious fruit tartine with mascarpone and seasonal berries—it’s as versatile as it is delicious.
Make Ahead and Storage
Storing Leftovers
Store leftover Japanese Milk Bread tightly wrapped in plastic or in an airtight container at room temperature. It stays fresh and soft for about 2 to 3 days, making it perfect for quick snacks or breakfast the next morning.
Freezing
You can freeze this bread by tightly wrapping it in plastic wrap and then placing it in a freezer bag. It will keep well for up to 1 month. Thaw at room temperature when you’re ready to enjoy it.
Reheating
To refresh the softness and aroma, pop slices in the toaster or warm the whole loaf wrapped in foil in a low oven for 10–15 minutes. This will recreate that freshly baked feeling like magic.
FAQs
What makes Japanese Milk Bread so soft?
The secret lies in the addition of milk, condensed milk, and butter, combined with gentle kneading and a slow rise. These ingredients work together to create a tender, fluffy crumb that melts in your mouth.
Can I use regular milk instead of warm milk?
Regular milk is fine but warming it to 105-115°F helps activate the yeast properly, ensuring your bread rises nicely and develops the perfect texture.
Do I need to use condensed milk?
Yes, condensed milk adds a subtle sweetness and moisture that are key to the bread’s unique flavor and soft texture. You can’t quite replicate this with regular milk and sugar alone.
Is this recipe suitable for beginners?
Absolutely! While it requires some attention to detail, following the step-by-step instructions will guide you seamlessly to delicious results. It’s a rewarding project for bakers of all levels.
Can I add fruit or nuts into the dough?
Definitely! Raisins, maraschino cherries, or sliced almonds can be folded in for added flavor and texture, giving your Japanese Milk Bread Recipe a fun and personalized twist.
Final Thoughts
The Japanese Milk Bread Recipe is more than just a loaf of bread; it’s a baking experience that brings warmth and delight into your kitchen. Once you try it, you’ll cherish the soft, sweet crumb and the joy of making something truly special from scratch. So go ahead, give this recipe a whirl—you won’t regret having this luscious bread on your table!