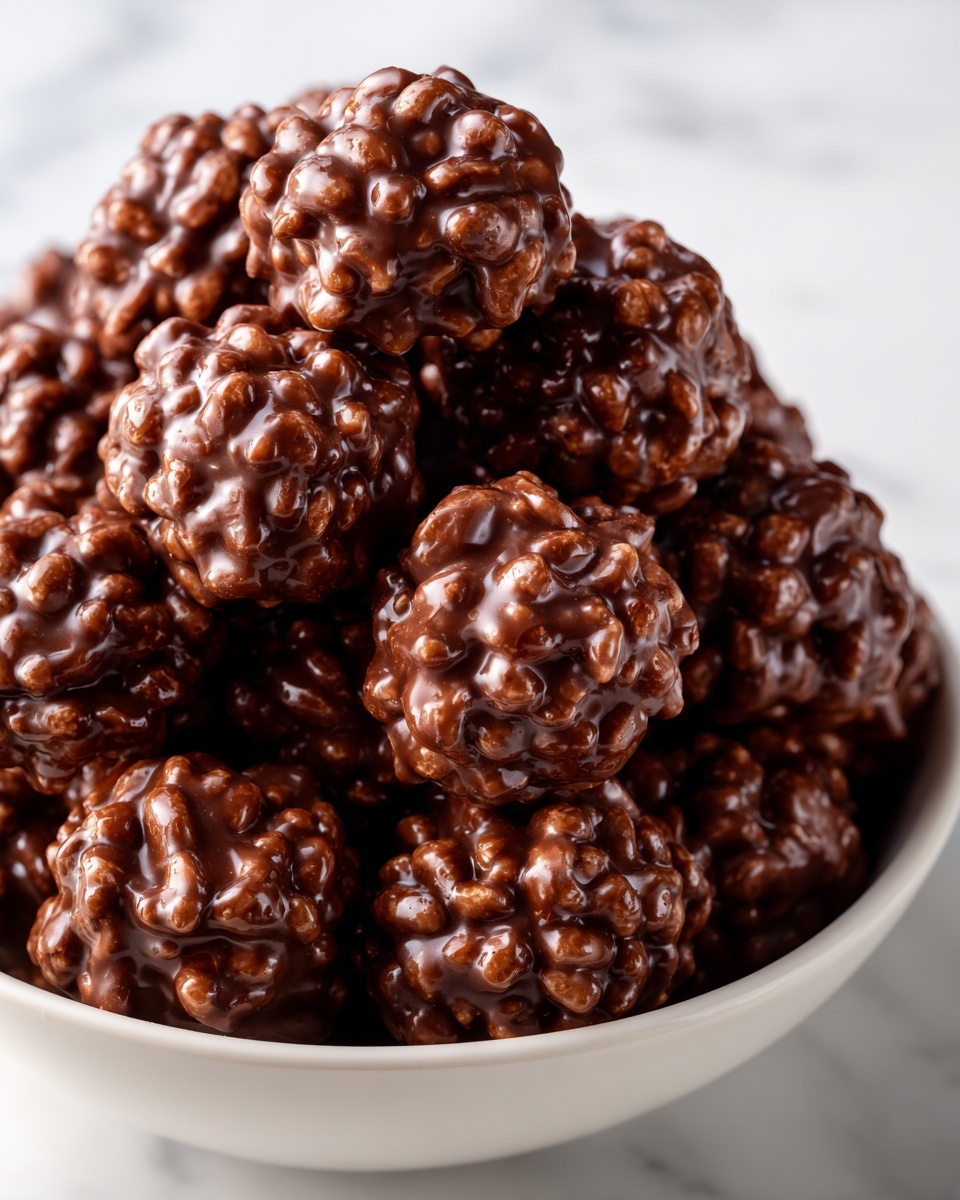
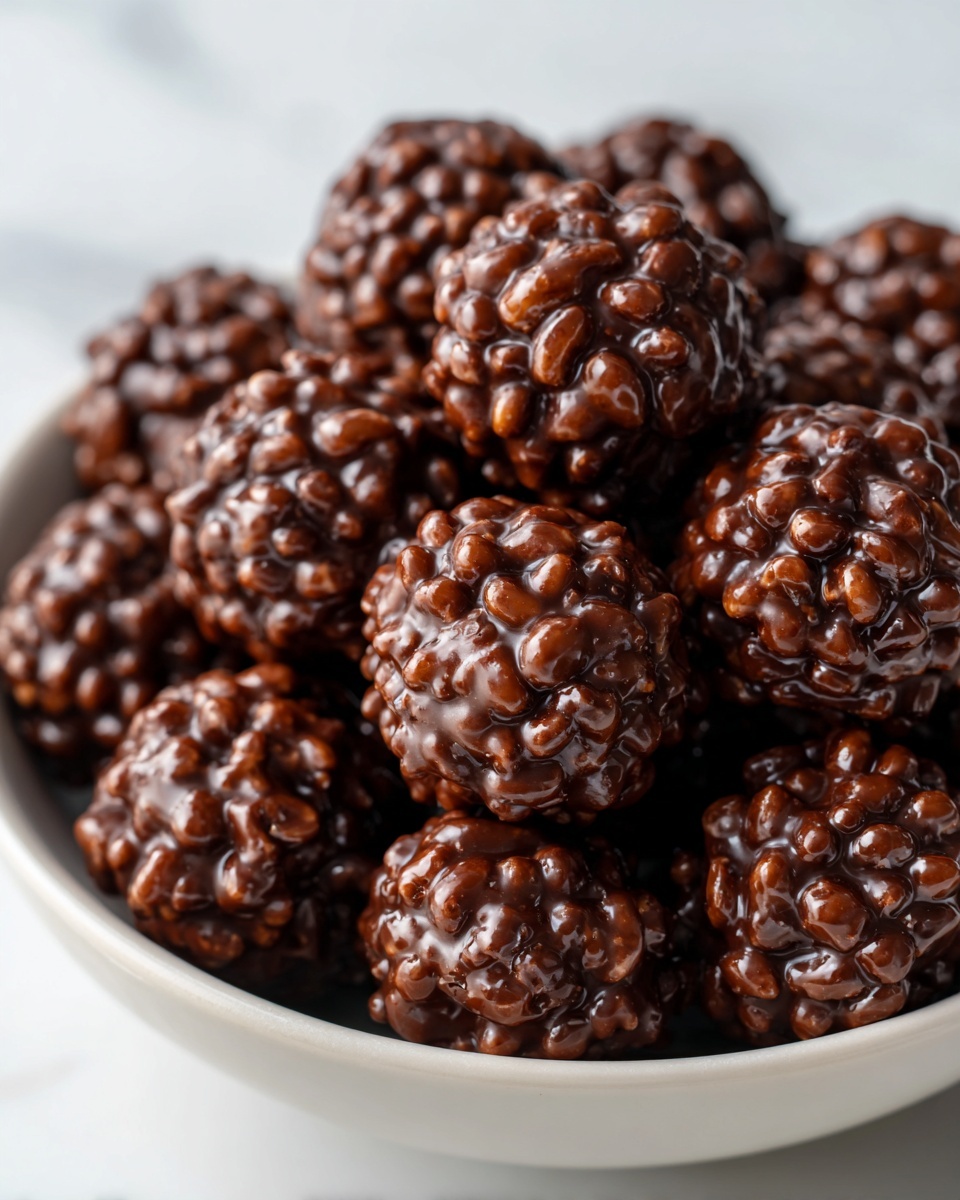
If you’re craving a sweet snack that’s easy to whip up yet delivers maximum delight, this Chocolate Rice Krispie Balls Recipe is your new best friend. Combining the crunchy charm of Rice Krispies with the creamy richness of peanut butter and luscious chocolate coating, these little bites bring together flavors and textures that everyone will adore. Whether you need a quick treat for yourself or a crowd-pleaser for your next gathering, this recipe ticks all the boxes — no baking needed and absolutely irresistible.
Ingredients You’ll Need
Gathering simple ingredients is the first step toward creating these irresistible chocolatey delights. Each ingredient plays a crucial role in shaping the taste, texture, or appearance of your Chocolate Rice Krispie Balls Recipe.
- 3 cups Rice Krispies cereal: Provides that signature airy crunch that makes these balls so fun to eat.
- 1 cup creamy peanut butter: Adds richness, a hint of saltiness, and helps bind everything together.
- 1/2 cup unsalted butter: Melts smoothly into the mix to give a buttery flavor and soft texture.
- 1 cup powdered sugar: Sweetens and thickens the mixture for perfect scoopable consistency.
- 1 teaspoon vanilla extract: Enhances the flavor profile with warm, aromatic notes.
- 2 cups semi-sweet chocolate chips: The star coat, adding luscious chocolate coverage and a little snap.
- 1 tablespoon coconut oil (optional): Helps the melted chocolate become ultra-smooth and shiny for dipping.
How to Make Chocolate Rice Krispie Balls Recipe
Step 1: Combine the Base Mix
Start by melting your butter and mixing it thoroughly with creamy peanut butter, powdered sugar, and vanilla extract in a large bowl. Gradually fold in the Rice Krispies cereal until every crunchy piece is lovingly coated — this mix is what forms the heart of your chocolate rice krispie balls.
Step 2: Shape Your Balls
Get your hands ready! Using a cookie scoop or your palms, scoop out the mixture and roll it into 1-inch balls. This part is fun and messy — let your inner kid enjoy. Once rolled, arrange them neatly on a parchment-lined baking sheet to chill and firm up in the fridge for 30 minutes. This step is crucial to help the balls hold their shape during chocolate dipping.
Step 3: Melt the Chocolate Coating
While the balls chill, melt your chocolate chips with coconut oil (if using) in short 30-second bursts in the microwave, stirring after each session. This method ensures the chocolate melts evenly without burning into a thick, clumpy mess.
Step 4: Dip and Set
Using a fork or toothpick, dip each chilled ball into the smooth melted chocolate until fully coated. Place each dipped ball back on the parchment-lined sheet. Pop them back into the fridge for another 15 to 20 minutes, allowing the chocolate shell to harden beautifully.
How to Serve Chocolate Rice Krispie Balls Recipe
Garnishes
If you want to add a little extra pizzazz before the chocolate sets, sprinkle crushed nuts, colorful sprinkles, or a pinch of sea salt over the dipped balls. These garnishes not only lift the presentation but also add delightful texture contrasts to each bite.
Side Dishes
These chocolate rice krispie balls shine beautifully as a sweet finale to any meal. Pair them with a simple glass of cold milk or a hot cup of coffee or tea. They also make a fantastic sweet snack alongside fresh fruit to balance richness with refreshing brightness.
Creative Ways to Present
For a party or gift, arrange the balls in mini cupcake liners or package them in decorative boxes. You can color-coordinate the liners with holiday themes or birthdays to make them even more festive. Alternatively, stack them on a tiered dessert tray for an eye-catching display that invites guests to dig in.
Make Ahead and Storage
Storing Leftovers
Keep your chocolate rice krispie balls fresh by storing them in an airtight container in the refrigerator. They’ll maintain their texture and flavor nicely for up to one week, making them a perfect make-ahead treat for busy days when you want something sweet without the fuss.
Freezing
These treats freeze wonderfully. Place your balls on a parchment-lined tray, freeze until solid, then transfer to a freezer-safe bag or container. They’ll last up to three months in the freezer — just thaw in the fridge before serving to enjoy that signature chew and chocolate coating.
Reheating
No need to heat these up as they’re best enjoyed chilled or at room temperature. If they seem too firm straight from the fridge, let them sit out a few minutes to soften slightly, unlocking all their peanut buttery goodness as the chocolate melts gently on your tongue.
FAQs
Can I use a different nut butter instead of peanut butter?
Absolutely! Almond butter or sunflower seed butter are excellent alternatives, especially if you’re preparing this Chocolate Rice Krispie Balls Recipe for someone with nut allergies or simply want to vary the flavor.
What if I don’t have coconut oil for the chocolate dip?
No worries at all — the chocolate will still melt and coat well without coconut oil. The oil just helps achieve that ultra-smooth, glossy finish, but it’s not essential.
Is there a way to make these gluten-free?
Rice Krispies cereal is often not gluten-free due to malt flavoring, but you can substitute with a certified gluten-free crispy rice cereal to keep the recipe safe for gluten-sensitive eaters.
Can I add mix-ins for extra flavor or texture?
Yes! Small additions like crushed pretzels, mini marshmallows, or even chopped nuts add a delightful crunch and surprise, making your chocolate rice krispie balls even more fun and unique.
How long does it take to prepare this recipe?
The hands-on prep time is about 20 minutes, but factoring in chilling and setting, you’re looking at roughly 50 minutes to enjoy your delicious Chocolate Rice Krispie Balls Recipe.
Final Thoughts
Give this Chocolate Rice Krispie Balls Recipe a try and unlock a world of chocolatey, peanut buttery joy that’s as easy to make as it is to devour. Perfect for any occasion or just a sweet everyday treat, these bite-sized delights will quickly become a go-to favorite in your recipe collection. Once you taste that crunchy, smooth, sweet combination, you’ll understand why they’re so hard to resist!