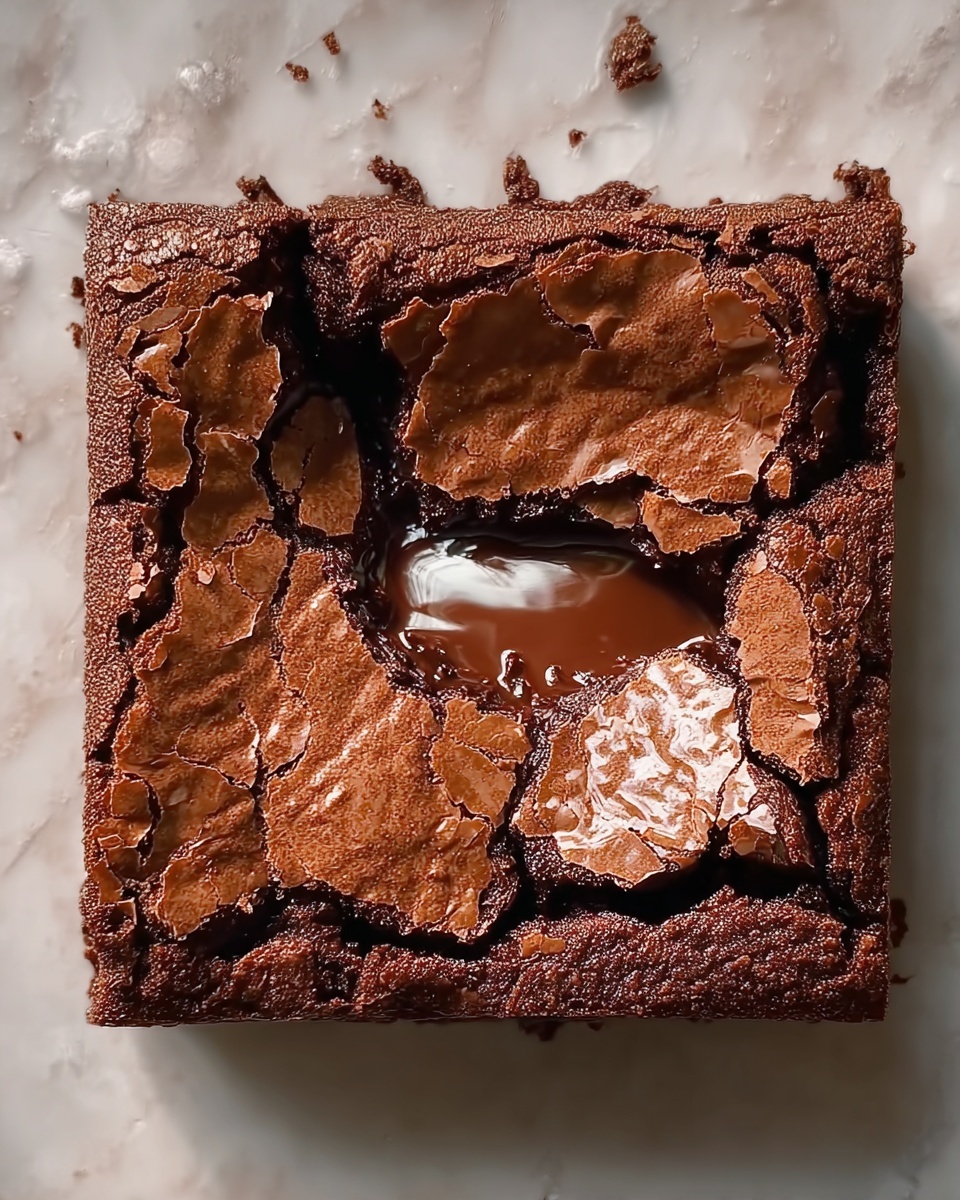
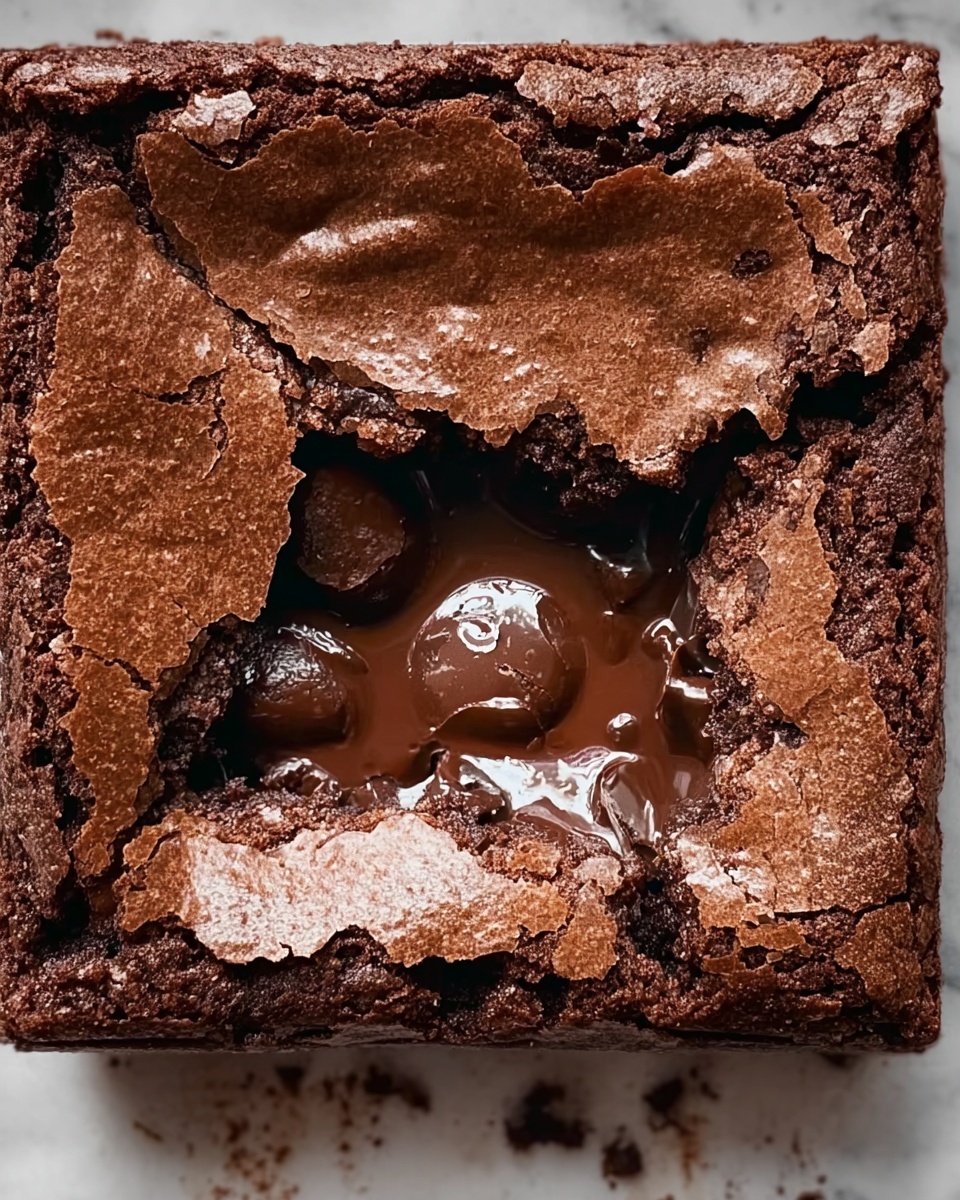
If you have a craving for something rich, comforting, and absolutely indulgent, this Chocolate Brownie Recipe is the one to keep close to your heart. It strikes the perfect balance between a fudgy center and a slightly crisp top, all while being surprisingly simple to whip up. Every bite offers that classic chocolatey goodness that feels like a warm hug on a plate. Whether you’re baking for a crowd or treating yourself, these brownies bring joy with just a handful of everyday ingredients and straightforward steps that anyone can follow with ease.
Ingredients You’ll Need
These ingredients are simple pantry staples, each chosen to deliver the perfect texture, flavor, and classic chocolate color that define a memorable homemade brownie.
- 1/2 cup (1 stick) unsalted butter, melted: Butter adds richness and moisture, making the brownies tender and luscious.
- 1 cup granulated sugar: Sweetness to balance the cocoa’s natural bitterness and create that irresistible caramelized crust.
- 2 large eggs: Eggs provide structure and help bind the ingredients, contributing to that fudgy texture.
- 1 teaspoon vanilla extract: A small splash that enhances and deepens the chocolate flavor.
- 1/3 cup unsweetened cocoa powder: The star ingredient for that deep, chocolaty taste and rich color.
- 1/2 cup all-purpose flour: Gives just enough body without making the brownies cakey.
- 1/4 teaspoon salt: Salt intensifies all the sweet and chocolate flavors, balancing the taste perfectly.
- 1/4 teaspoon baking powder: Adds a touch of lift for a slight crumb without sacrificing fudginess.
How to Make Chocolate Brownie Recipe
Step 1: Prepare Your Pan and Oven
Start by preheating your oven to 350°F (175°C) so it’s ready when your batter is done. Grease an 8×8-inch baking pan, or for an easier cleanup and perfect edges, line it with parchment paper. This small step makes cutting brownies a breeze later on.
Step 2: Mix the Butter and Sugar
In a medium bowl, combine the melted unsalted butter with granulated sugar. Stir until smooth and glossy. This simple mix is the foundation for your brownies’ shine and sweetness, so take a moment to get it just right.
Step 3: Add Eggs and Vanilla
Beat in two eggs, one at a time, to make sure they fully incorporate and give that wonderfully rich bite. Follow with a splash of vanilla extract—it might be small, but it’s a flavor game-changer you don’t want to skip.
Step 4: Combine Dry Ingredients
Sift together the cocoa powder, all-purpose flour, salt, and baking powder. Sifting helps avoid lumps and ensures these ingredients blend evenly into your batter for a smooth texture.
Step 5: Mix Until Just Combined
Gently stir the dry ingredients into the wet bowl. Be careful not to overmix; a few streaks of flour are better than rough brownies. This keeps them delightfully fudgy instead of cakey.
Step 6: Bake to Perfection
Pour the batter into your prepared pan, spreading it out evenly so it cooks uniformly. Bake for 20 to 25 minutes. Test doneness by inserting a toothpick in the center—it should come out with a few moist crumbs attached for that perfect fudgy bite.
Step 7: Cool Before Cutting
Allow the brownies to cool completely in the pan. This bit of patience pays off with cleaner cuts and brownies that hold their shape beautifully.
How to Serve Chocolate Brownie Recipe

Garnishes
A simple dusting of powdered sugar brightens the top and adds elegance without altering the classic taste. For extra indulgence, a dollop of whipped cream or a scoop of vanilla ice cream creates a decadent dessert experience that friends and family will rave about.
Side Dishes
Serve these brownies alongside a fresh berry salad or a handful of toasted nuts for contrast. The natural acidity of berries pairs beautifully with the deep chocolate flavor, while nuts add satisfying crunch and texture.
Creative Ways to Present
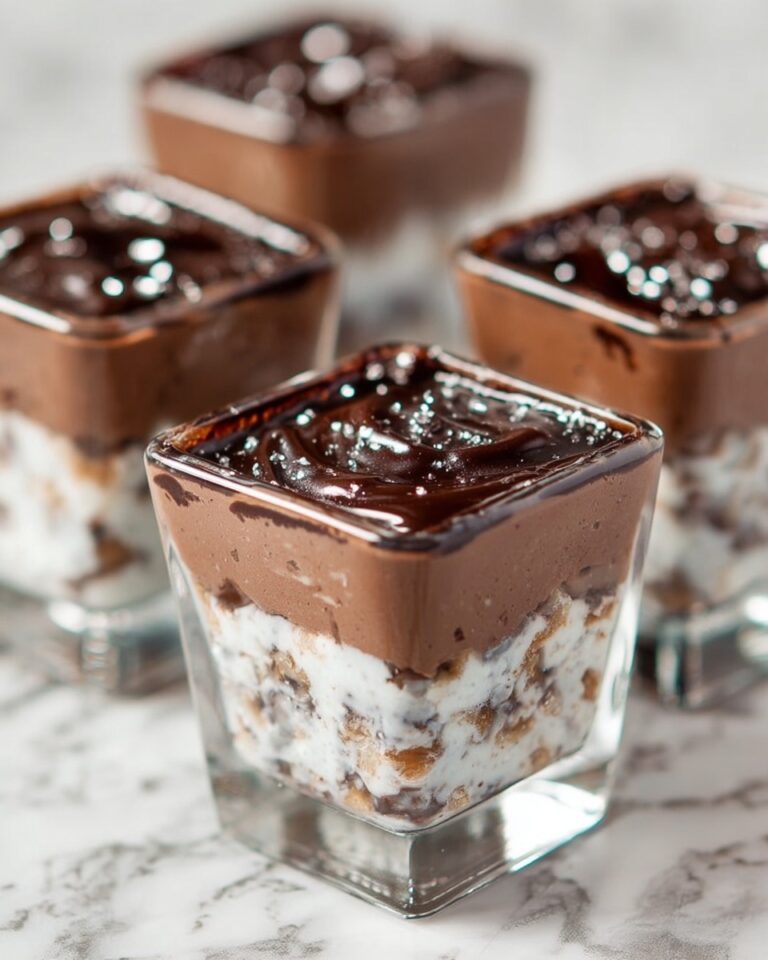
Make brownie parfaits by layering chunks with whipped cream and fruit in clear glasses for a stunning presentation. Alternatively, drizzle warm fudge or caramel sauce over top, or sprinkle with sea salt to highlight the chocolate’s richness in a fun, unexpected way.
Make Ahead and Storage
Storing Leftovers
Keep your leftover brownies fresh by storing them in an airtight container at room temperature for up to three days. This helps maintain their moist texture and rich flavor so you can enjoy the Chocolate Brownie Recipe even the next day.
Freezing
If you want to save brownies for longer, wrap them tightly in plastic wrap and then foil before placing them in the freezer. They stay delicious for up to two months. Thaw them overnight in the fridge for best results.
Reheating
To revive the warmth and softness, pop a brownie into the microwave for about 10 to 15 seconds. It’s a quick way to enjoy that just-baked feeling anytime you want a treat from this Chocolate Brownie Recipe.
FAQs
Can I add nuts or chocolate chips to this Chocolate Brownie Recipe?
Absolutely! Adding 1/2 cup of chocolate chips or chopped nuts like walnuts or pecans can introduce great texture and extra flavor, making your brownies even more enjoyable.
How do I make these brownies fudgier?
For extra fudgy brownies, try slightly underbaking them and then chilling in the refrigerator before cutting. This allows them to set while keeping that moist, dense center everyone loves.
Is it okay to use salted butter instead of unsalted?
Yes, you can use salted butter, but reduce or omit the added salt in the recipe to avoid making the brownies too salty. Unsalted butter is preferred for better control over seasoning.
Can I double the recipe to make a larger batch?
Definitely. Just double the ingredients and bake in a larger pan (such as 9×13 inches), adjusting the baking time slightly—check doneness with a toothpick after about 30 minutes.
Will these brownies be cakey or dense?
This Chocolate Brownie Recipe strikes a lovely balance—fudgy and dense with a tender crumb, not cakey. If you prefer cakey, slightly increase flour or baking powder, but many favor this recipe for its classic fudgy appeal.
Final Thoughts
This Chocolate Brownie Recipe has a special way of bringing joy to any day with its rich flavor and simple preparation. I encourage you to try it out for your next baking adventure—whether it’s a cozy night in or a crowd-pleasing potluck. Once you taste these brownies, I’m confident they’ll become a beloved recipe you turn to time and again.