“`html
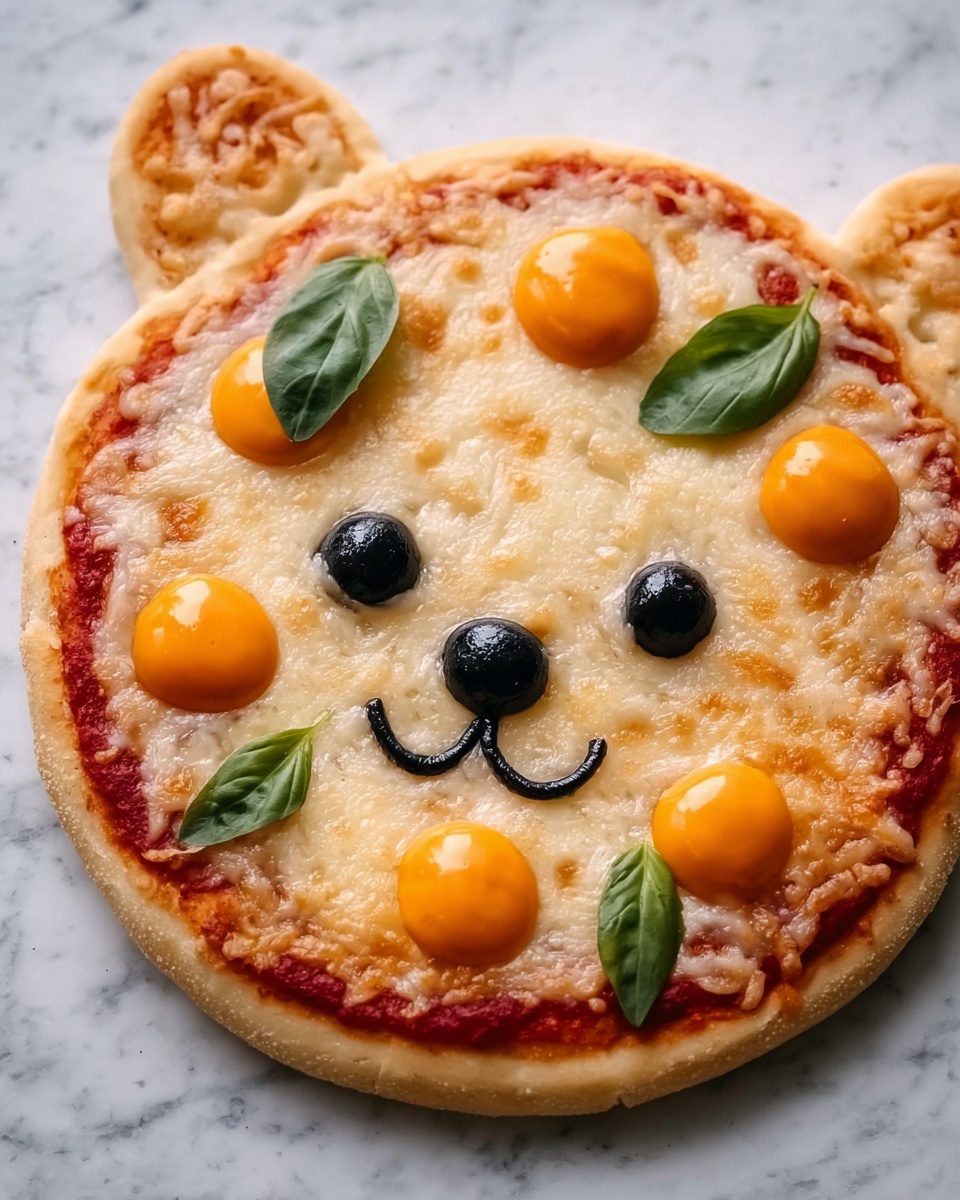
If you’re looking for a fun and adorable twist on your usual pizza night, the Bunny Pizza Recipe is here to brighten your table and your mood. This charming, bunny-shaped pizza combines simple ingredients with playful presentation, making it a delightful experience for both kids and adults alike. With every bite, you’ll enjoy a perfectly crisp crust, gooey melted mozzarella, and fresh vegetables arranged to capture the bunny’s personality in every detail. It’s not just a meal—it’s a conversation starter that brings smiles along with great taste.
Ingredients You’ll Need
Getting the right ingredients is key to making your Bunny Pizza Recipe both delicious and visually charming. Each component plays a special role, from the stretchy mozzarella that melts perfectly, to the fresh veggies that add color, crunch, and flavor, making this recipe as enjoyable to eat as it is to look at.
- Pizza dough: Whether store-bought or homemade, dough is the canvas for creating our bunny masterpiece.
- Pizza sauce: Adds that classic tangy base flavor that ties the pizza together.
- Shredded mozzarella cheese: Melts beautifully to create a gooey, golden topping.
- Sliced black olives: Perfect for the bunny’s eyes and nose, giving a striking contrast and texture.
- Small red bell pepper: Adds vibrant color, shaped into the mouth and cheeks for that cute bunny expression.
- Small cucumber: Crisp and fresh, used for whiskers and ears to bring the bunny to life.
- Medium carrot: Bright orange and crunchy, great for the bunny’s nose and inner ear accents.
- Fresh parsley or basil: Adds a burst of herbal freshness and a lovely green pop for garnish.
- Olive oil: For brushing the crust and adding a golden shine with extra flavor.
How to Make Bunny Pizza Recipe
Step 1: Preheat the Oven
Getting your oven nice and hot is essential for a crisp crust and bubbly cheese. Preheat to 475°F (245°C) and prepare your baking sheet with parchment paper or a light grease to prevent sticking. This step ensures the pizza cooks evenly and looks beautiful.
Step 2: Prepare the Pizza Dough
Roll out your dough on a floured surface into a large circle or oval shape—it doesn’t need to be perfect because shaping it into the bunny form comes next. Carefully transfer it to your baking sheet, setting the stage for your bunny’s face.
Step 3: Form the Bunny Shape
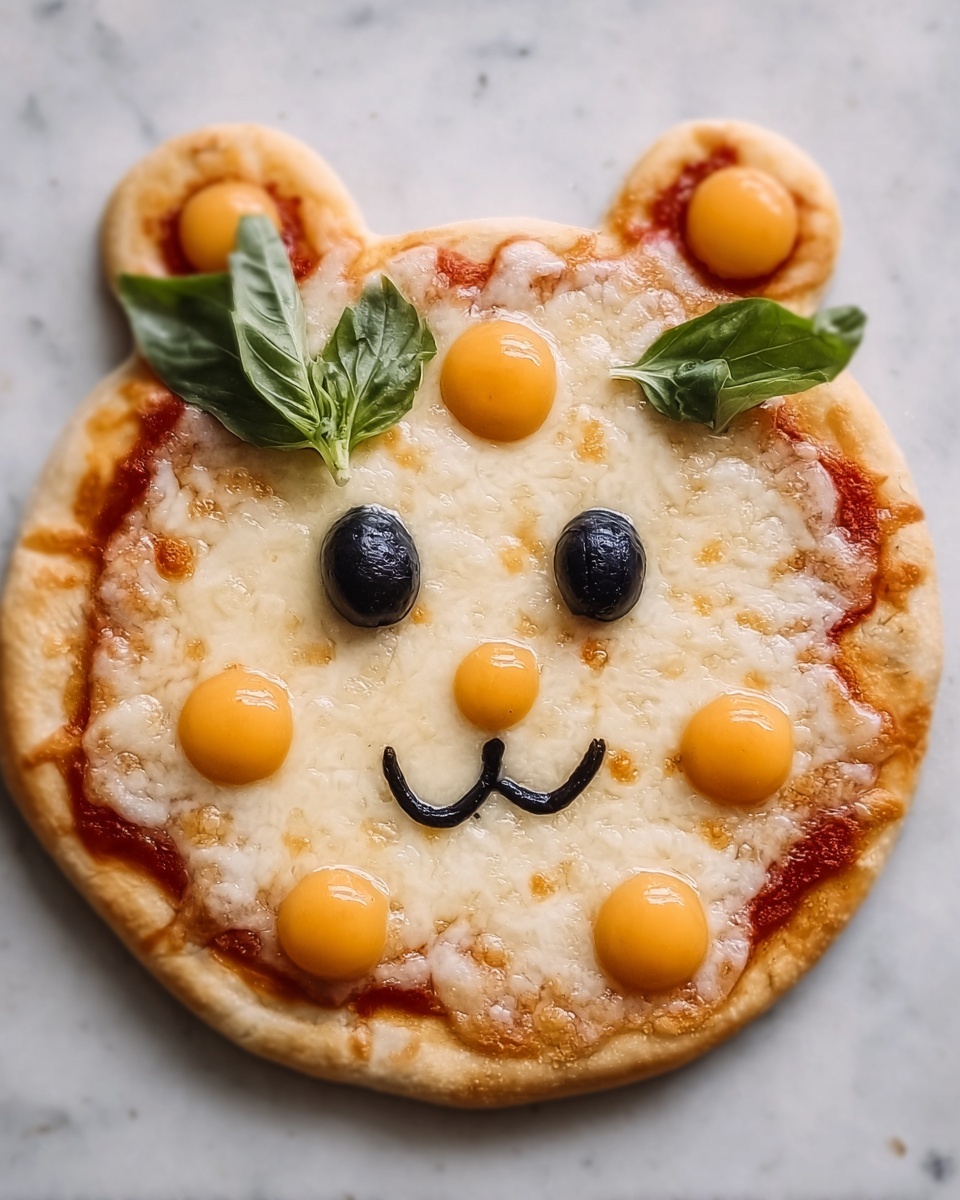
This is where the fun really begins. Shape the dough into an oval for the face, then create two elongated dough pieces as the bunny’s ears, positioning them at the top of the main dough. You can freehand or use a template — either way, it’s about letting creativity shine through and building that charming bunny silhouette.
Step 4: Spread Pizza Sauce
Spread pizza sauce evenly, leaving a small border around the edges for the crust to rise and form a lovely frame. This sauce layer packs the foundational flavor needed for every bite.
Step 5: Add the Cheese
Generously sprinkle shredded mozzarella over the sauce, covering the surface well. This melty blanket will bind all the toppings together while giving you that irresistible cheesy pull.
Step 6: Create the Bunny’s Face
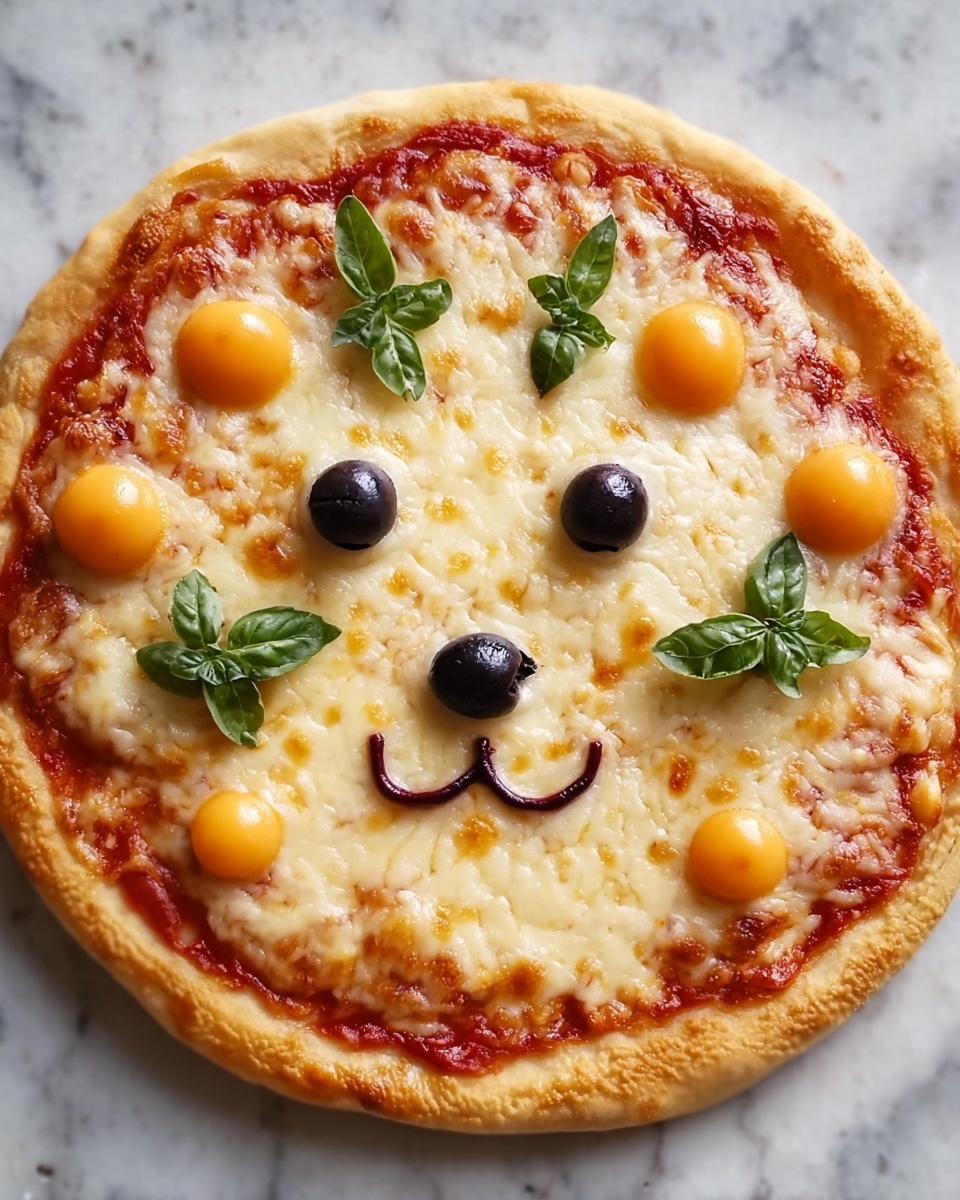
Use slices of black olives to place two round eyes and a smaller olive piece as the bunny’s nose. The contrast of the dark olives against the white cheese makes the bunny’s face unmistakable and delightful.
Step 7: Shape the Mouth
Slice a thin piece of red bell pepper for the bunny’s mouth, curving it slightly beneath the nose to give a gentle smile. It adds a splash of brightness and personality.
Step 8: Add the Cheeks
Place small bits of red bell pepper on either side of the mouth to form rosy cheeks, turning your bunny into a picture of cuteness and warmth.
Step 9: Arrange the Whiskers
Cut thin strips of cucumber and arrange them delicately around the face as whiskers, introducing a fresh crunch and green highlight to the pizza’s design.
Step 10: Form the Ears
Place cucumber slices shaped into bunny ears on top of the dough, adding carrot slices in the middle for color contrast that makes the ears pop visually. This detail elevates your Bunny Pizza Recipe from pizza to art.
Step 11: Bake the Pizza
Pop your creation into the oven and bake for 10 to 15 minutes until the crust turns golden and cheese bubbles enticingly. This step transforms your ingredients into a tasty, warm delight.
Step 12: Finish with Olive Oil and Herbs
After baking, brush the crust with olive oil to add sheen and richness, then sprinkle fresh parsley or basil over the top for a burst of aromatic green that brightens your pizza both visually and in flavor.
Step 13: Serve and Enjoy
Slice up your Bunny Pizza with pride and dig in! This recipe is a fantastic way to share smiles and great food around the table with friends and family.
How to Serve Bunny Pizza Recipe
Garnishes
Fresh herbs like parsley or basil aren’t just pretty—they add fresh, herbaceous notes that contrast beautifully with the rich cheese and savory toppings. A light drizzle of high-quality olive oil right before serving can take your presentation to the next level.
Side Dishes
Pair your Bunny Pizza with a crisp green salad dressed lightly with lemon vinaigrette or a bowl of vegetable soup to keep the meal balanced and colorful. These sides complement the pizza’s fresh vegetable accents and enhance the overall dining experience.
Creative Ways to Present
Serve your Bunny Pizza on a rustic wooden board to emphasize its homemade charm. Add a few fresh veggie sticks or small bowls of dipping sauces around it for an interactive, playful meal that invites everyone to dive in.
Make Ahead and Storage
Storing Leftovers
Wrap leftover Bunny Pizza tightly in plastic wrap or store in an airtight container to keep the crust from drying out. It’s best enjoyed within two days to savor the fresh veggies and melty cheese at their best.
Freezing
While freshly made is always ideal, you can freeze your baked Bunny Pizza by wrapping it well in aluminum foil and placing it in a freezer-safe bag. Thaw in the fridge overnight before reheating to maintain the textures.
Reheating
To reheat, pop the pizza in a preheated oven at 375°F (190°C) for about 10 minutes or until warmed through and the crust is crisp again. Avoid microwaving if you want to keep that lovely texture and melt of the cheese intact.
FAQs
Can I use a different type of cheese for the Bunny Pizza Recipe?
Absolutely! While mozzarella is classic for its melting properties, feel free to experiment with cheeses like provolone, cheddar, or even a blend for a different flavor profile.
Is it okay to make the Bunny Pizza gluten-free?
Yes, you can use a gluten-free pizza dough to accommodate dietary needs without compromising on the fun shape or delicious taste.
What if I don’t have all the veggies for decorating the bunny’s face?
No worries! Use whatever vegetables you have at hand—sliced cherry tomatoes, bell pepper strips, or even olives alone can work wonderfully to create a cute bunny face.
Can I prepare the dough and toppings ahead of time?
Definitely. Prepare and shape your dough in advance and keep toppings chopped and ready. Assemble when you’re ready to bake to keep vegetables fresh and pizza crisp.
What other shapes can I try with this pizza recipe?
Once you’ve mastered the Bunny Pizza Recipe, try shaping your dough into other fun figures like hearts, stars, or animals to make every pizza night special and creative.
Final Thoughts
Making the Bunny Pizza Recipe is more than just preparing a meal—it’s an experience that invites creativity, joy, and shared smiles. Whether for a family dinner, a festive occasion, or a fun weekend project, this pizza brings a whimsical twist that makes everyone feel like a kid again. So grab your ingredients, roll out that dough, and hop into a delightful pizza adventure!
“`