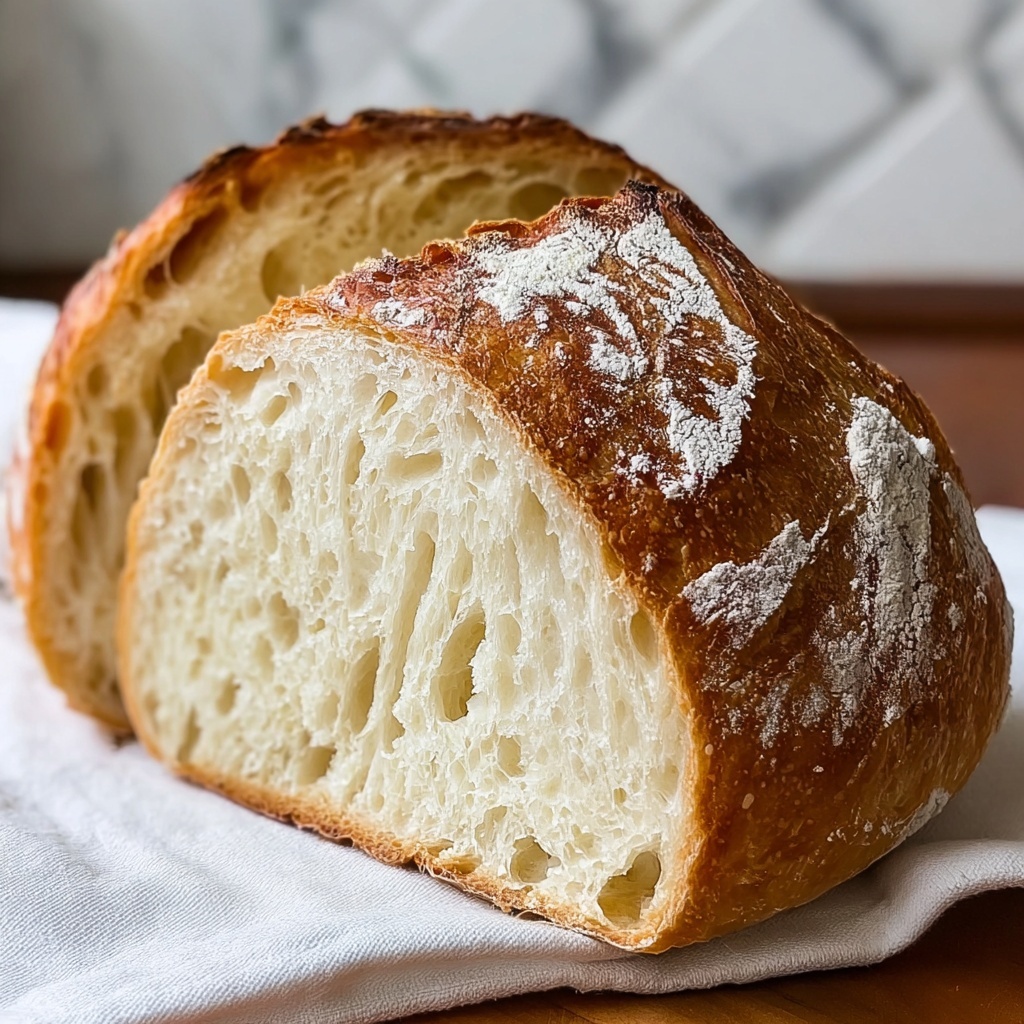
There is something truly magical about baking your own loaf of bread, and this Artisan Bread Recipe captures that magic in the simplest, most rewarding way. With just a handful of essential ingredients, this recipe invites you into the world of crusty, golden bread with a chewy interior that tastes like it came straight from a rustic bakery. Whether you’re a seasoned baker or a total novice, this Artisan Bread Recipe will become your go-to for fresh bread that fills your home with aroma and warmth.
Ingredients You’ll Need
Don’t let the simplicity fool you—each ingredient in this Artisan Bread Recipe is crucial, working together to create that perfect balance of flavor, texture, and crust. These pantry staples turn into a dough that develops amazing character as it rises and bakes.
- 3 cups all-purpose or bread flour: This is the backbone of your bread, providing structure and chewiness.
- ½ tablespoon kosher salt: Salt controls yeast activity and enhances the natural flavors of your bread.
- ¼ ounce instant or active dry yeast (2 ¼ teaspoons): The powerhouse that makes your dough rise beautifully.
- 1 ½ cups warm water (105°F): Warm water activates the yeast and helps amalgamate the dough’s ingredients.
How to Make Artisan Bread Recipe
Step 1: Combine Dry Ingredients
Start by mixing the flour, kosher salt, and yeast in a large bowl. The key here is to evenly distribute the salt and yeast in the flour, setting the stage for a uniform rise and flavor throughout the loaf.
Step 2: Add Warm Water and Stir
Pour in the warm water and stir until a sticky dough forms. Don’t worry if it looks wet or shaggy—that’s exactly what you want. This texture promises a light, airy crumb once baked.
Step 3: Let the Dough Rise
Cover the bowl loosely with a towel or plastic wrap and leave it at room temperature to rise anywhere from 2 to 10 hours. This long, slow fermentation develops complex flavors and a beautiful crumb structure.
Step 4: Shape the Dough
After the dough has doubled and looks bubbly, transfer it gently onto a lightly floured surface and shape it into a round or oval loaf. Handle it with care to preserve those lovely air bubbles that contribute to the texture.
Step 5: Rest Before Baking
Place your shaped dough on parchment paper and let it rest for 20 to 30 minutes. This final proof relaxes the gluten and allows for an even better rise in the oven.
Step 6: Preheat the Oven
Preheat your oven to 450°F, making sure to place a baking stone or Dutch oven inside to get piping hot. This radiant heat is critical for creating a crisp crust on your bread.
Step 7: Bake with Steam
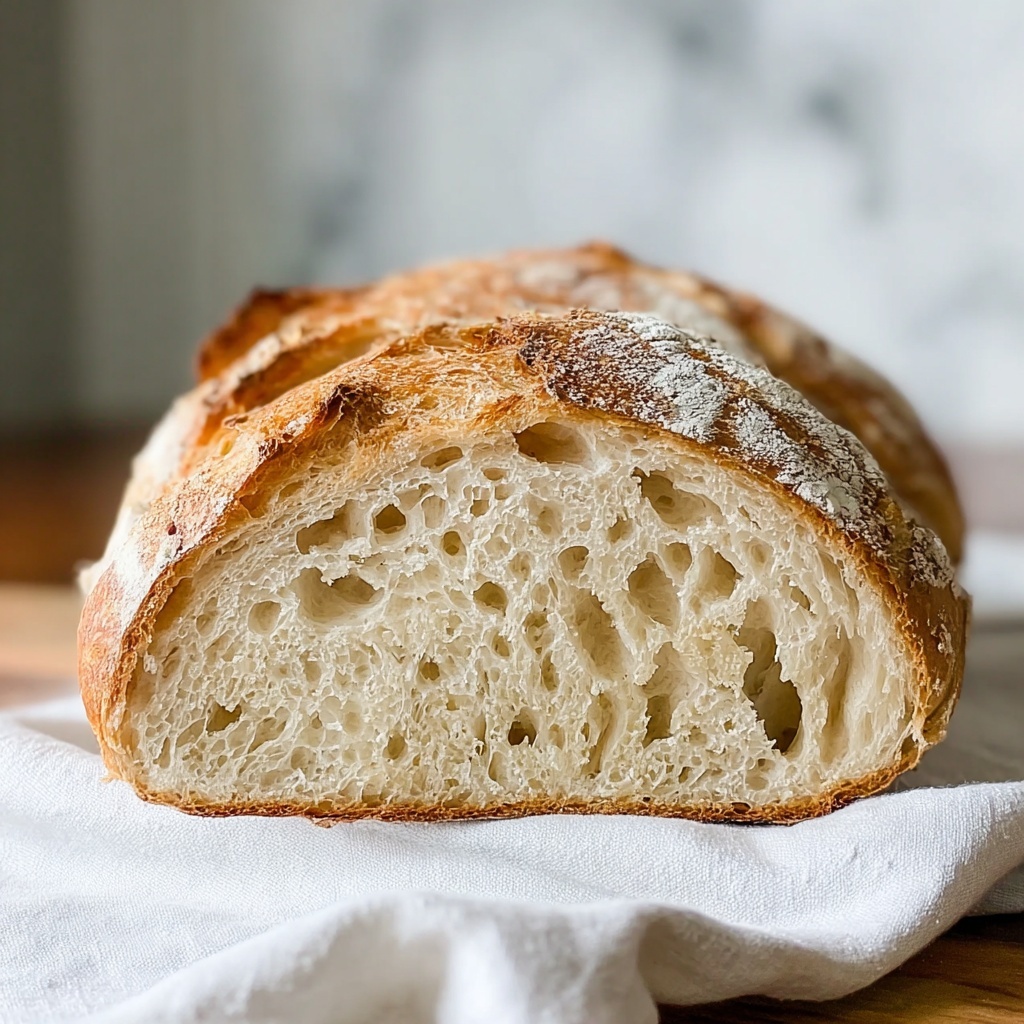
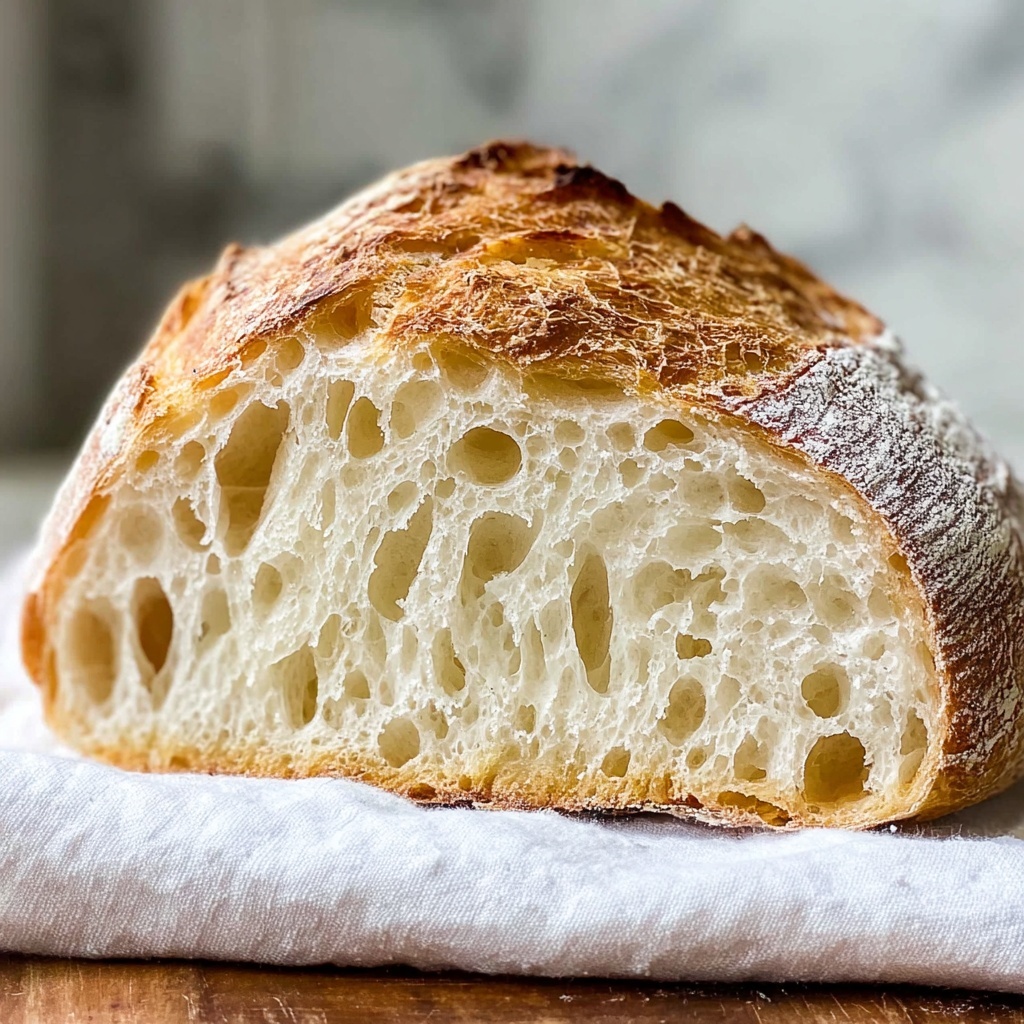
Before baking, add hot water or ice cubes to your oven to generate steam. This step is the secret to a glossy, crackling crust characteristic of artisan breads. Bake your loaf for 25 to 30 minutes until it turns a stunning golden brown.
Step 8: Cool Before Slicing
Once out of the oven, cool the bread on a rack for at least 30 minutes. This resting time allows the crumb to set properly, making slicing much easier and preserving the bread’s wonderful texture.
How to Serve Artisan Bread Recipe
Garnishes
A sprinkle of flaky sea salt or a light brush of olive oil right after baking can highlight the complex flavors of your artisan bread. For a little extra flair, dust with fresh herbs or a bit of garlic butter for an irresistible touch.
Side Dishes
Artisan bread pairs beautifully with a variety of side dishes. Thick tomato basil soups, creamy cheeses, or a robust olive tapenade bring out the rustic charm of this bread. It’s perfect for dipping, spreading, or simply enjoying as is.
Creative Ways to Present
Slice your artisan bread into thick slabs and create an inviting bread basket centerpiece for your table. Toast it lightly and top with avocado, smoked salmon, or a drizzle of honey and ricotta. The wholesome crust and tender crumb make it a canvas for endless culinary creativity.
Make Ahead and Storage
Storing Leftovers
Keep your leftover artisan bread fresh by wrapping it loosely in a clean kitchen towel or storing it in a paper bag. This helps maintain the crust’s texture while preventing the bread from drying out too quickly.
Freezing
To freeze, slice your bread first and wrap it tightly in plastic wrap followed by a layer of aluminum foil or place it in a freezer bag. This locks in freshness and flavor, so you can enjoy your Artisan Bread Recipe long after baking day.
Reheating
Reheat frozen or day-old bread in a preheated 350°F oven for 10-15 minutes. You’ll bring back that crispy crust and warm, tender crumb without drying it out. Avoid microwaving as it tends to make the bread chewy and tough.
FAQs
Can I use whole wheat flour in this Artisan Bread Recipe?
Absolutely! You can substitute up to half the all-purpose flour with whole wheat for a nuttier flavor and denser texture. Just keep in mind it may need a bit more water and a slightly longer rise time.
Do I have to use a Dutch oven or baking stone?
While a Dutch oven or baking stone helps create that beautiful crust by evenly distributing heat and trapping steam, you can bake on a baking sheet with a pan of water for steam. It just might not be quite as crusty.
How do I know when the bread is fully baked?
A hollow sound when tapping the bottom of the loaf is a classic test. Also, an internal temperature of around 200°F indicates that the bread is perfectly baked.
Why is my bread dough sticky?
Sticky dough is typical for artisan style breads and signals high hydration. It helps produce an open, airy crumb. Resist the urge to add too much extra flour; instead, use a wet hand to shape your loaf.
Can I shorten the rising time?
You can speed up the rising by placing the dough in a warm spot, but the long rise really develops flavor and texture. If pressed for time, aim for at least 2 hours.
Final Thoughts
Embarking on baking this Artisan Bread Recipe is like welcoming a little everyday magic into your kitchen. The simplicity of ingredients and process combined with the delicious result makes it a joy for any home cook. Trust me, once you try making this bread, you’ll never look at store-bought the same way again. Give it a shot—your taste buds will thank you!
Print
Artisan Bread Recipe
- Prep Time: 10 minutes
- Cook Time: 30 minutes
- Total Time: 2 hours 40 minutes to 10 hours 40 minutes (including rise time)
- Yield: 12 servings
- Category: Baking
- Method: Baking
- Cuisine: American
Description
This Artisan Bread Recipe yields a rustic, crusty loaf with a soft, chewy interior. Made from simple ingredients like flour, water, yeast, and salt, this bread requires minimal hands-on time but benefits from a long fermentation for enhanced flavor. Baked in a hot oven with steam, it achieves a beautiful golden crust ideal for sandwiches, toasts, or enjoying with butter.
Ingredients
Dry Ingredients
- 3 cups all-purpose or bread flour
- ½ tablespoon kosher salt
- ¼ ounce instant or active dry yeast (2 ¼ teaspoons)
Wet Ingredients
- 1 ½ cups warm water (105°F)
Instructions
- Combine Dry Ingredients: In a large mixing bowl, mix the flour, kosher salt, and yeast thoroughly to ensure even distribution throughout the dough.
- Add Warm Water: Pour in the warm water and stir until a sticky dough forms, making sure all flour is hydrated.
- First Rise: Cover the bowl with a towel or plastic wrap and let the dough rise at room temperature for 2 to 10 hours until it doubles in size and develops air bubbles.
- Shape the Dough: Turn the risen dough onto a lightly floured surface and gently shape it into a loaf without deflating it completely.
- Second Rest: Place the shaped dough on a piece of parchment paper and allow it to rest for 20-30 minutes for a slight rise before baking.
- Preheat Oven: Heat your oven to 450°F, placing a baking stone or Dutch oven inside to preheat it thoroughly.
- Create Steam and Bake: Add hot water or ice cubes to the oven to generate steam, then bake the bread for 25-30 minutes until the crust is golden brown and crisp.
- Cool: Remove the bread from the oven and let it cool on a wire rack for at least 30 minutes to set the crumb before slicing.
Notes
- Using a bread or all-purpose flour works; bread flour will produce a chewier texture due to higher protein content.
- The rising time is flexible; a longer rise enhances flavor but timing may vary based on room temperature.
- Generating steam in the oven is important for developing a crispy crust and glossy appearance.
- Allow the bread to cool completely before slicing to prevent a gummy texture.
- The dough is sticky by nature; do not add too much flour during shaping to keep the crumb moist.


