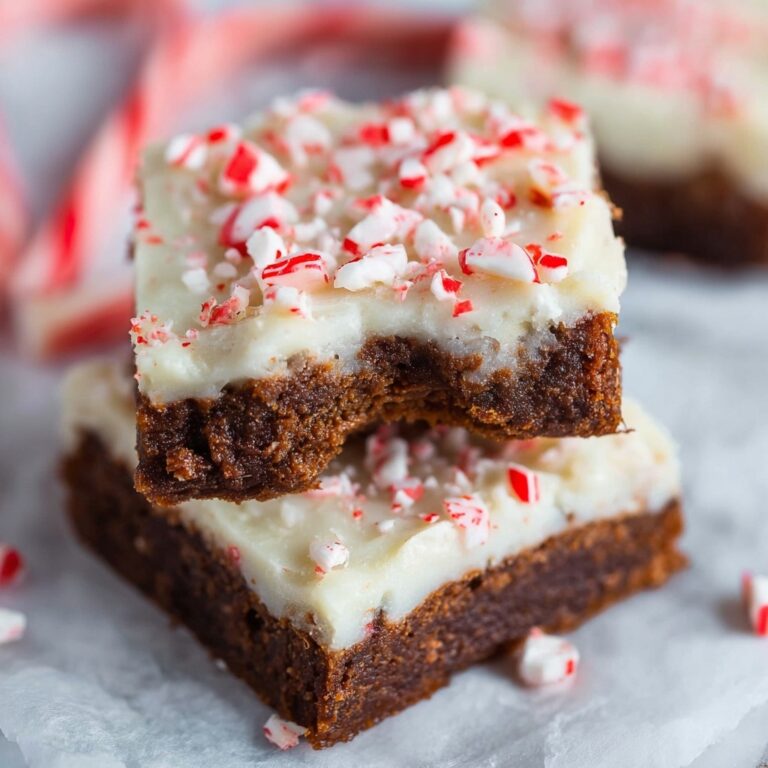
If you’re looking to infuse your holiday baking with a burst of festive cheer, this Candy Cane Cookies Recipe is the perfect treat to whip up. These charming cookies capture the sweet, minty spirit of the season, combining the cool peppermint flavor with a tender, buttery bite. Twisting red and white dough into iconic candy cane shapes not only makes them fun to create but also delightful to share. Whether you’re making them as gifts or enjoying a cozy afternoon snack, these Candy Cane Cookies will quickly become a beloved tradition.

Ingredients You’ll Need
These ingredients are straightforward but essential, each playing a key role in achieving the perfect flavor, texture, and appearance of your candy cane cookies. From the creamy butter for richness to the red gel food coloring that brings the festive look to life, every component matters.
- Milk (1/4 cup + 1 tablespoon – divided): Adding moisture and helping react with vinegar to create a subtle tender crumb.
- White vinegar (3/4 teaspoon): Reacts with baking powder to keep cookies light and soft.
- Sugar (1 cup): Sweetens while contributing to that slightly crunchy edge after baking.
- Unsalted butter (3/4 cup, softened): The backbone for that rich, melt-in-your-mouth texture.
- Egg (1): Binds ingredients and adds structure.
- Peppermint extract (2 teaspoons): Infuses each cookie with that unmistakable, refreshing candy cane flavor.
- Vanilla extract (1 teaspoon): Enhances and balances the peppermint with a warm, familiar note.
- Flour (3 1/2 cups): Provides the foundation for the dough’s firm, yet tender structure.
- Baking powder (1 1/2 teaspoons): Helps the cookies rise and stay light.
- Salt (1/2 teaspoon): Balances sweetness and deepens flavor complexity.
- Red gel food coloring (1 teaspoon): Creates the striking red hue that makes these cookies instantly festive.
- White sanding sugar (1-2 tablespoons): Adds a sparkling sugar crunch for extra holiday sparkle.
How to Make Candy Cane Cookies Recipe
Step 1: Prepare the Buttermilk Substitute
Start by combining the white vinegar with 1/4 cup milk. This mixture mimics buttermilk and plays a key role in tenderizing your cookie dough. Set this aside while you move on to preheating the oven and prepping your baking sheets.
Step 2: Preheat and Prepare Your Baking Surface
Set your oven to 350°F and line your baking sheets with parchment paper. This ensures your delicate candy cane cookies bake evenly and come off the pan cleanly without sticking or breaking.
Step 3: Cream Together Sugar and Butter
In a large bowl, cream the softened butter with sugar until the mixture is light and fluffy. This step is essential for getting that tender, melt-in-your-mouth texture. Next, add the egg, peppermint extract, and vanilla extract, blending everything until completely combined. Finish by mixing in the milk and vinegar blend for a smooth, cohesive batter.
Step 4: Combine Dry Ingredients
In a separate medium bowl, whisk together the flour, baking powder, and salt. This ensures your leavening agents and seasoning are evenly distributed throughout the dough, preventing any clumps or uneven rising.
Step 5: Bring Wet and Dry Ingredients Together
Gradually add your dry mixture to the wet ingredients, stirring until a soft dough forms. The dough should be manageable but not overly sticky—perfect for shaping.
Step 6: Divide and Color Your Dough
Split the dough into two equal parts. Add the red gel food coloring to one half and knead until the color is fully mixed in, creating that bright, festive red dough. Leave the other half plain to maintain the classic white dough for your candy cane design.
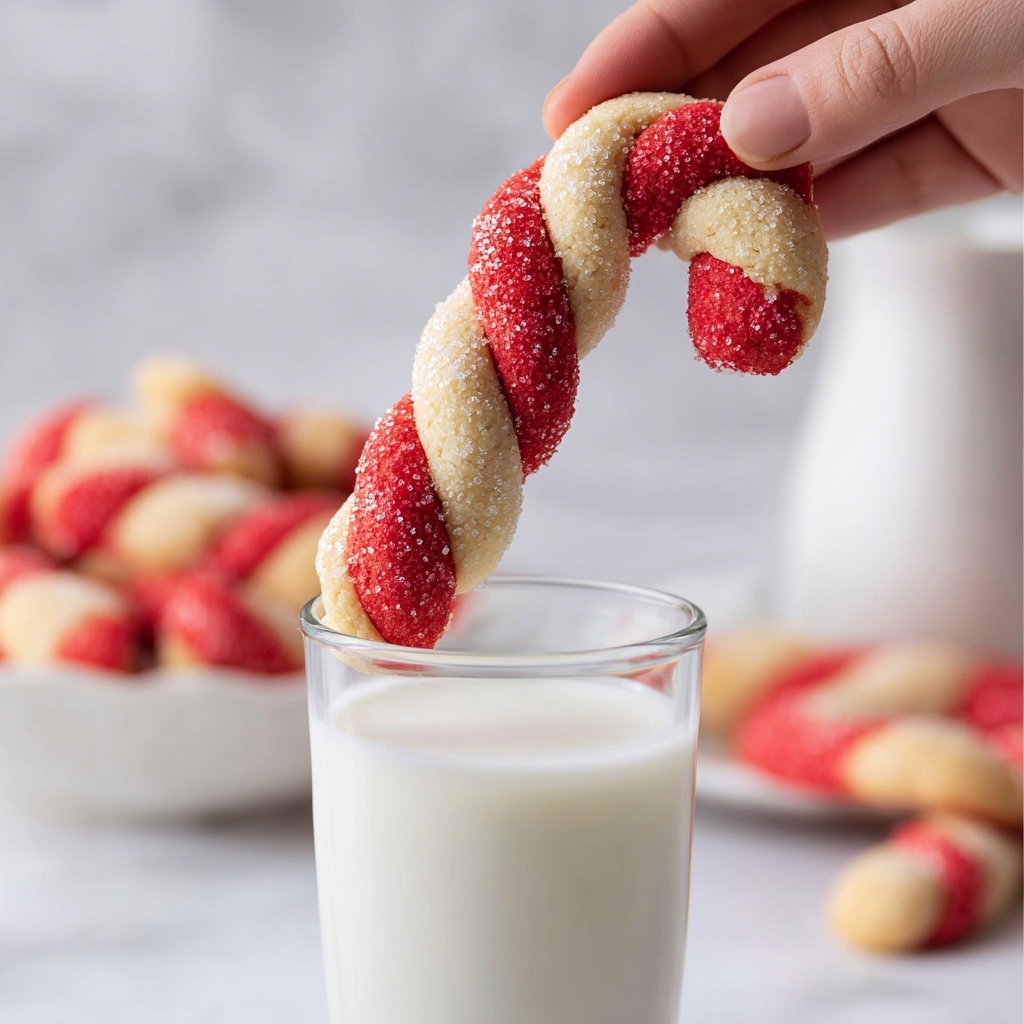
Step 7: Shape Your Candy Canes
Take one tablespoon from each colored dough and roll them into 5-inch ropes. Twist them together gently, then pinch the ends to secure and bend into the familiar candy cane shape. This is where the magic happens, transforming simple dough into a holiday icon. Place these shaped cookies on your prepared baking sheets, spacing them slightly apart.
Step 8: Add Sparkle with Sugar
Lightly brush the candy canes with 1 tablespoon of milk, then sprinkle white sanding sugar over the top. This final touch adds a delightful shimmer and a subtle crunchy texture once baked.
Step 9: Bake to Perfection
Bake your cookie canes for 10 to 11 minutes, or until the bottoms start to take on a light golden color. After removing them from the oven, let the cookies cool on the baking sheets for 5 minutes to firm up before transferring to a wire rack to cool completely. This helps them hold their shape beautifully without breaking.
How to Serve Candy Cane Cookies Recipe
Garnishes
For an extra festive presentation, consider dusting your candy cane cookies with powdered sugar or drizzling a little melted white chocolate over them in thin stripes. Adding crushed peppermint candies on top before baking also offers a textured look and extra burst of minty flavor.
Side Dishes
These cookies pair perfectly with a warm cup of hot cocoa or a peppermint mocha. The cool peppermint flavor in the cookies complements the rich, creamy chocolate drinks, making it a cozy favorite during chilly winter evenings.
Creative Ways to Present
Wrap your candy cane cookies in clear cellophane bags tied with red and white ribbons for beautiful holiday gifts. Alternatively, arrange them artfully on a festive platter alongside other holiday treats like gingerbread or snowball cookies. Their iconic shape also makes them ideal for decorating cookie platters or setting at each guest’s place at your holiday table.
Make Ahead and Storage
Storing Leftovers
Keep leftover candy cane cookies in an airtight container at room temperature for up to one week. Be sure to layer them between sheets of parchment paper to prevent sticking and maintain their delicate shape and crunch.
Freezing
If you want to prepare these cookies ahead of time, they freeze wonderfully. Place baked and completely cooled cookies in a freezer-safe container with parchment paper between layers. They can be frozen for up to three months. When ready to enjoy, simply thaw them at room temperature.
Reheating
To bring a touch of fresh-baked warmth back to your cookies, pop them in a preheated oven at 300°F for about 5 minutes. This gently revives their texture and flavor without drying them out. Avoid microwaving, which can make them chewy.
FAQs
Can I use regular milk instead of the milk and vinegar mixture?
Yes, you can use regular milk, but the milk and vinegar mixture acts as a buttermilk substitute, helping tenderize the dough for softer cookies. Using plain milk alone might yield slightly different results.
Is the peppermint extract necessary? Can I substitute it?
Peppermint extract gives these cookies their signature candy cane flavor, so it’s essential. You could substitute with spearmint extract for a milder minty taste, but avoid skipping it altogether if you want that classic holiday vibe.
Can I make these cookies ahead of time and freeze the dough?
Absolutely! You can portion and freeze the dough before shaping. When ready to bake, thaw the dough in the fridge overnight and then proceed with twisting and shaping. This makes holiday baking less stressful.
What if I don’t have red gel food coloring?
Red gel food coloring is preferred because it provides vibrant color without thinning the dough. If unavailable, you can use liquid food coloring, but use a bit less to avoid altering the dough consistency.
How can I make the candy cane shape look neater?
Rolling your dough ropes evenly and gently stretching them before twisting helps create smoother lines. Pinching the ends firmly and bending carefully prevents the shape from unraveling during baking.
Final Thoughts
This Candy Cane Cookies Recipe is a joyous way to bring the holiday spirit right into your kitchen. It’s fun, festive, and delicious—a perfect project to share with family or friends around the holidays. So grab your ingredients, embrace the festive twist, and make these classic treats that promise to brighten your celebrations. Happy baking!