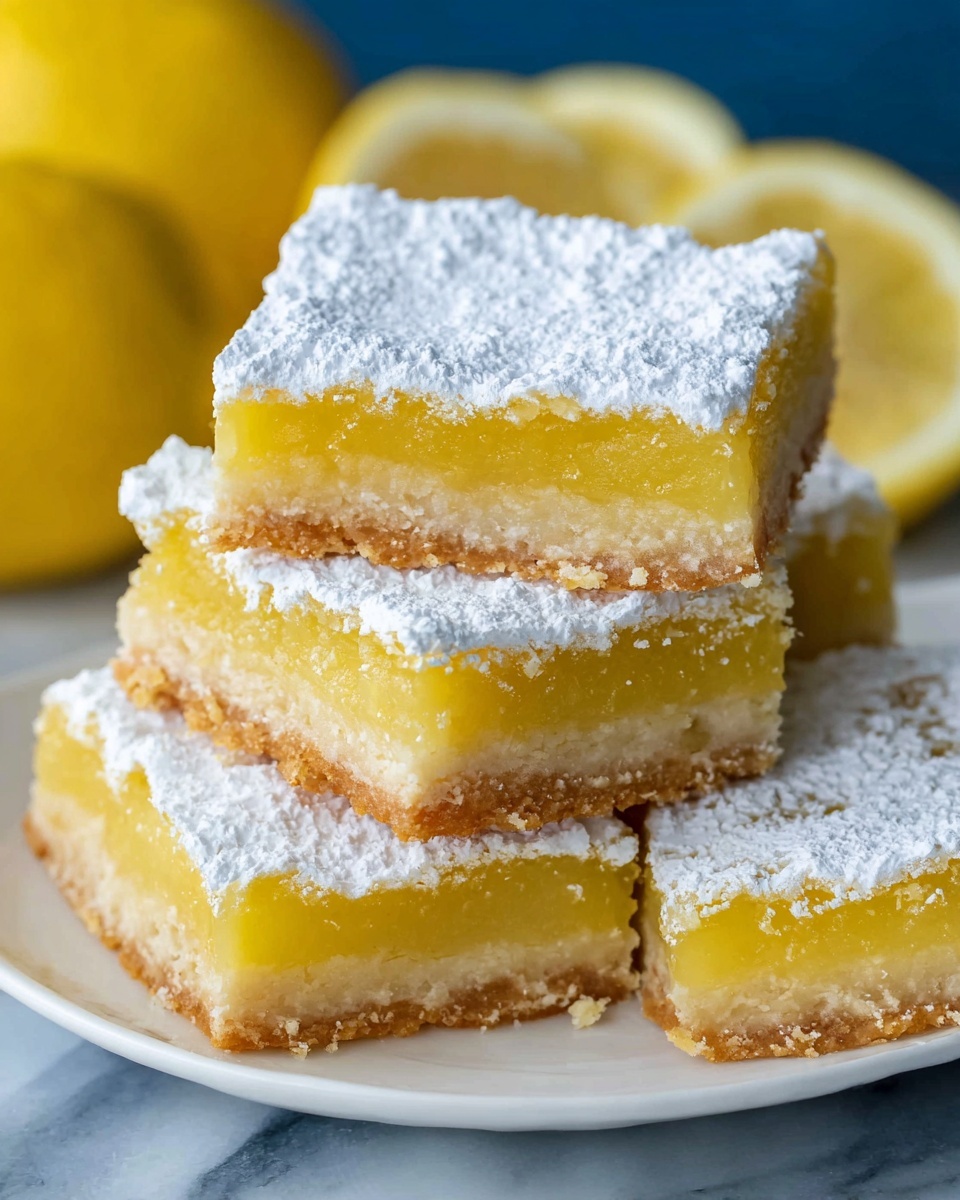
If you’re craving a bright, tangy treat with a perfect balance of sweet and citrus, you’re going to love this Classic Lemon Bars Recipe. It’s a timeless dessert that combines a buttery, tender crust with a luscious, zesty lemon filling, delivering pure sunshine in every bite. Whether you’re making these for a family gathering, a potluck, or simply because you deserve a sweet pick-me-up, this recipe is reliably delicious and wonderfully refreshing. The best part? It’s surprisingly simple to make, using everyday ingredients that come together to create a fantastic crowd-pleaser.
Ingredients You’ll Need
These ingredients are straightforward but essential, each playing a unique role in crafting the perfect texture and flavor for your lemon bars. From the creamy butter that forms the crumbly crust to the fresh lemon juice that adds that iconic zing, every item contributes to a harmonious and irresistible dessert.
- Unsalted butter (1/2 lb or 16 Tbsp, room temperature): Provides a rich, tender base for the crust with a delicate buttery flavor.
- Granulated sugar (1/2 cup + 3 cups): Sweetens both the crust and the filling, balancing the lemon’s tartness perfectly.
- Vanilla extract (1 1/2 tsp): Adds a subtle warmth and depth that complements the lemon’s brightness.
- All-purpose flour (2 cups + 1 cup): The main structure for both crust and filling, creating the right texture.
- Salt (1/4 tsp): Enhances all the flavors, especially boosting the sweetness and tartness.
- Large eggs (7, room temperature): Give the filling its silky, custard-like texture and help it set just right.
- Lemon zest (2 Tbsp from 4 to 5 lemons): Packs concentrated lemon oils for an intense citrus aroma and flavor.
- Freshly squeezed lemon juice (1 cup from 5 large or 8 medium lemons): The star ingredient that brings the signature tangy kick to these bars.
- Confectioners sugar (for dusting): Adds a sweet, snowy finish and a lovely visual touch.
How to Make Classic Lemon Bars Recipe
Step 1: Prep Your Pan and Oven
Start by preheating your oven to 350˚F. Line a 13×9 inch baking pan with parchment paper so it extends up the sides; this makes it super easy to lift your bars out after baking without any mess. You’ll be glad you took the time to prep your workspace — it makes the whole process smoother!
Step 2: Create the Buttery Crust
Now for the foundation of your lemon bars: the crust. Using a stand mixer with a paddle attachment, cream together the softened butter and 1/2 cup of granulated sugar until light and fluffy. This step is key to a tender texture. Add vanilla extract, 2 cups of flour, and salt, mixing just until crumbly and no dry flour patches remain. Press this dough evenly across the bottom of your prepared pan, using your fingertips to gently flatten it into a smooth layer. Bake it for 18-20 minutes until the edges are lightly golden, then set it aside to cool just a bit. The aroma of warm butter and vanilla will have you excited for the next step!
Step 3: Whisk Together the Lemon Filling
While the crust is baking, zest and squeeze your fresh lemons for the filling. In a large bowl, whisk together the eggs and 3 cups granulated sugar until the mixture is well combined and smooth. Stir in the fresh lemon juice and lemon zest, then add 1 cup of all-purpose flour. Whisk everything thoroughly until you have a silky, lump-free blend. This filling is bright and packed with flavor, and the eggs will soon transform it into a luscious custard that sets beautifully on your crust.
Step 4: Bake Your Bars to Perfection
Pour the luscious lemon filling over your warm crust, spreading it out evenly to cover every corner. Slide your pan into the oven at 350˚F and bake for 30-35 minutes. Keep an eye on it — you want the filling to be set but not wobbly; it’ll firm up more as it cools. Removing the bars from the oven at just the right moment is crucial to avoid a dry texture and keep that creamy consistency everyone loves.
Step 5: Cool, Chill, and Cut
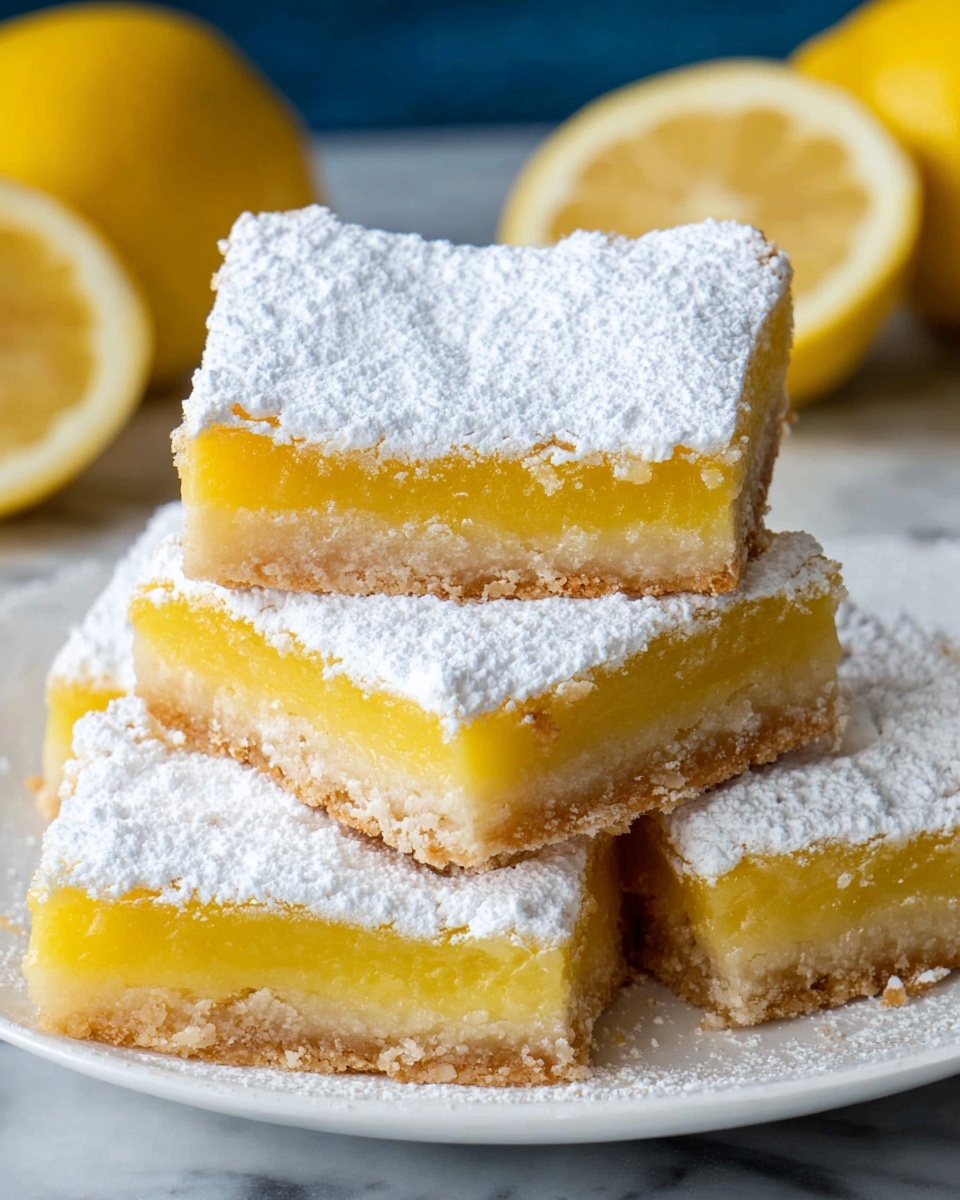
Once baked, cool the lemon bars in the pan at room temperature for at least an hour, then refrigerate for a minimum of two hours to fully set. When you’re ready to serve, gently lift the bars out by the parchment paper edges, transfer to a cutting board, and slice them into 18 to 20 squares. Finish by dusting the tops generously with confectioners sugar for a classic, powdered finish that looks as good as it tastes.
How to Serve Classic Lemon Bars Recipe

Garnishes
Sprinkling confectioners sugar is the traditional way to dress up these lemon bars, adding a touch of sweetness and an elegant look. For an extra special touch, add a few thin lemon slices or a bit of fresh mint on top before serving. The contrast in colors makes your bars instantly more appealing and adds a little herbal freshness.
Side Dishes
These lemon bars are delightful on their own, but if you’re serving them at a gathering, pair them with light accompaniments like fresh berries or a dollop of freshly whipped cream. A mild herbal tea or sparkling water with a hint of lemon makes a refreshing beverage to complement the citrusy flavor without overpowering it.
Creative Ways to Present
Elevate your presentation by layering lemon bars in a glass trifle bowl between whipped cream and fresh berries for a stunning dessert display. Another fun idea is to serve individual bars on pretty plates with a drizzle of raspberry sauce or a sprinkle of toasted coconut for added texture and flavor excitement.
Make Ahead and Storage
Storing Leftovers
Classic lemon bars keep beautifully in an airtight container in the fridge for up to 5 days. Make sure they’re cooled completely before covering to preserve their crumbly crust and silky filling. This makes them perfect for prepping ahead of time for parties or to treat yourself throughout the week.
Freezing
You can freeze lemon bars if you want to enjoy them later. Cut the bars into squares and separate layers with parchment paper before placing them in a freezer-safe container or zip-top bag. They freeze well for up to 2 months. Thaw overnight in the refrigerator before serving for the best texture.
Reheating
While these lemon bars are typically enjoyed chilled, if you prefer a slightly warmed version, let them come to room temperature or briefly warm a few seconds in the microwave. Just be careful not to overheat, or you risk changing the lovely custard texture.
FAQs
Can I use bottled lemon juice instead of fresh?
For the brightest, freshest flavor, fresh lemon juice is best in this Classic Lemon Bars Recipe. Bottled lemon juice may work in a pinch but can alter the taste and acidity.
How do I make sure the crust stays crumbly and doesn’t get soggy?
Baking the crust separately and allowing it to cool slightly before adding the filling helps create a sturdy barrier that prevents sogginess. Also, avoid overbaking the filling to keep the texture just right.
Why do the bars need to chill after baking?
Chilling lets the lemon filling fully set and makes it easier to cut clean squares without cracking or spilling. It also enhances the flavors as they meld together.
Can I halve the recipe?
Absolutely! Just use a smaller pan (around 9×9 inches) and adjust your baking times accordingly, keeping a close eye to avoid overbaking.
What’s the best way to get clean cuts on lemon bars?
Use a sharp knife and wipe it clean between cuts. Chilling the bars well beforehand also prevents sticking and helps achieve neat, beautiful squares.
Final Thoughts
This Classic Lemon Bars Recipe has earned a special spot in my heart, and I’m confident it will in yours too. The combination of a buttery crust and tangy lemon filling is simply irresistible and perfect for any occasion. Give it a try, and watch these bars disappear before you know it — your friends and family will be asking for the recipe in no time!