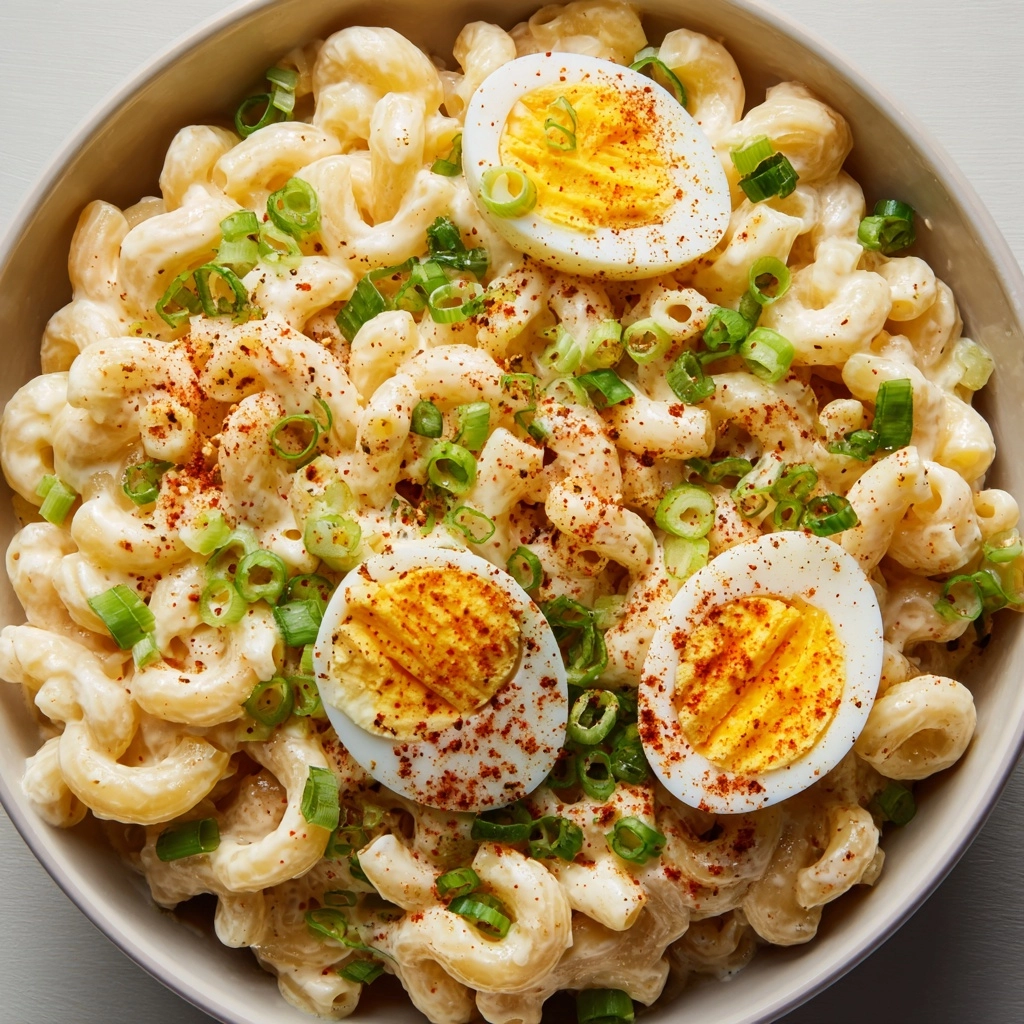
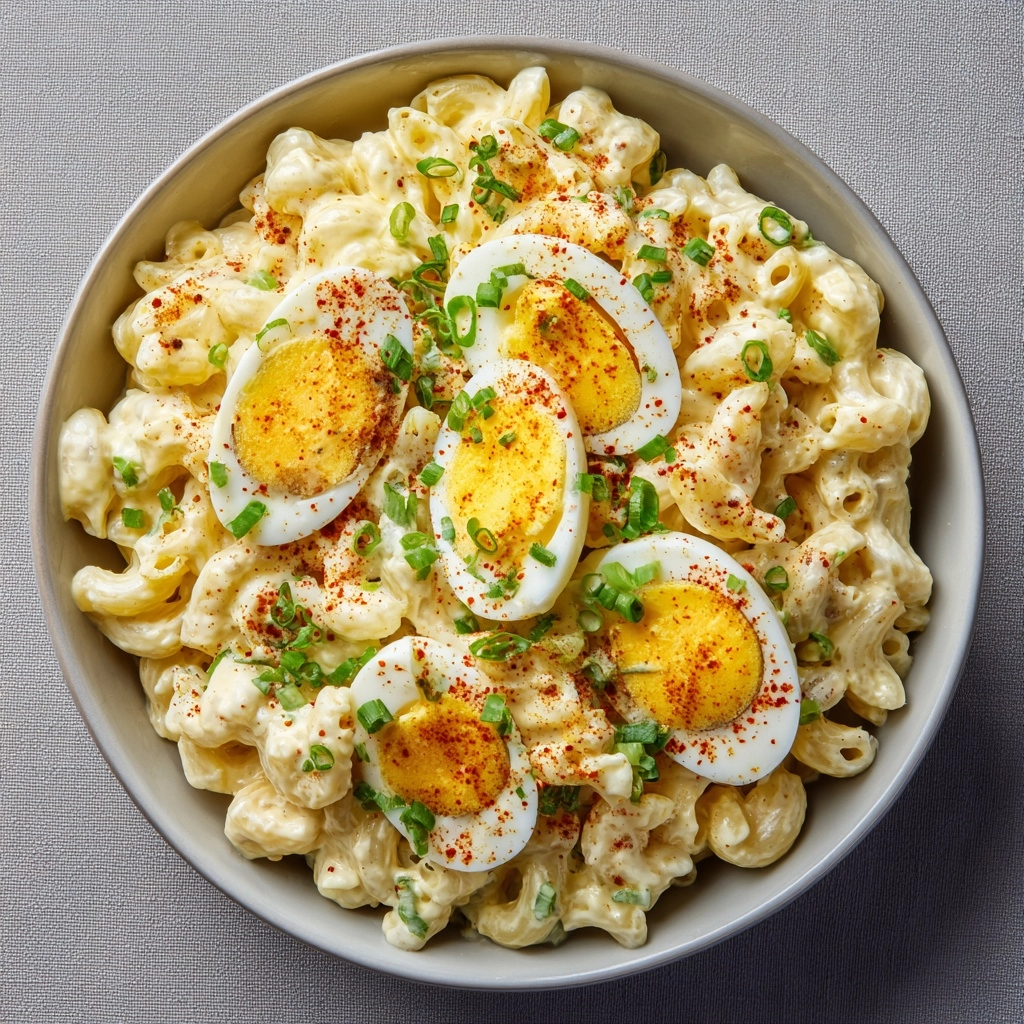
If you’re searching for a crowd-pleaser that blends creamy comfort with a tangy twist, Deviled Egg Macaroni Salad is your new go-to! This dish takes all the nostalgic charm of a classic pasta salad and amplifies it with deviled egg flavors, creating a delightfully rich, flavorful side perfect for barbecues, potlucks, or weekday lunches. You’ll love how the velvety egg yolk dressing hugs every bite of macaroni, crisp celery, and sharp red onion—plus that irresistible pop of paprika on top. Get ready; once you share this Deviled Egg Macaroni Salad, everyone will be asking for the recipe!
Ingredients You’ll Need
This is the kind of ingredient list that delivers tons of flavor from just a handful of kitchen staples! Each component adds something special, whether that’s a punch of creaminess, a crunch of freshness, or a burst of color to make your Deviled Egg Macaroni Salad shine.
- Elbow macaroni (2 cups, uncooked): The classic shape holds onto every bit of creamy dressing and mixes perfectly with all your crunchy add-ins.
- Large eggs (6): Hard-boiled eggs are the star here, bringing that signature deviled flavor and velvety texture.
- Mayonnaise (1/2 cup): Helps form the decadent base for your dressing; feel free to swap with Greek yogurt for a lighter version!
- Yellow mustard (1 tablespoon): Adds that traditional deviled egg tang and sunny color.
- Dijon mustard (1 tablespoon): Gives the dressing a gentle kick and extra depth.
- Apple cider vinegar (1 tablespoon): Brightens the whole salad with a bit of acidity that perfectly balances the creaminess.
- Garlic powder (1/2 teaspoon): Infuses savory warmth right into the dressing.
- Onion powder (1/2 teaspoon): Layers in subtle, sweet onion notes without overwhelming the salad.
- Paprika (1/4 teaspoon, plus more for garnish): Smoky-sweet and colorful, it’s sprinkled in the mix and over the top for that classic deviled egg look.
- Sweet pickle relish (1/4 cup): Adds irresistible pops of sweetness and crunch throughout.
- Red onion, finely chopped (1/4 cup): Brings a crisp bite and a gentle zing that perks up every forkful.
- Celery, finely chopped (1/4 cup): Gives addictive crunch and refreshing flavor.
- Salt and black pepper (to taste): Essential for balancing and amplifying all the other flavors.
- Chopped chives or parsley for garnish (optional): A sprinkle of fresh green right before serving makes your Deviled Egg Macaroni Salad look as good as it tastes.
How to Make Deviled Egg Macaroni Salad
Step 1: Cook the Macaroni
Bring a large pot of salted water to a boil and add your elbow macaroni. Cook the pasta until just al dente, following the package instructions—usually around 7-8 minutes. Drain the macaroni and immediately rinse it under cold water. This helps stop the cooking process and ensures your noodles stay perfectly springy and never mushy!
Step 2: Hard-Boil the Eggs
While your pasta is cooking, set your eggs in a saucepan and cover them completely with water. Bring the water to a rolling boil, then turn off the heat, cover the pot, and let the eggs sit for 10 to 12 minutes. This method yields easy-to-peel eggs with beautifully set yolks—ideal for any Deviled Egg Macaroni Salad!
Step 3: Prep the Eggs
Once the eggs have finished cooking, drain them and run them under cold water until they’re cool enough to handle. Peel the eggs, then carefully separate the yolks from the whites. Chop the egg whites into bite-sized pieces and set them aside for later.
Step 4: Make the Deviled Egg Dressing
Place the cooked yolks into a large mixing bowl. Add the mayonnaise, yellow mustard, Dijon mustard, apple cider vinegar, garlic powder, onion powder, paprika, along with a good pinch each of salt and black pepper. Mash everything together with a fork until you get a luxuriously smooth and creamy mixture—your salad dressing is now packed with all those iconic deviled egg flavors!
Step 5: Combine Everything
Add the cooked macaroni to your bowl of dressing, followed by the chopped egg whites, sweet pickle relish, red onion, and celery. Gently fold everything together with a spatula, making sure every piece is coated in that irresistible, tangy egg yolk dressing. Taste and adjust for salt, pepper, or an extra squeeze of mustard if you want more zing!
Step 6: Chill the Salad
Scoop your completed Deviled Egg Macaroni Salad into your favorite serving bowl, then cover and refrigerate for at least an hour. Chilling lets all the flavors get to know each other, and ensures the salad is extra refreshing when served.
How to Serve Deviled Egg Macaroni Salad

Garnishes
Just before serving, sprinkle a little extra paprika over the top for that signature deviled egg finish. If you want, a handful of freshly chopped chives or parsley adds a beautiful green flourish and a pop of herbal brightness that makes each serving look extra inviting.
Side Dishes
Deviled Egg Macaroni Salad is incredibly versatile and plays well with just about any main dish. Serve it alongside grilled chicken, smoky ribs, juicy burgers, or even simple veggie skewers. The creamy, zippy flavors are the perfect match for all your classic cookout favorites or even a simple weeknight sandwich!
Creative Ways to Present
If you’re looking to elevate your party spread, try serving the salad in individual cups or pretty jars for easy, portable portions. For a potluck, a big glass trifle bowl shows off all the pretty colors and layers. You can also heap spoonfuls onto lettuce leaves or pair the salad with crisp crackers for an unexpected twist.
Make Ahead and Storage
Storing Leftovers
Leftover Deviled Egg Macaroni Salad keeps beautifully in the refrigerator! Simply transfer it to an airtight container and it will stay fresh for up to three days. If the salad seems a little dry after chilling, just stir in a spoonful of extra mayo or a splash of milk to loosen it up before serving.
Freezing
Because of the eggs and mayonnaise in this recipe, freezing is not recommended. The texture can change quite a bit once thawed, resulting in a watery or grainy salad. For best taste, enjoy your Deviled Egg Macaroni Salad freshly made or from the fridge within the first few days.
Reheating
This is a salad that’s meant to be served cold, so there’s no reheating required! In fact, it’s best enjoyed straight from the fridge. If you’re packing it for lunch or a picnic, keep it chilled in a cooler or insulated bag until ready to eat.
FAQs
Can I make Deviled Egg Macaroni Salad the day before?
Absolutely! In fact, making it in advance allows the flavors to meld together even more. Just cover it tightly and refrigerate until you’re ready to serve—it’s perfect for prepping ahead for parties or picnics.
What can I use instead of mayonnaise?
Greek yogurt is a fantastic substitute if you want to lighten things up. It still gives the salad a creamy consistency, with a slight tang that complements the deviled egg flavors beautifully.
How do I make it spicier?
For a little heat, add a dash of your favorite hot sauce into the dressing or stir in some finely chopped pickled jalapeños. You can even dust a little cayenne on top with the paprika for an extra kick.
Can I add extra veggies?
Definitely! Try mixing in chopped bell peppers, shredded carrots, or even peas for extra color and crunch. Just be sure to keep the overall balance so your Deviled Egg Macaroni Salad stays creamy and not too crowded with add-ins.
Is this salad gluten-free?
The salad itself isn’t gluten-free as written, but you can easily make it gluten-free by swapping the regular elbow macaroni with your favorite gluten-free pasta. Just make sure to rinse your gluten-free noodles well to prevent them from sticking together.
Final Thoughts
There’s something so comforting and fun about a creamy, flavorful bowl of Deviled Egg Macaroni Salad. Every bite is a loving mix of classic picnic tradition and just a bit of devilish flair! I hope this becomes one of those recipes your family and friends request again and again—give it a try, and get ready for lots of happy smiles around the table!