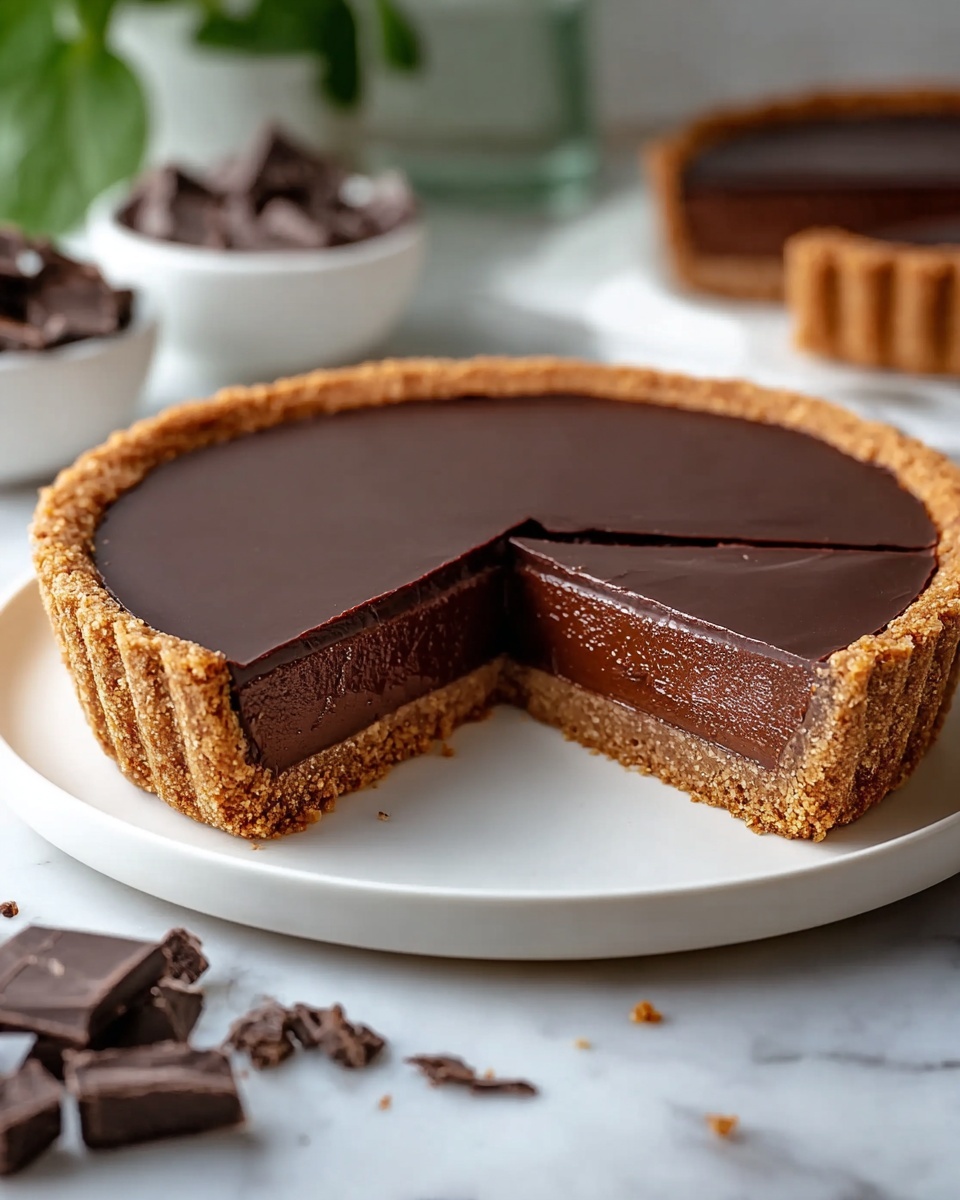
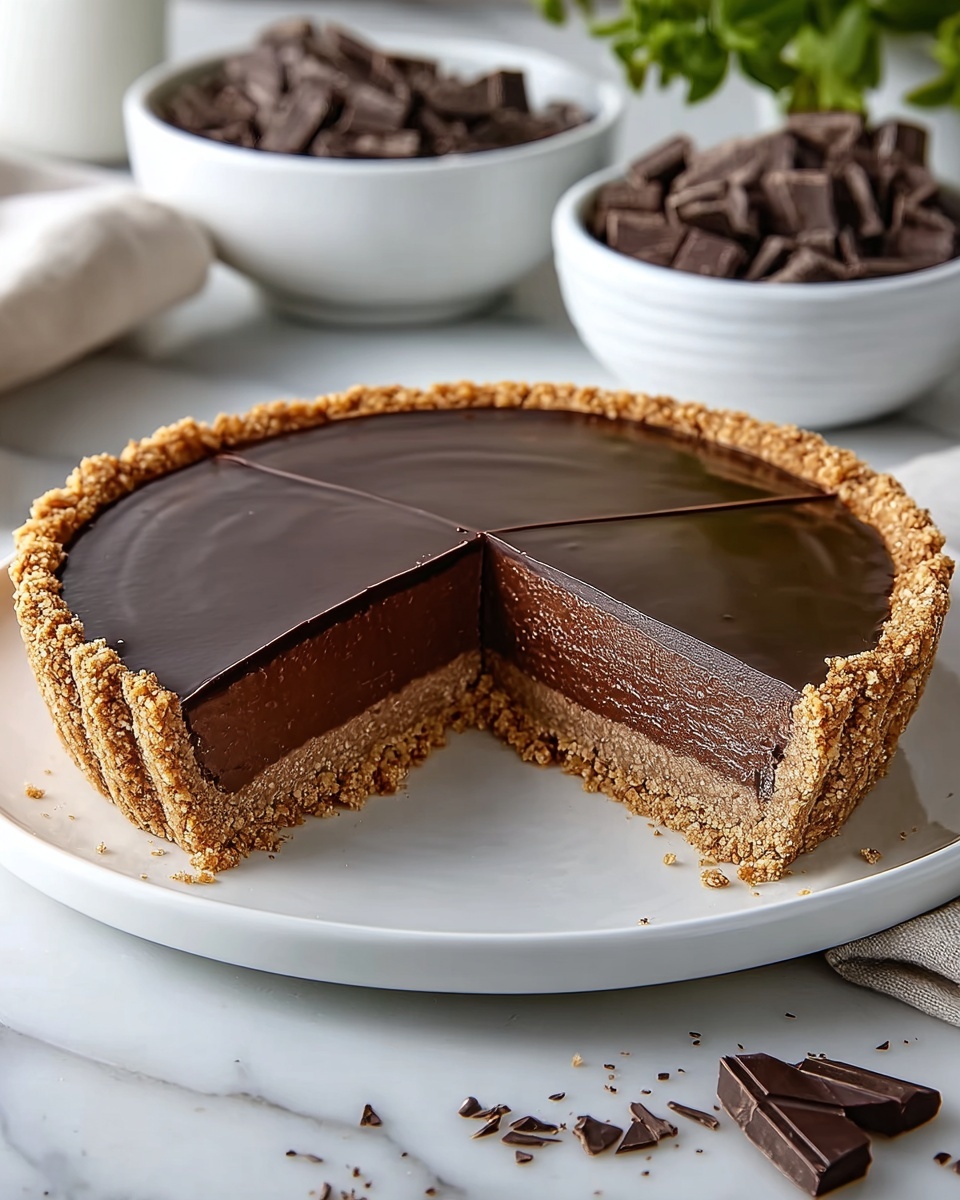
If you have a sweet tooth and a craving for something rich yet wonderfully simple, this Easy Homemade Chocolate Tart Slice Recipe is about to become your new best friend in the kitchen. Imagine a luscious dark chocolate filling nestled in a deeply chocolatey, tender crust that melts in your mouth with every bite. It’s a decadent treat that feels fancy but comes together with surprisingly straightforward ingredients and easy steps. Whether you’re planning a cozy night in, a special celebration, or simply a moment to indulge, this recipe delivers that perfect balance of elegance and comfort in every slice.
Ingredients You’ll Need
The beauty of this recipe lies in its simplicity and the thoughtful combination of ingredients that build layers of flavor and texture. Every component, from the all-purpose flour to the dark chocolate, plays a crucial role in creating that unmistakable chocolate tart experience that’s rich, smooth, and deeply satisfying.
- 1.5 cups All-Purpose Flour: Forms the base of the tart crust with a tender and sturdy texture perfect for holding the filling.
- 0.5 cups Unsweetened Cocoa Powder: Gives the crust a robust chocolate flavor that complements the filling beautifully.
- 0.5 cups Granulated Sugar: Adds just enough sweetness to the crust while balancing the cocoa’s bitterness.
- 1 pinch Salt: Essential to lift and enhance all the chocolate flavors.
- 0.5 cups Unsalted Butter: Provides richness and moisture, making the crust perfectly tender.
- 1 large Egg: Acts as a binder, helping the crust come together with ease.
- 8 ounces Dark Chocolate: The star of the filling, brings intense chocolate depth and silky texture.
- 1 cup Heavy Cream: Creates a luscious and smooth filling that sets beautifully.
- 1 tablespoon Powdered Sugar: Optional sweetness for the filling to suit your taste.
- 1 teaspoon Vanilla Extract: Adds a subtle warmth that enhances the chocolate’s complexity.
How to Make Easy Homemade Chocolate Tart Slice Recipe
Step 1: Prepare Your Oven and Dry Ingredients
Start by preheating your oven to 350°F (175°C). This step ensures your oven is ready to perfectly bake the crust while you mix everything else. In a bowl, whisk together the flour, cocoa powder, sugar, and a pinch of salt until they are well combined and uniform in color. This dry mix forms the foundation of your chocolate crust, evenly distributing flavor and texture.
Step 2: Incorporate Butter into the Dry Mix
Add the softened unsalted butter to your dry ingredients. Use your fingers, a pastry cutter, or a fork to work the butter into the mixture until it resembles coarse crumbs. This crumbly texture is key to creating a crust that bakes up crisp but tender, giving you a perfect base for the smooth filling.
Step 3: Add Egg and Form the Dough
Beat your egg lightly and then stir it into the buttery crumb mixture. The egg helps bind the dough together so it holds its shape when baked. Mix gently until a dough forms—try not to overwork it, as you want the crust to stay tender rather than tough.
Step 4: Shape and Bake the Tart Crust
Press the dough evenly into your tart pan, making sure to spread it up the sides to form a nice shell. Pierce the bottom a few times with a fork to prevent bubbles during baking. Place it in the oven and bake for 15 to 20 minutes until the crust is set and just firm to the touch. Let this cool completely before moving on to the filling.
Step 5: Create the Silky Chocolate Filling
Heat the heavy cream gently in a saucepan until it just starts to simmer. Pour the hot cream over the chopped dark chocolate and let it sit for about a minute—this softens the chocolate perfectly. Then whisk until the mixture is glossy and completely smooth, stirring in powdered sugar and vanilla extract if you’d like a touch more sweetness and complexity.
Step 6: Assemble and Chill
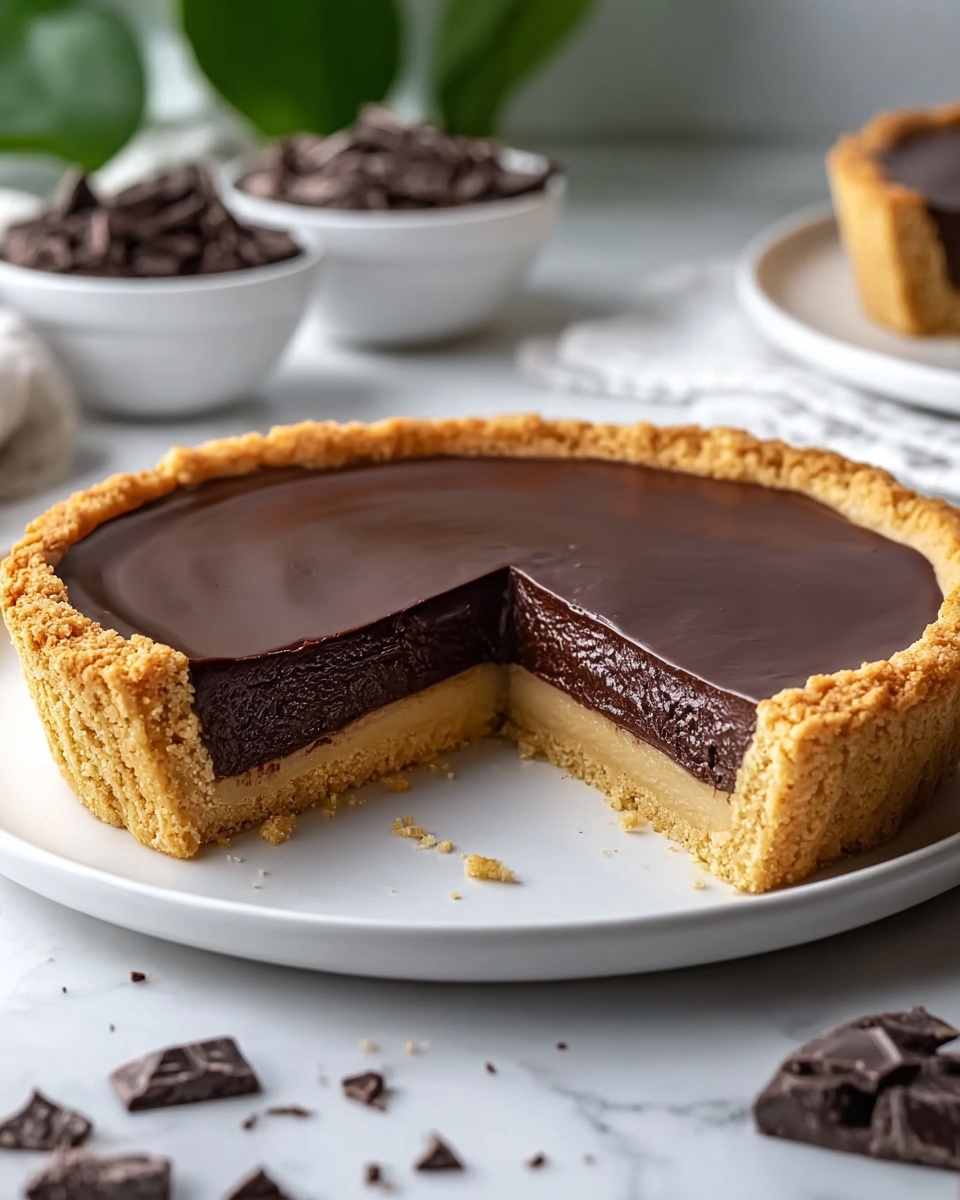
Pour the rich chocolate filling over the cooled crust, smoothing the top with a spatula. Place the tart in the refrigerator for at least two hours to let the filling set into its creamy, sliceable form. Once firm, cut into slices and get ready to indulge in your homemade masterpiece.
How to Serve Easy Homemade Chocolate Tart Slice Recipe
Garnishes
This chocolate tart slice is delicious on its own, but a few simple garnishes can make it even more special. Fresh berries like raspberries or strawberries add a bright, tangy contrast, while a dollop of whipped cream or a sprinkle of toasted nuts provides texture and richness that complement the chocolate’s smoothness.
Side Dishes
Serving your chocolate tart alongside a cup of strong coffee or a robust black tea perfectly balances the tart’s sweetness. For a light finish, consider a fresh fruit salad or a scoop of vanilla ice cream to add temperature contrast and refreshing flavors.
Creative Ways to Present
For a truly memorable presentation, arrange tart slices on a rustic wooden board garnished with edible flowers or a dusting of cocoa powder on the plate edges. Layer slices with alternating berries or drizzle with caramel or raspberry sauce to brighten up every bite and wow your guests visually and palate-wise.
Make Ahead and Storage
Storing Leftovers
Your Easy Homemade Chocolate Tart Slice Recipe keeps beautifully in the refrigerator for up to four days. Store leftovers covered tightly with plastic wrap or in an airtight container to preserve freshness and prevent the tart from absorbing any fridge odors.
Freezing
If you want to make this tart ahead of time, you can freeze it after it has fully set. Wrap each slice in plastic wrap and then place them into a freezer-safe bag or container. They’ll keep well for up to one month, making this a perfect make-ahead dessert option.
Reheating
Chocolate tart is best enjoyed chilled or at room temperature, so reheating isn’t usually necessary. However, if you prefer a warmer bite, let slices sit at room temperature for about 15 minutes or warm gently in a low oven for a few minutes, but careful not to melt the filling completely.
FAQs
Can I use milk chocolate instead of dark chocolate?
Absolutely! Milk chocolate will make your tart filling sweeter and creamier, so adjust the powdered sugar accordingly or omit it for perfect balance.
Do I need a special tart pan?
While a tart pan with a removable bottom makes serving easier, you can use any oven-safe dish or pie pan you have on hand. Just be careful lifting the tart out when it’s time to serve.
Can I make the crust ahead of time?
Yes, you can bake the crust a day in advance and keep it wrapped tightly. Adding the filling and chilling right before serving keeps the crust from getting soggy.
Is it possible to make this recipe gluten-free?
To make a gluten-free tart crust, substitute the all-purpose flour with a gluten-free flour blend that’s designed for baking. Make sure it contains xanthan gum or a similar binder for best results.
What if I don’t have heavy cream? Can I use something else?
Heavy cream is key for that rich, silky texture. However, you can substitute with full-fat coconut milk or a mixture of milk and butter, but it may slightly alter the flavor and consistency of the filling.
Final Thoughts
This Easy Homemade Chocolate Tart Slice Recipe is a delightful way to bring a little luxury into your daily routine with minimal fuss and maximum flavor. Its rich chocolate goodness and simple preparation make it one to keep coming back to again and again. Gather your ingredients, roll up your sleeves, and enjoy baking this exquisite dessert that’s sure to impress your family and friends while filling your kitchen with the most irresistible chocolate aroma.