If you’ve ever enjoyed a delicious pie or cheesecake and wondered what gives it that perfect crunchy, buttery foundation, let me introduce you to the magic of this Homemade Graham Cracker Crust Recipe. This recipe is my go-to for creating that ideal balance of sweet, crispy, and rich texture that elevates any dessert. It’s a simple yet transformative base that you can whip up in just a few minutes, bringing warmth and comfort to your baking adventures with every bite.
Ingredients You’ll Need
The beauty of this Homemade Graham Cracker Crust Recipe lies in its simplicity. Each ingredient plays a critical role: the graham cracker crumbs bring that signature honeyed crunch, the sugars add just the right hint of sweetness and caramel notes, the salt amps up all the flavors, and the melted butter binds everything into that perfect crumbly texture.
- Graham cracker crumbs: The foundation of the crust, use about 1¾ cups tightly packed for the best texture.
- Granulated sugar: Adds subtle sweetness and a bit of crispness to the crust.
- Brown sugar: Gives a richer, molasses-like depth to the flavor and helps in caramelization.
- Kosher salt: Enhances all the flavors, balancing the sweetness perfectly.
- Unsalted butter: Melted and poured in to bind the crumbs into a cohesive crust that’s buttery and tender.
How to Make Homemade Graham Cracker Crust Recipe
Step 1: Mix the Dry Ingredients
Start by combining your graham cracker crumbs, both the granulated and brown sugars, and the kosher salt in a medium bowl. Mixing these dry components first ensures every crumb gets an even sprinkle of sweetness and seasoning. This step is simple but sets the stage for a flavorful base that’s more than just crumbs.
Step 2: Incorporate the Butter
Next, drizzle the melted unsalted butter over the crumb mixture. Use a spoon or spatula to stir thoroughly until every crumb is coated with butter. You want the mixture to have the consistency of wet sand – this will help it stick together beautifully when pressed into the pan, creating that signature crumbly yet firm crust.
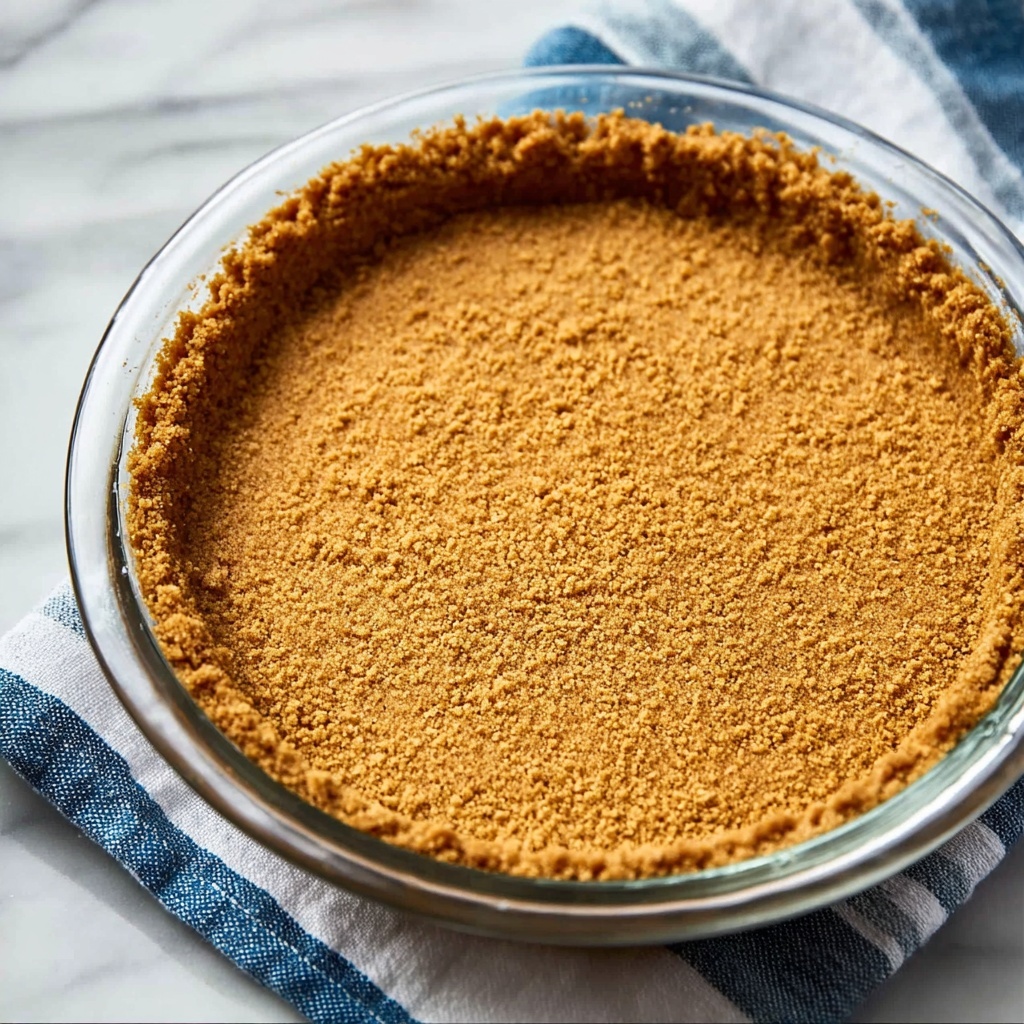
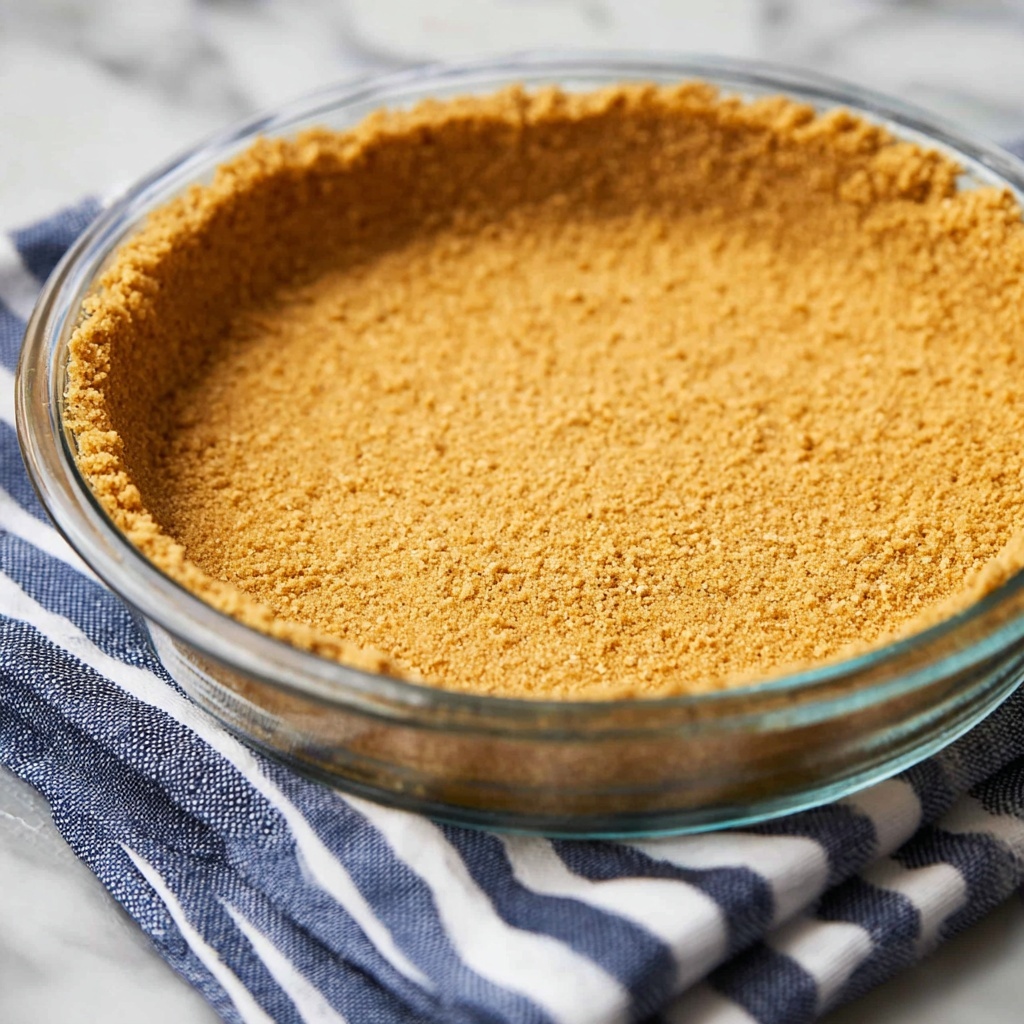
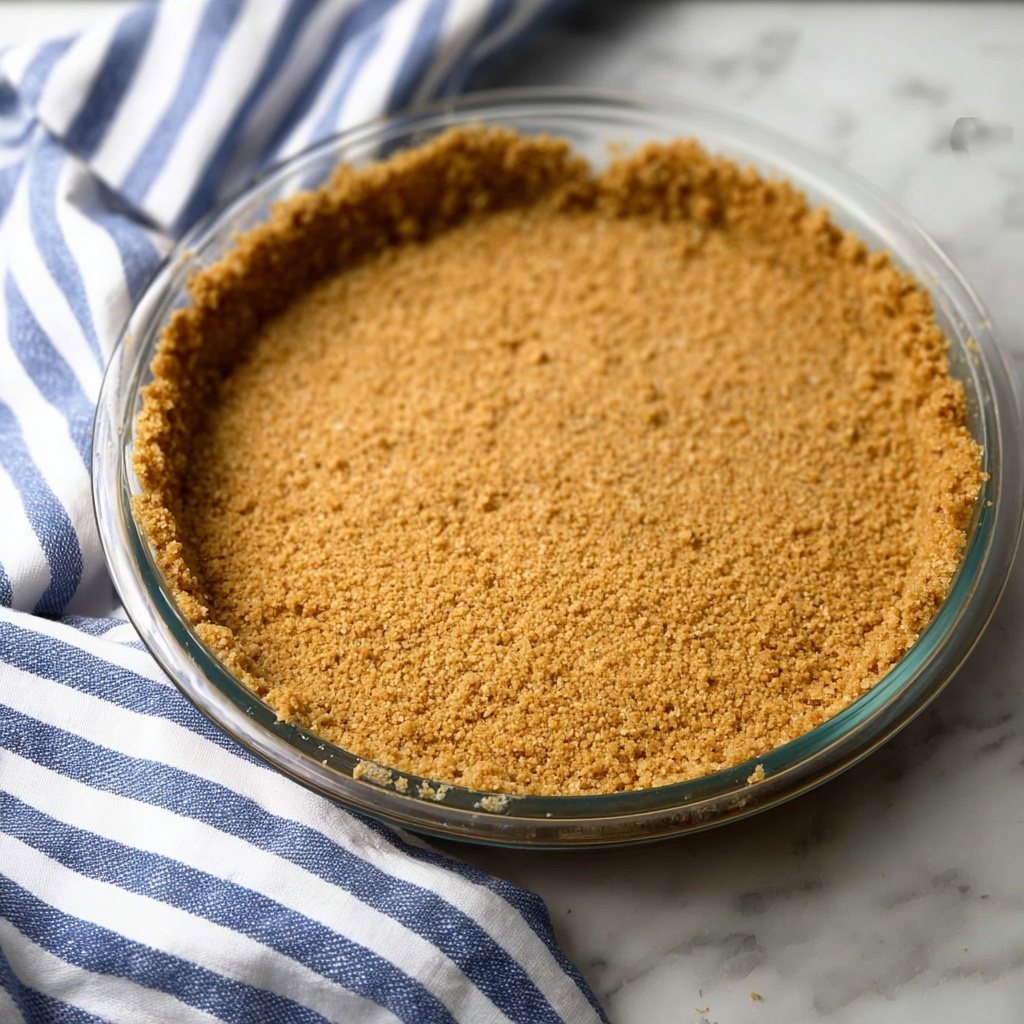
Step 3: Press and Shape Into the Pan
Transfer your buttery crumb mixture to your chosen pie pan or springform pan. Spread it evenly, then press it firmly down with the bottom of a flat measuring cup or glass. Make sure to also press it partially up the sides for that classic pie edge. This step is crucial for giving your crust structure so it holds up well against whatever filling you choose.
How to Serve Homemade Graham Cracker Crust Recipe
Garnishes
Since the crust is subtly sweet and buttery, it pairs beautifully with fresh, vibrant toppings like sliced strawberries, toasted coconut flakes, or a sprinkle of cinnamon. These garnishes add color and extra layers of flavor that make each bite more exciting.
Side Dishes
Serve your dessert with light, refreshing sides such as a scoop of creamy vanilla ice cream or a dollop of freshly whipped cream. These cool, silky accompaniments create a delightful balance against the crispy crust, offering a well-rounded dessert experience.
Creative Ways to Present
Think beyond the classic pie and try making miniature tartlets using this Homemade Graham Cracker Crust Recipe. Or use it as a base for a no-bake cheesecake or layered parfaits in clear glasses to showcase the beautiful crust and filling layers. Presentation can truly transform a simple crust into a show-stopping treat for guests.
Make Ahead and Storage
Storing Leftovers
If you happen to have extra crust mixture or a pre-baked crust, store it in an airtight container at room temperature. It should keep well for up to three days without losing its texture or flavor, ready for your next dessert endeavor.
Freezing
You can freeze a pre-made crust by wrapping it tightly in plastic wrap followed by foil to prevent freezer burn. When wrapped properly, your crust can last up to 3 months in the freezer. Just thaw overnight in the fridge before using.
Reheating
For a crisp crust that’s been stored, preheat your oven to 350°F (175°C) and warm the crust for about 5-7 minutes. This will help regain its flaky, buttery crunch, perfect if you’re topping it with creamy or chilled fillings afterward.
FAQs
Can I use different types of crackers for this crust?
Absolutely! While graham crackers are traditional and provide the best flavor, you can experiment with digestive biscuits or even vanilla wafers for different twists on this homemade crust.
Do I have to bake this crust?
Not necessarily. Depending on your dessert, you can use the crust without baking, especially if it’s for a no-bake cheesecake, but lightly baking it helps set the crust and enhances its flavor and crunch.
How do I prevent the crust from becoming soggy?
To avoid sogginess, ensure you press the crust firmly and bake it briefly when possible. For extra protection, you can brush the crust with melted chocolate or a thin layer of egg white before adding the filling.
Can I make this crust gluten-free?
Yes! Simply swap out traditional graham crackers for gluten-free alternatives, and the rest of the recipe remains the same. The taste and texture will still be delightful.
What desserts pair best with this Homemade Graham Cracker Crust Recipe?
This crust is famously perfect for cheesecakes, key lime pies, chocolate cream pies, and any dessert that benefits from a sweet, crunchy foundation that complements creamy or fruity fillings.
Final Thoughts
Giving this Homemade Graham Cracker Crust Recipe a try will open the door to countless delicious desserts with a rich, buttery base that’s truly unbeatable. Once you master this crust, you’ll find it hard not to reach for it every time you want to wow someone with a homemade treat. Trust me, this is a simple recipe that makes a serious impact, and your taste buds will thank you for it!