If you’ve ever wondered about the magic behind creating those beautiful, sparkling sugar crystals, you’re in for a treat. Today, I’m excited to share with you How to Make Rock Candy Recipe, a fun and rewarding homemade confection that’s as delightful to make as it is to enjoy. With simple ingredients and straightforward steps, this recipe transforms everyday sugar into dazzling, crunchy gems that add a whimsical touch to any dessert table or candy jar.
Ingredients You’ll Need
Getting started is simple because the ingredients are few but absolutely essential. Each one plays a crucial role in achieving that perfect crystalline structure and exceptional flavor for your rock candy.
- ½ cup water: Acts as the solvent to dissolve the sugar, creating the syrup base.
- ¾ cup light corn syrup: Prevents crystallization too early and adds that glossy texture.
- 2 cups granulated sugar: The star ingredient that crystallizes into the candy crystals.
- 2 teaspoons flavoring extract: Adds delicious, customizable flavor; raspberry is a fantastic choice, but feel free to experiment.
- Food coloring (optional): Brings vibrant pops of color to your candy, making it as eye-catching as it is tasty.
How to Make How to Make Rock Candy Recipe
Step 1: Combine Ingredients
Start by mixing the water, light corn syrup, granulated sugar, and your chosen flavor extract in a medium saucepan over medium heat. This blend will be the molten base for your candy, so make sure the sugar starts dissolving completely before moving forward.
Step 2: Bring to a Boil Without Stirring
Keep stirring until the mixture begins to boil, then resist the urge to stir further. Stirring after boiling starts can cause premature crystallization, which we want to avoid to get those perfect rock candy crystals.
Step 3: Prepare Your Baking Surface
While your syrup is heating, line a baking sheet with aluminum foil and give it a good spray with nonstick spray. This step ensures your candy will come off easily once hardened.
Step 4: Monitor the Temperature Carefully
Place a candy thermometer into the boiling syrup and keep a close eye. As soon as it hits 300°F, remove the saucepan from heat. This is the critical temperature known as the hard crack stage, perfect for rock candy formation.
Step 5: Cool Down Before Pouring
Let the syrup cool just enough until you no longer see bubbles breaking on the surface. This brief pause helps the syrup thicken slightly so that it sets with the right texture.
Step 6: Pour and Set
Pour the warm syrup onto the prepared baking sheet in a smooth layer. Let it rest undisturbed as it cools fully and hardens into a crystal masterpiece.
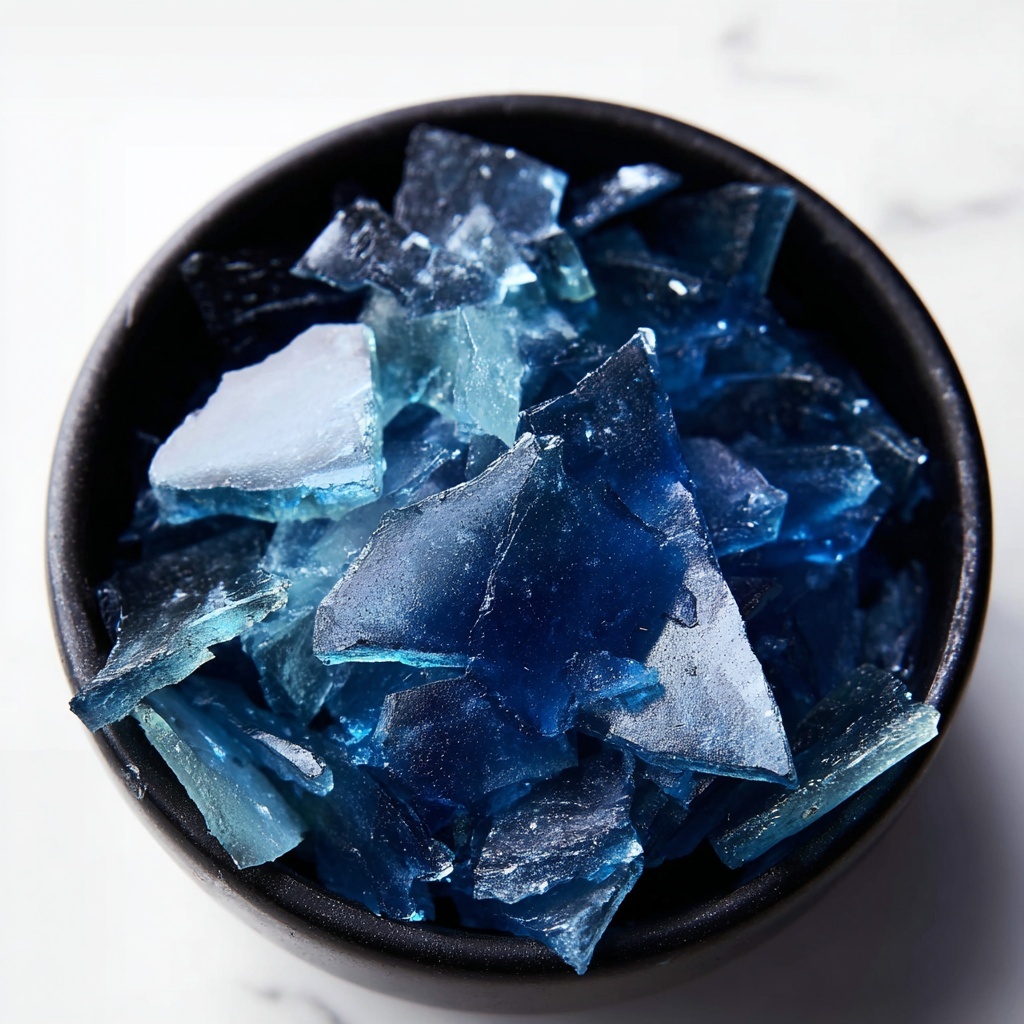
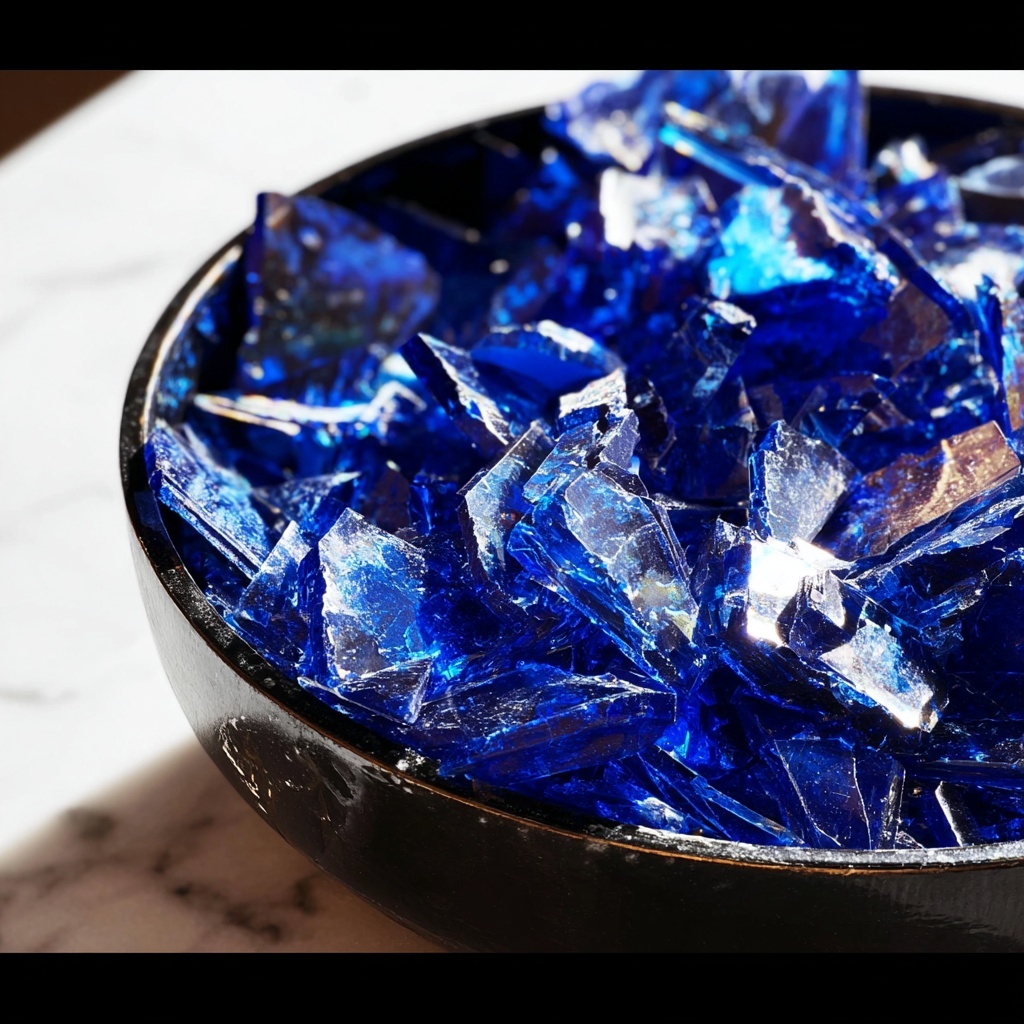
Step 7: Break Into Pieces
Once hardened, take your beautiful rock candy and break it apart into your preferred sizes. These stunning candies are now ready to be enjoyed or gifted!
How to Serve How to Make Rock Candy Recipe

Garnishes
Rock candy shines brightest when used as a decorative garnish. Try placing large chunks atop cupcakes, stirring sticks in cocktails, or even as a fun stirrer for tea or coffee to add a touch of sweetness and sparkle.
Side Dishes
This candy pairs wonderfully alongside simple vanilla or chocolate ice cream, offering a delightful crunch and burst of sugary goodness. It’s also great on a candy platter with nuts and dried fruits for a party.
Creative Ways to Present
Present your rock candy tied with colorful ribbons or inserted into jars filled with complementary candies. You can also make themed candy sticks by molding the sugar onto skewers before cooling for an unforgettable homemade treat.
Make Ahead and Storage
Storing Leftovers
Keep your rock candy stored in an airtight container at room temperature to maintain its crisp texture. Avoid humid environments, as moisture can cause the candy to stick or become sticky over time.
Freezing
Freezing rock candy is generally not recommended as moisture can alter its texture and cause the crystals to lose their snap. It’s best enjoyed fresh or stored in a dry, cool place.
Reheating
Rock candy doesn’t require reheating since it’s meant to be enjoyed as a hard, crystalline treat. However, if you want to re-melt it for another creative use, gently warm it while stirring to avoid burning.
FAQs
Can I use different flavors for the rock candy?
Absolutely! The beauty of this recipe is its versatility. Swap out the raspberry extract for vanilla, lemon, peppermint, or any other flavor extract you love to create unique candies every time.
Why shouldn’t I stir once the syrup starts boiling?
Once boiling starts, stirring can trigger premature sugar crystallization, leading to grainy texture rather than smooth, shiny crystals. It’s best to let it boil undisturbed for perfect results.
How long does it take for rock candy to harden?
After pouring the syrup onto your baking sheet, it usually takes several hours at room temperature to fully harden. Patience here ensures that beautiful crystal crunch.
Can I use brown sugar instead of granulated sugar?
Brown sugar contains molasses and moisture that can interfere with crystal formation. For the clearest, hardest rock candy, stick with granulated sugar.
What if my candy turned out sticky?
Sticky candy usually means it absorbed moisture from the air or didn’t reach the hard crack temperature. Make sure to cook to 300°F and store in an airtight container away from humidity.
Final Thoughts
Making your own rock candy is such a rewarding experience that blends science with creativity—and now you have all the steps in one place. I encourage you to dive into this delightful recipe and bring a bit of sparkle and sweetness to your kitchen. Experiment with flavors and colors, have fun, and watch your sugar turn into edible crystals that will charm everyone!