If you’ve ever wanted perfectly tender, flavorful beans without the fuss or the wait, this Instant Pot Black Beans Recipe is about to become your new best friend in the kitchen. It delivers rich, hearty beans that are lightly infused with aromatics, ready in a fraction of the time it would take on the stove. Whether you’re building a burrito bowl or adding protein and fiber to a salad, these black beans cook up beautifully every single time, requiring just a handful of simple ingredients and minimal prep. Trust me, once you try this recipe, you’ll wonder how you ever lived without it.
Ingredients You’ll Need
These ingredients are straightforward but essential—they create layers of flavor while ensuring your beans end up perfectly cooked and deliciously aromatic. Each one plays a role, from seasoning to texture.
- 1 pound dry black beans: The star of the dish, providing hearty texture and nutty flavor.
- 6 cups hot water: Helps the beans cook evenly and absorb moisture quickly in the Instant Pot.
- 1 teaspoon salt: Enhances the natural flavors without overpowering the beans.
- A few juniper berries: These add a subtle piney and slightly citrusy note that makes the beans taste extra special.
- Bay leaves: Contribute a gentle earthiness and depth to the cooking liquid.
How to Make Instant Pot Black Beans Recipe
Step 1: Pick Over Your Beans
This is a crucial first step that gets overlooked all too often. Spread your beans out on a clean kitchen towel or baking sheet and look for any debris, tiny stones, or beans that are cracked or shriveled. Removing these ensures your beans will cook evenly and taste clean and fresh, with no unwelcome surprises.
Step 2: Optional Soak for Better Texture
If you have some spare time, soaking your beans for 6 to 8 hours in cold water can soften them and reduce cooking time. Just cover them with enough water and discard any that float, as these are less fresh. Cover the bowl with a towel and leave at room temperature. This step makes the beans extra tender but is not necessary thanks to the pressure cooking magic of the Instant Pot.
Step 3: Drain and Rinse
Whether you soaked the beans or not, giving them a good rinse under cold water is always a smart idea to wash away any dust, dirt, or unwanted residue. This step helps keep your beans tasting clean and lets you start fresh before cooking.
Step 4: Add Beans and Ingredients to Instant Pot
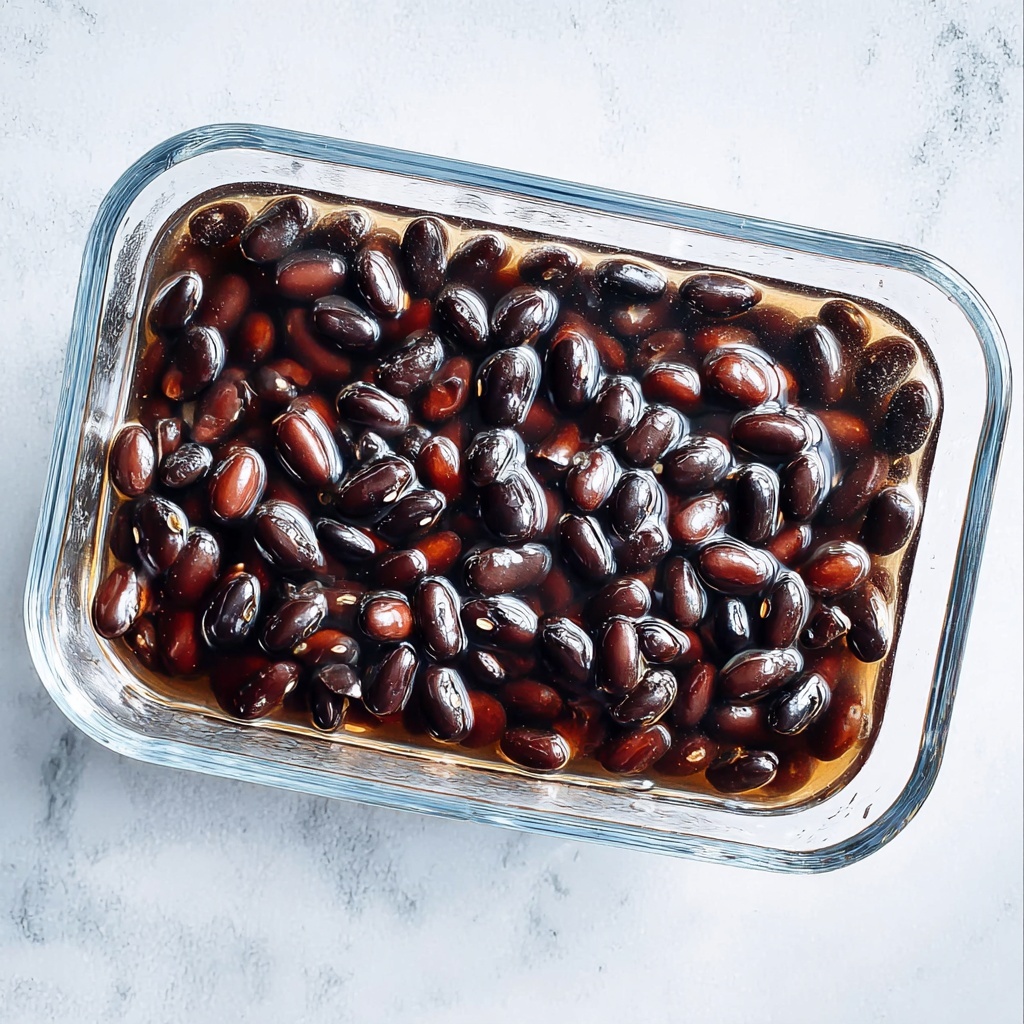
Now comes the fun part—place your prepared beans into the Instant Pot and pour in the hot water. Add the salt, juniper berries, and bay leaves right on top. These aromatics are what turn simple beans into a wonderfully fragrant dish. The hot water kick-starts the cooking process for perfectly even results.
Step 5: Seal and Cook
Close the lid of your Instant Pot and set the pressure valve to “sealing”. Select the “manual” setting and make sure it’s on “high pressure.” This is how you tell the Instant Pot to create the perfect environment for cooking the beans quickly and thoroughly.
Step 6: Cooking Time for Soaked Beans
If you’ve taken the time to soak your beans, set the timer for 8 minutes. This shorter cook time maintains the beans’ structure while getting them tender and delicious in a snap.
Step 7: Cooking Time for Unsoaked Beans
For unsoaked beans, patience pays off—set your Instant Pot timer for 25 minutes. This longer time ensures the beans become soft and creamy inside without falling apart, making this recipe incredibly flexible based on your schedule.
Step 8: Natural Pressure Release
Once the timer goes off, don’t rush to take the lid off. Switch the Instant Pot off and let it sit for 10 minutes so the pressure drops naturally. This gradual pressure release helps prevent the beans from splitting and keeps the texture just right.
Step 9: Manual Pressure Release
After the natural release, carefully use a kitchen towel over your hand and turn the pressure release valve to “venting” to release any remaining steam. Be cautious here—it’s hot steam. This final release ensures the Instant Pot is safe to open while keeping flavor locked in.
Step 10: Open and Enjoy
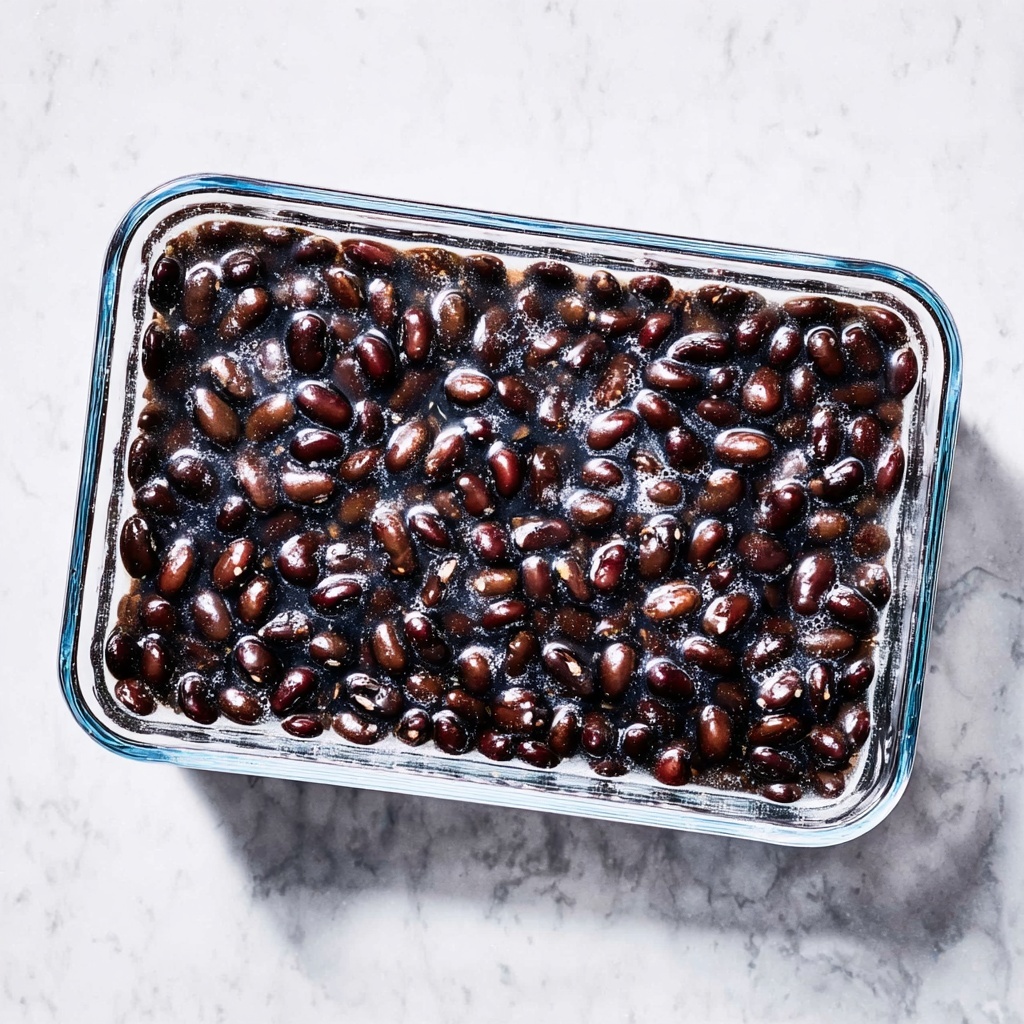
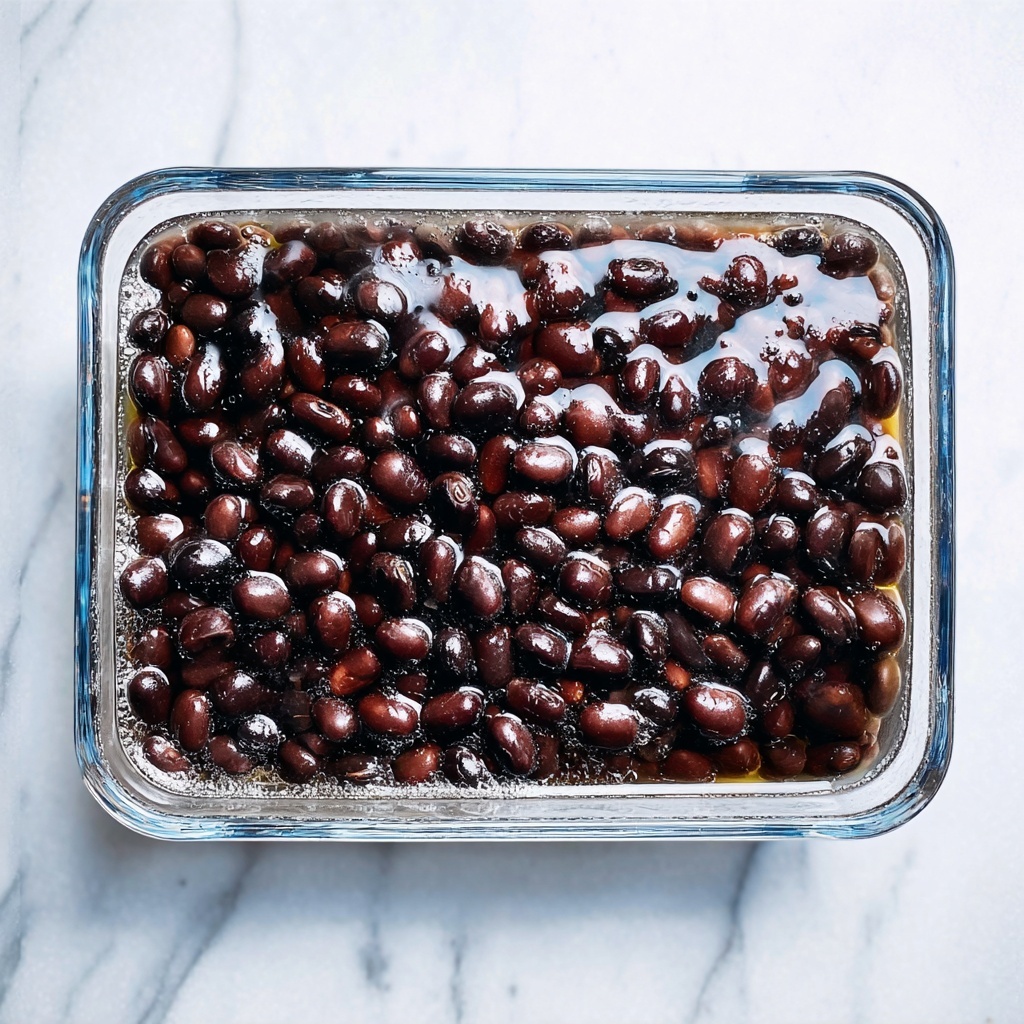
With the pressure gauge fully dropped, open the lid carefully. At this point, you can either drain the beans or save the cooking liquid. The liquid is packed with bean flavor and nutrients, so save it if you plan to freeze the beans or want to use it as a broth base in soups and stews.
How to Serve Instant Pot Black Beans Recipe
Garnishes
A sprinkle of fresh cilantro, a dollop of sour cream, or a squeeze of lime can brighten these black beans instantly. For some heat, add sliced jalapeños or a dash of smoked paprika, and for crunch, chopped green onions are perfect. These simple touches transform your beans from humble to superstar.
Side Dishes
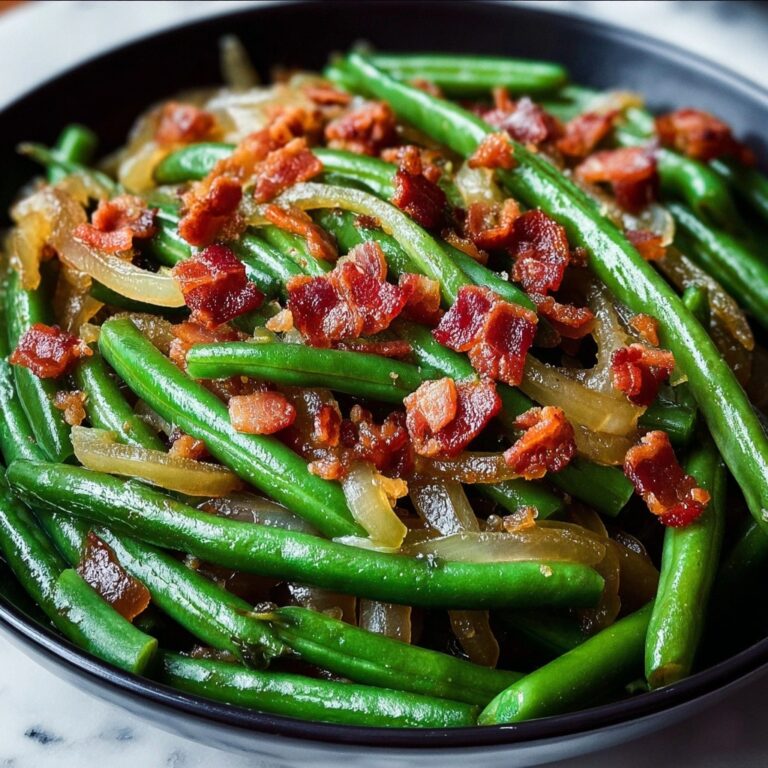
Instant Pot Black Beans pair wonderfully with rice for a classic combo or alongside grilled veggies and avocado slices for a vibrant, healthy meal. They also shine as a protein-packed filling for tacos, burritos, or enchiladas, making your meals hearty and satisfying.
Creative Ways to Present
Think beyond just a side—turn these beans into a base for a stew by adding tomatoes and spices, or mash them up for spreadable refried beans. Toss with corn salsa and lime for a quick salad or use the cooking liquid as a flavorful broth in your next chili. The possibilities are endless and exciting!
Make Ahead and Storage
Storing Leftovers
Leftover black beans keep really well in the refrigerator for up to 4 days. Store them in an airtight container with some of the cooking liquid to maintain moisture and flavor. When you want a quick snack or meal addition, simply scoop out what you need.
Freezing
These beans freeze beautifully, which is fantastic for meal prep. Freeze them in portion-sized containers or freezer bags with a bit of their cooking liquid to prevent drying out. Frozen beans can be stored for up to 3 months, making your future meal planning a breeze.
Reheating
To reheat, warm the beans gently on the stovetop or in the microwave, preferably with a splash of their cooking liquid to keep them moist. Stir occasionally, and avoid overheating to preserve their texture and flavor. They reheat just as beautifully as freshly made!
FAQs
Do I have to soak the beans before cooking in an Instant Pot?
No, soaking is optional. The Instant Pot does a great job cooking unsoaked beans in about 25 minutes, but soaking can reduce the cooking time and help with digestion for some people.
Can I substitute the juniper berries or bay leaves?
Yes! If you don’t have juniper berries, a pinch of dried thyme or rosemary will add lovely aroma, while bay leaves can be swapped for a small piece of cinnamon stick for a warm undertone or omitted entirely if unavailable.
Is the cooking liquid safe to eat?
Absolutely. The cooking liquid is flavorful and packed with nutrients. You can use it as broth in soups, stews, or even to cook rice. Just give it a taste and decide if you want to keep it for your next recipe.
How do I know when my beans are done?
Your beans are perfectly cooked when they are tender but still hold their shape without being mushy. The natural pressure release step also helps ensure they finish cooking gently for perfect consistency.
Can I add other ingredients like onions or garlic?
Definitely! Adding sautéed onions, garlic, or spices can boost flavor even more. Add them directly to the Instant Pot before sealing and cooking to complement the beans beautifully.
Final Thoughts
I genuinely hope this Instant Pot Black Beans Recipe becomes your go-to for quick, tasty beans bursting with flavor and versatility. They’re incredibly easy to make, nourishing, and a wonderful base to build meals around. So grab your Instant Pot, some dry beans, and let this recipe bring delicious comfort to your table again and again!
Print
Instant Pot Black Beans Recipe
- Prep Time: 5 minutes
- Cook Time: 25 minutes (for unsoaked beans); 8 minutes (for soaked beans)
- Total Time: 30 minutes (unsoaked); 6 hours 13 minutes (soaked including soaking time)
- Yield: 5 to 5 1/2 cups cooked black beans
- Category: Beans & Legumes
- Method: Instant Pot
- Cuisine: Latin American
- Diet: Gluten Free
Description
A simple and efficient Instant Pot recipe to cook tender, flavorful black beans with minimal prep and cooking time. This method eliminates the need for soaking but offers an option to soak for quicker cooking. Seasoned with salt, juniper berries, and bay leaves, these black beans are perfect for freezing or using in various dishes.
Ingredients
Beans
- 1 pound dry black beans
Cooking Liquid & Seasonings
- 6 cups hot water
- 1 teaspoon salt
- a few juniper berries
- bay leaves (2-3 leaves)
Instructions
- Pick over your beans: Place the beans on a kitchen towel or baking sheet and carefully pick out any debris, cracked or shriveled beans to ensure quality.
- Soak (optional): For quicker cooking and better digestion, place the beans in a large bowl, cover with cold water, discard any floating beans, cover with a clean kitchen towel, and leave at room temperature for 6-8 hours.
- Drain and rinse: After soaking, drain and rinse the beans well. If you skipped soaking, simply rinse the beans under cold running water to clean them.
- Place in Instant Pot: Add the rinsed beans into the Instant Pot along with 6 cups of hot water, salt, juniper berries, and bay leaves.
- Prepare for cooking: Secure the lid on the Instant Pot and set the pressure valve to the sealing position.
- Set cooking program: Press the “Manual” button and select “High Pressure” mode.
- Adjust cooking time: For soaked beans, set the timer to 8 minutes; for unsoaked beans, set it to 25 minutes.
- Natural pressure release: When cooking completes, turn off the Instant Pot and allow the pressure to release naturally for 10 minutes without opening the lid.
- Manual pressure release: After 10 minutes, carefully place a kitchen towel over your hand and turn the pressure valve to “venting” to release the remaining steam safely.
- Open and serve or store: Once the pressure gauge drops fully, open the lid carefully. Do not drain the cooking liquid if you plan to freeze the beans as it helps preserve flavor and moisture. Alternatively, you may drain the beans, catching the cooking liquid for other uses.
Notes
- Soaking beans is optional but reduces cooking time and can improve digestibility.
- Juniper berries add a unique aromatic flavor; if unavailable, you may omit them.
- Do not drain the cooking liquid if freezing beans to maintain moisture.
- Store cooked beans in their liquid in an airtight container in the refrigerator for up to 5 days or freeze for longer storage.
- Use the cooking liquid as a base for soups or stews for added flavor.


