If you’re looking for a delightful treat that’s both charming and delicious, the Jellycat Birthday Cake Recipe is an absolute must-try. This cake brings together a perfect blend of fluffy textures, sweet fruity jelly layers, and an irresistible glaze that drips decadently down the sides. Whether it’s a special occasion or just a day that calls for a little celebration, this recipe will quickly become one of your favorites to bake and share with friends and family.
Ingredients You’ll Need
Each ingredient in the Jellycat Birthday Cake Recipe is thoughtfully chosen to create balance in flavor, texture, and appearance. They’re simple pantry staples, but together they deliver a cake that feels truly special and comforting.
- All-purpose flour (2 cups): Provides the perfect base for a light and fluffy cake crumb.
- Baking powder (1 teaspoon): Helps the cake rise beautifully, giving it that airy texture we all love.
- Salt (1/2 teaspoon): Enhances all the other flavors for a well-rounded taste.
- Unsalted butter, softened (1/2 cup): Adds richness and tenderness to the cake.
- Granulated sugar (1 cup): Sweetens the batter perfectly without overwhelming it.
- Large eggs (3): Bind and provide structure, ensuring the cake holds together nicely.
- Vanilla extract (1 teaspoon): Infuses the batter with a warm, inviting aroma.
- Whole milk (1/2 cup): Keeps the cake moist and adds creaminess.
- Heavy cream (1/2 cup): Boosts richness and ensures a tender crumb.
- Jelly or fruit preserves (1/2 cup): Infuses fruity layers inside the cake for a lovely burst of flavor.
- Powdered sugar (1/2 cup): Used to create a shiny glaze that adds a sweet finishing touch.
How to Make Jellycat Birthday Cake Recipe
Step 1: Preparing Your Oven and Pans
Begin by preheating your oven to 350°F (175°C), which sets the perfect baking environment. Grease and flour two 9-inch round cake pans to ensure your cakes come out smoothly without sticking.
Step 2: Mixing the Dry Ingredients
Whisk together the all-purpose flour, baking powder, and salt in a medium bowl, which ensures even distribution so your cake rises evenly and tastes balanced.
Step 3: Creaming Butter and Sugar
In a large bowl, beat the softened butter and granulated sugar until the mixture looks light and fluffy. This technique incorporates air, crucial for a soft texture.
Step 4: Adding Eggs and Vanilla
Add the eggs one at a time, fully incorporating each before adding the next to keep the batter smooth. Stir in the vanilla extract to bring warmth and sweetness.
Step 5: Combining Wet and Dry Ingredients
Gradually add flour mixture alternating with the milk and heavy cream, beginning and ending with flour. Mix just until combined—overmixing can make the cake dense.
Step 6: Baking the Cake
Divide the batter evenly between the two pans, smoothing tops with a spatula for even rising. Bake for 25 to 30 minutes or until a toothpick inserted comes out clean, signaling it’s perfectly cooked.
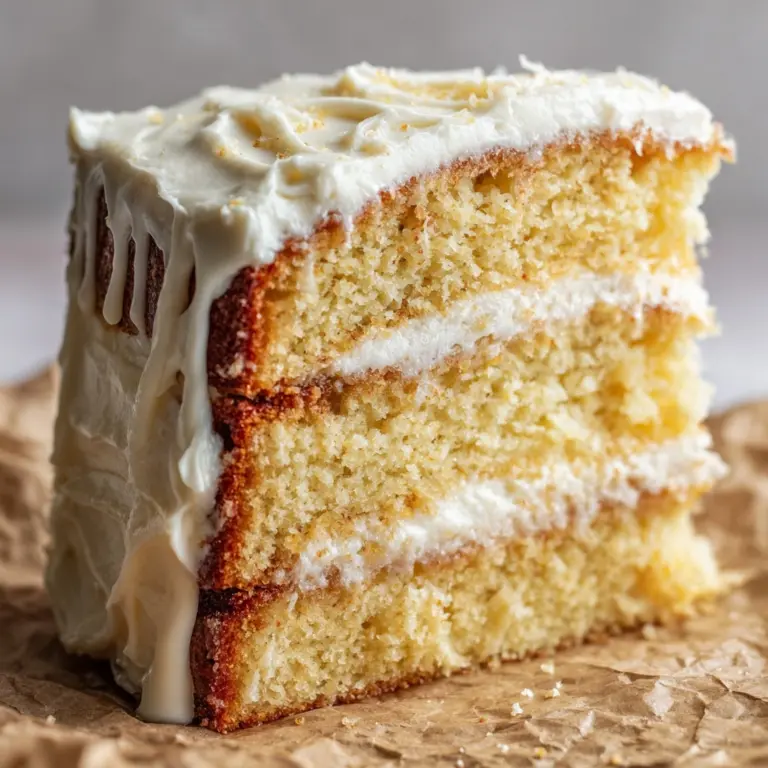
Step 7: Cooling and Assembling
Let the cakes cool in the pans for 10 minutes, then turn them out onto a wire rack to cool completely; this prevents sticking and keeps the texture just right.
Step 8: Adding the Jelly Layer
Spread a thin layer of your chosen jelly or fruit preserves over one cake layer. This adds a fun, fruity surprise inside your cake.
Step 9: Glazing the Cake
Place the second cake on top, then whisk powdered sugar with a bit of water or milk to create a smooth glaze. Pour this over the cake to add a stunning glossy finish that sets beautifully.
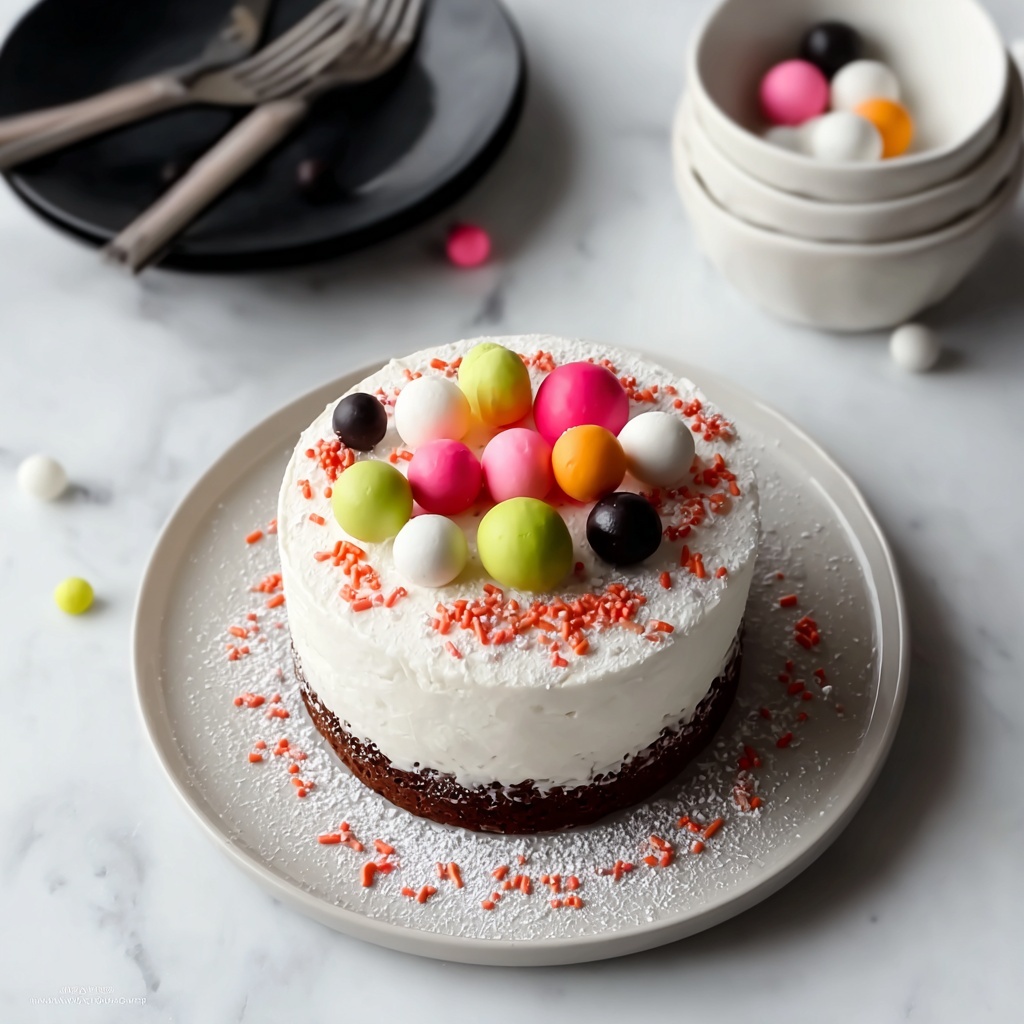
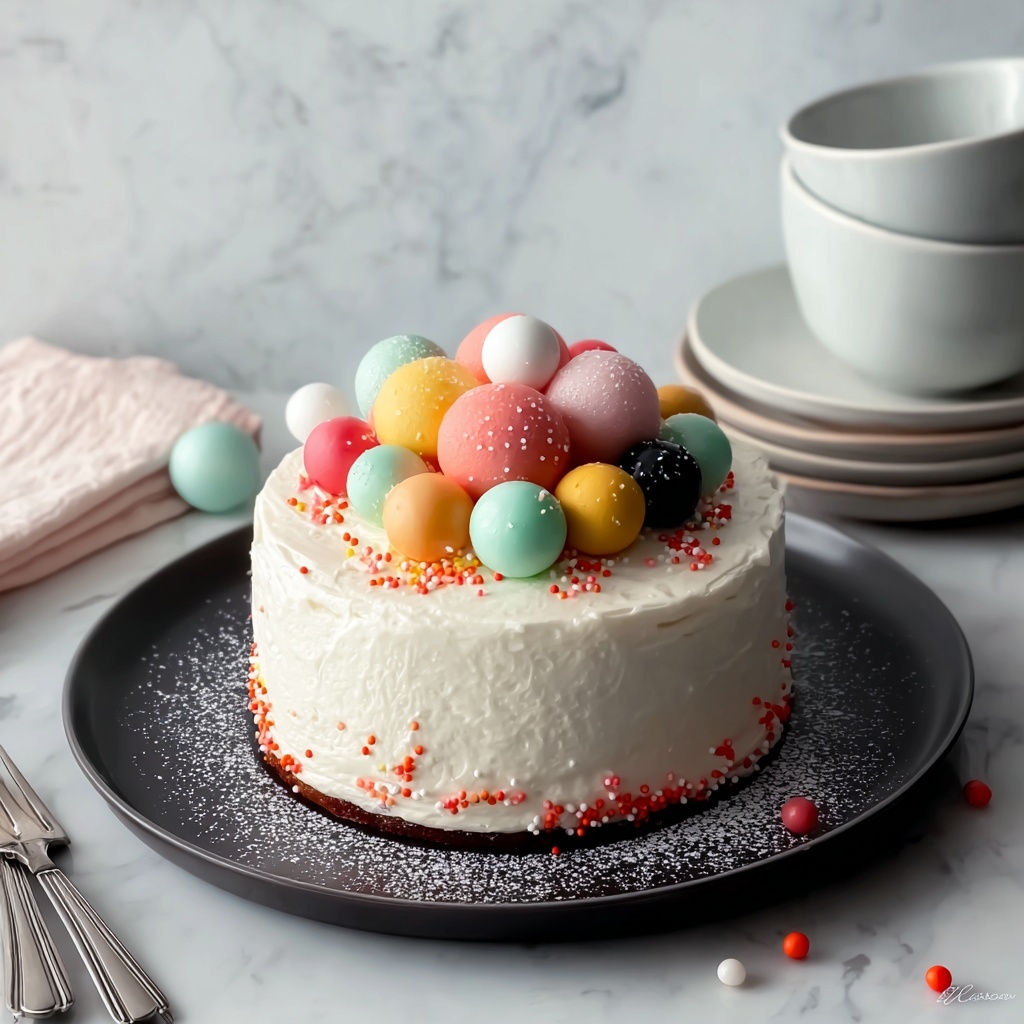
How to Serve Jellycat Birthday Cake Recipe
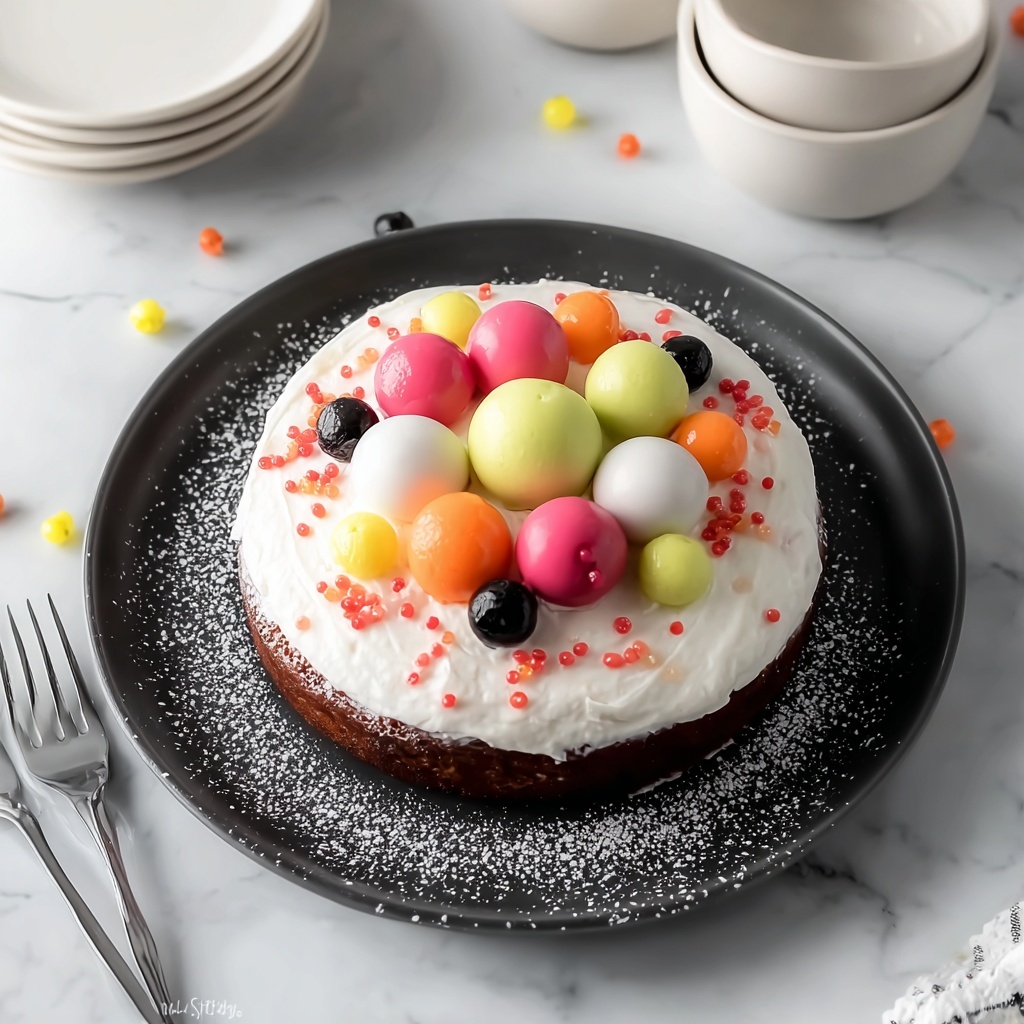
Garnishes
For a delightful flair, consider adding fresh berries or edible flowers atop the glaze. Their natural colors contrast beautifully with the shiny icing and give your cake a festive look.
Side Dishes
This cake pairs wonderfully with a scoop of vanilla ice cream or freshly whipped cream for an extra indulgent experience. Alternatively, a cup of strong coffee or fragrant tea balances the sweetness perfectly.
Creative Ways to Present
Try serving individual slices on colorful plates with a drizzle of additional jelly on the side. Or, decorate the cake with themed candles and decorations, turning it into the centerpiece of any celebration.
Make Ahead and Storage
Storing Leftovers
Wrap leftover cake tightly in plastic wrap or store in an airtight container at room temperature for up to two days to maintain freshness.
Freezing
You can freeze the cake layers before glazing by wrapping them well in plastic wrap and aluminum foil. Freeze for up to 3 months and thaw in the fridge overnight before assembling and glazing.
Reheating
If you prefer your cake slightly warm, gently heat individual slices in the microwave for 10-15 seconds. This revives the softness and enhances the flavors without melting the glaze.
FAQs
Can I use a different type of jelly or preserves?
Absolutely! The Jellycat Birthday Cake Recipe works beautifully with any berry or fruit jam you love. Just choose your favorite flavor to customize the cake.
Is it possible to make this cake gluten-free?
Yes, you can substitute the all-purpose flour with a gluten-free baking blend that measures cup-for-cup. Just be sure to check that your baking powder is gluten-free to keep the recipe safe.
How can I make the glaze thicker?
Simply add a bit more powdered sugar to the glaze mixture a little at a time until you reach the desired thickness. Thicker glaze will coat the cake more heavily for a dramatic effect.
Can I double the recipe for a larger cake?
You can double all the ingredients to bake a larger cake or multiple layers. Just be mindful of your oven size and bake time, as thicker layers may require extra minutes to bake through.
What’s the best way to get even cake layers?
Using a kitchen scale to divide the batter equally helps achieve perfectly even layers. Also, smoothing the batter with a spatula before baking ensures uniform thickness.
Final Thoughts
There’s something truly special about the Jellycat Birthday Cake Recipe that makes every bite feel like a celebration. Its simple ingredients combine to create a cake that’s tender, sweet, and bursting with fruity goodness. I can’t wait for you to try this recipe and enjoy the smiles it brings to your table. Happy baking!