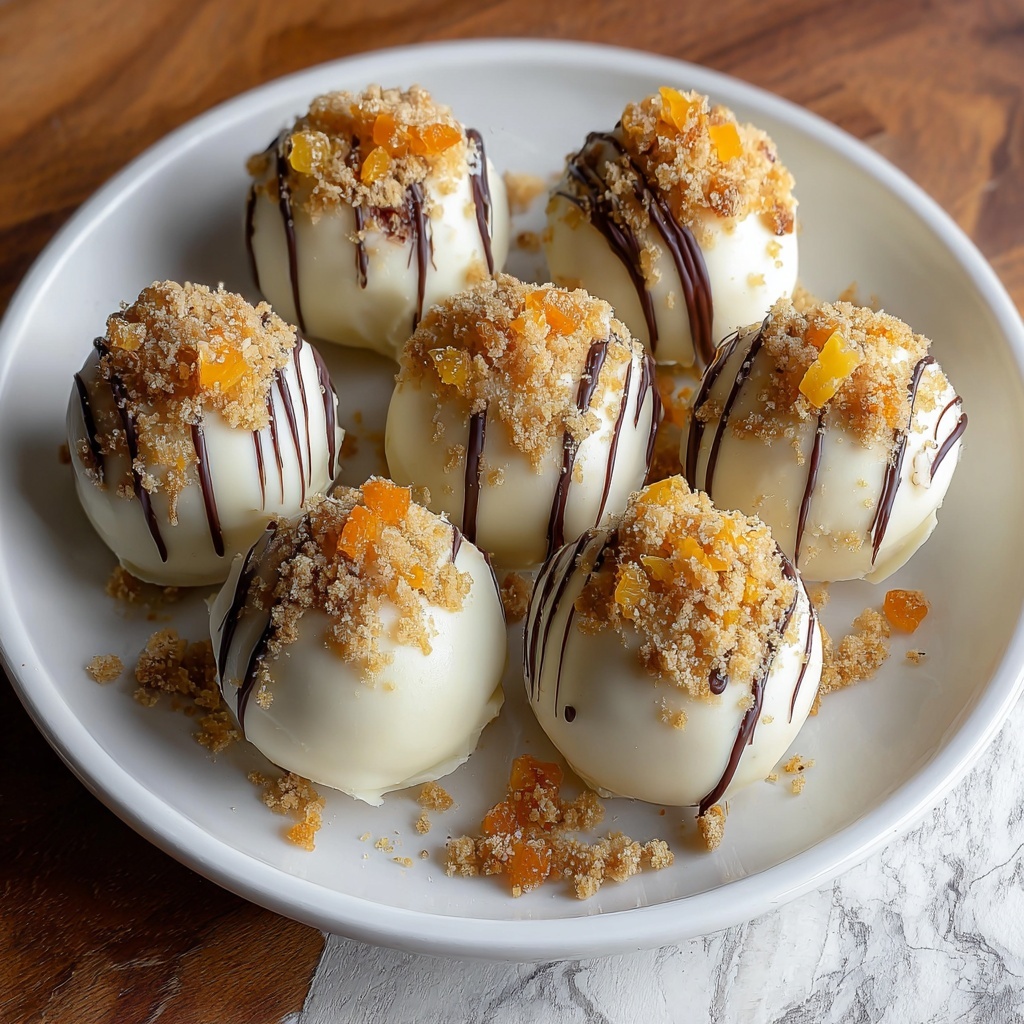
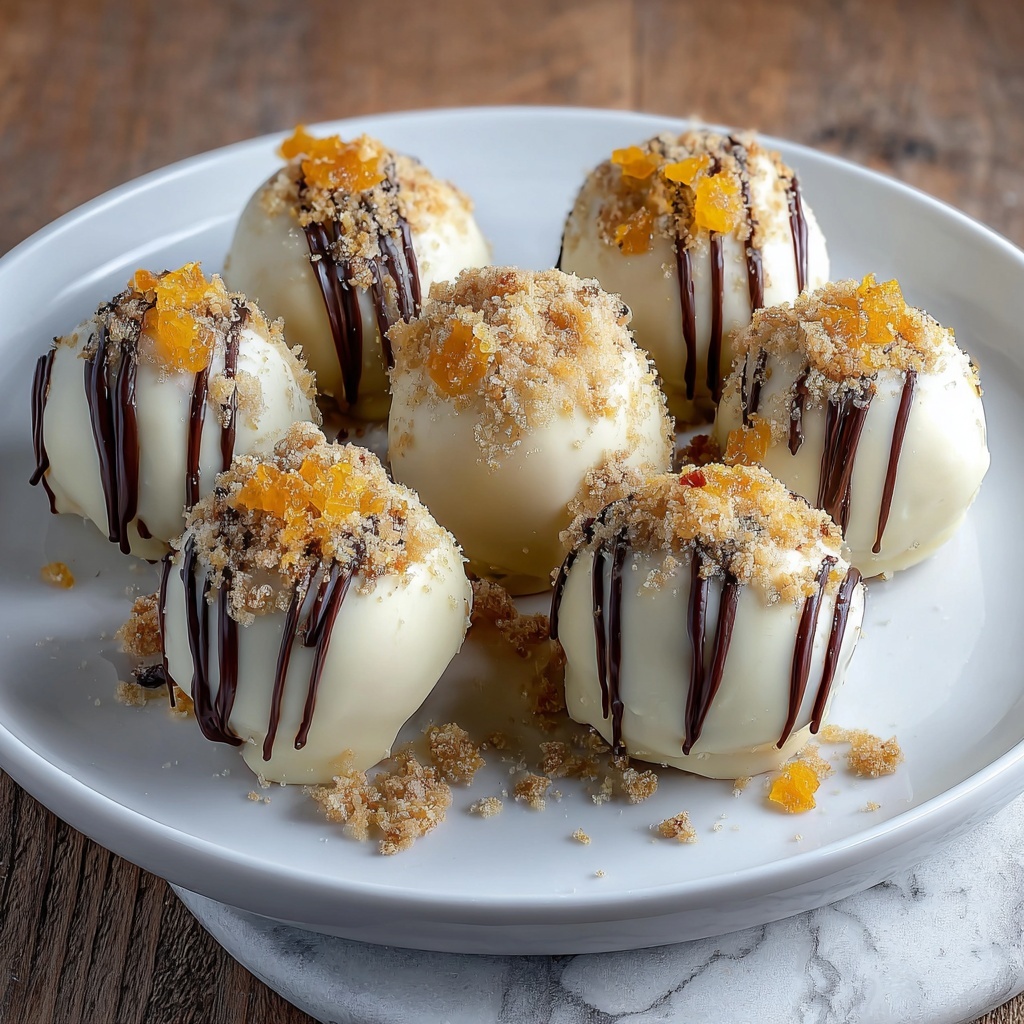
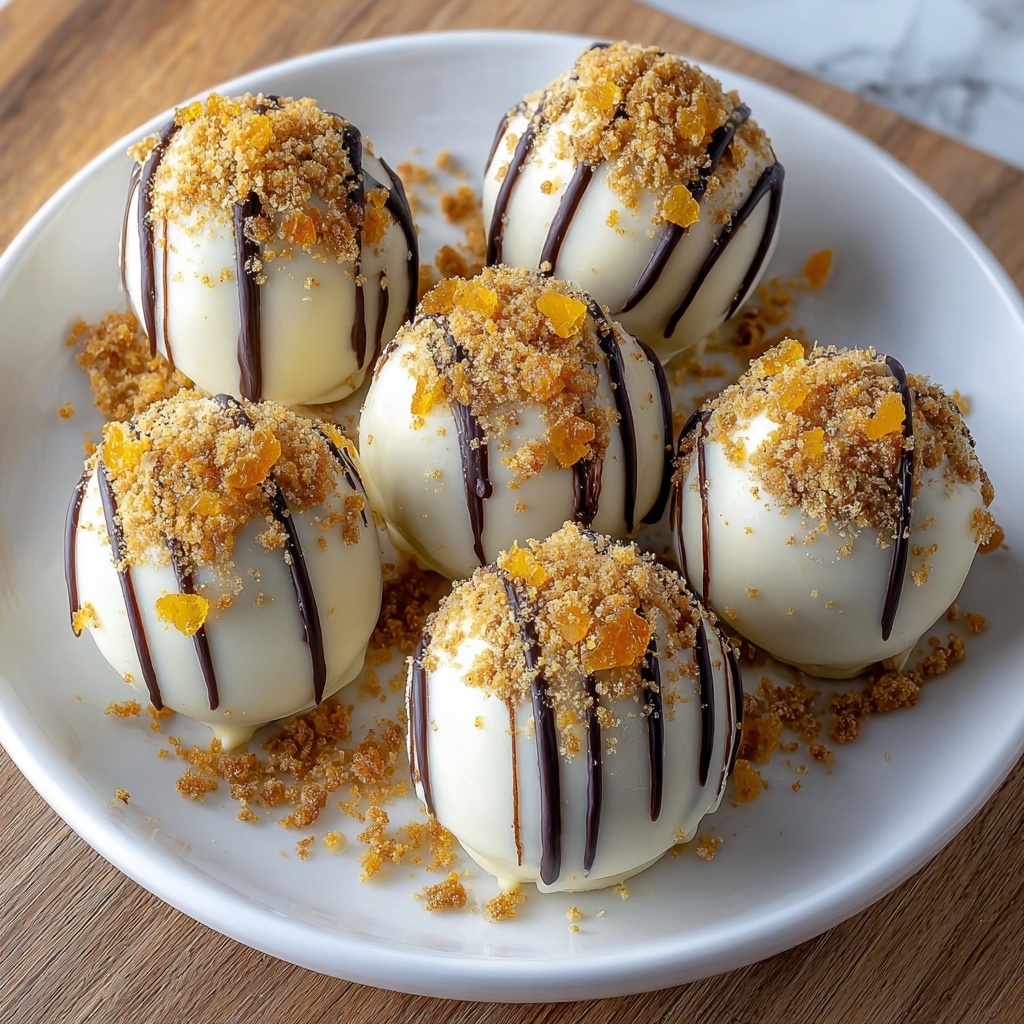
If you are looking for a delightful little treat that captures the essence of fall in every bite, this Pumpkin Cheesecake Truffles Recipe is exactly what you need. These bite-sized wonders combine the creamy richness of cheesecake with the warm, cozy flavors of pumpkin and pumpkin pie spice, all wrapped in a luscious white chocolate coating. They’re perfect for sharing at holiday gatherings, gifting to friends, or simply indulging whenever a sweet craving strikes. This recipe transforms simple pantry staples into a show-stopping dessert that’s as fun to make as it is to eat.
Ingredients You’ll Need
Creating the perfect Pumpkin Cheesecake Truffles Recipe starts with a handful of ingredients, each chosen to contribute essential flavors, creamy texture, and that irresistible seasonal touch. These simple components come together effortlessly, highlighting the natural sweetness of pumpkin paired with the smoothness of cream cheese and a crunchy finish from your coating choice.
- 1/2 cup canned pumpkin puree: Adds moistness and authentic pumpkin flavor without any fuss.
- 1/2 cup graham cracker crumbs: Provides a slightly sweet, crunchy texture within the truffle base.
- 8 oz cream cheese, softened: The creamy heart of the truffle, delivering tangy richness.
- 1 cup powdered sugar: Sweetens the mixture evenly for that perfect dessert balance.
- 1 teaspoon vanilla extract: Enhances all the flavors with a smooth, warm undertone.
- 1 teaspoon pumpkin pie spice: Infuses each bite with classic autumn spice notes.
- 16 oz white chocolate, for melting: Creates the glossy, sweet shell that seals in the flavor and adds luxury.
- 1/4 cup gingersnap cookies, crushed (optional, for coating): Offers spicy crunch for an exciting contrast.
- 1/4 cup graham cracker crumbs (optional, for coating): Another delicious option that adds texture and visual appeal.
- 1 tablespoon coconut oil or vegetable oil: Helps the chocolate coating reach a silky, smooth consistency perfect for dipping.
How to Make Pumpkin Cheesecake Truffles Recipe
Step 1: Prepare the Cream Cheese Base
Begin by beating your softened cream cheese in a large bowl until it becomes perfectly smooth and creamy. This step is essential because a silky texture here sets the stage for a luscious truffle interior. No lumps allowed!
Step 2: Blend in the Pumpkin
Add the canned pumpkin puree to your cream cheese and mix until fully combined. The pumpkin not only imparts that unmistakable fall flavor but also keeps the mixture moist and deliciously soft.
Step 3: Sweeten with Powdered Sugar
Gradually incorporate the powdered sugar, continuing to beat until the mixture is smooth. This ensures a sweet, evenly distributed flavor without any grit or crunch from sugar crystals.
Step 4: Add the Flavor and Texture Enhancers
Stir in the graham cracker crumbs, vanilla extract, and pumpkin pie spice until everything is well combined. These ingredients bring crunch, aromatic warmth, and depth to the truffle mix. The consistency should be smooth yet firm enough to shape into balls.
Step 5: Chill the Mixture
Pop the mixture into the fridge and chill for about 2 hours. This cooling step makes it easier to handle, helping the truffles hold together while you form them.
Step 6: Shape the Truffles
Once chilled and firm, scoop out small portions (around 1 tablespoon each) and roll them gently into balls using your hands. Line them up on a baking sheet covered with parchment paper, ready for their chocolate coating.
Step 7: Melt the White Chocolate
In a heatproof bowl, melt the white chocolate together with the coconut or vegetable oil over a double boiler or using short microwave bursts. Stir frequently until the mixture is perfectly smooth and glossy, which will make dipping a breeze.
Step 8: Coat the Truffles in Chocolate
Using a fork, dip each cheesecake ball into the melted chocolate, ensuring every inch is covered. Let any excess chocolate drip back into the bowl before carefully placing the truffle on the parchment-lined baking sheet.
Step 9: Add Optional Crunchy Coatings
While the chocolate is still wet, sprinkle the truffles with crushed gingersnap cookies or extra graham cracker crumbs to add texture and enhance the truffle’s look and flavor profile.
Step 10: Set the Chocolate
Refrigerate the coated truffles for about 30 minutes until the white chocolate shell is completely hardened, giving them that perfect snap when you bite in.
Step 11: Store Properly
Transfer your finished Pumpkin Cheesecake Truffles Recipe treats to an airtight container and refrigerate until you’re ready to enjoy or share with friends and family.
How to Serve Pumpkin Cheesecake Truffles Recipe
Garnishes
To elevate your Pumpkin Cheesecake Truffles Recipe further, consider garnishing with a light dusting of cinnamon, a drizzle of caramel sauce, or even a tiny piece of candied ginger on top. These subtle touches boost the visual appeal and add an extra flavor twist that guests will adore.
Side Dishes
Pair these truffles with a warm cup of spiced chai tea, rich coffee, or a glass of creamy eggnog to create a cozy and comforting dessert experience. They also work beautifully alongside a simple fresh fruit platter, balancing richness with natural sweetness and acidity.
Creative Ways to Present
For gift-giving, place the truffles in a decorative box lined with tissue paper or in mini cupcake liners arranged in festive tins. You can also serve them on a rustic wooden board garnished with fall leaves and small pumpkins to bring a seasonal charm to your dessert table.
Make Ahead and Storage
Storing Leftovers
Keep any leftover Pumpkin Cheesecake Truffles Recipe refrigerated in an airtight container. They stay fresh for up to a week, making them a perfect make-ahead treat for parties or unexpected guests.
Freezing
If you want to prepare these truffles way in advance, they freeze wonderfully. Place them on a parchment-lined tray to freeze individually, then transfer to a sealed freezer bag or container. They can last up to 2 months frozen without losing flavor or texture.
Reheating
Since these truffles are best enjoyed cold, simply thaw frozen truffles overnight in the fridge before serving. Avoid heating them directly, as the creamy center may soften too much and the chocolate coating lose its snap.
FAQs
Can I use fresh pumpkin instead of canned for this Pumpkin Cheesecake Truffles Recipe?
While canned pumpkin puree offers convenience and consistent moisture, you can certainly roast fresh pumpkin and puree it yourself. Just be sure to cook it thoroughly and drain any excess water to maintain the right texture for the truffles.
What if I don’t have pumpkin pie spice on hand?
No worries! You can make your own blend using a mix of cinnamon, nutmeg, ginger, and cloves. Adjust the amounts to suit your taste and mimic the warm, spicy flavor that pumpkin pie spice adds.
Can I swap the white chocolate for dark or milk chocolate?
Absolutely! Both dark and milk chocolate work well for coating and will give your truffles a different but equally delicious flavor profile. Just melt them the same way, adding a bit of oil if needed to keep the coating smooth.
How firm should the mixture be before rolling into balls?
The mixture should be chilled until it’s firm enough to handle without sticking excessively to your hands but still soft enough to roll smoothly. If it’s too soft, pop it back in the fridge for a little longer before shaping.
Are these truffles suitable for gifting during holidays?
Definitely! Pumpkin Cheesecake Truffles make an elegant and tasty homemade gift. Package them nicely, and they’re guaranteed to impress family, friends, or coworkers looking for a seasonal sweet treat.
Final Thoughts
I hope you’re as excited to make and share this Pumpkin Cheesecake Truffles Recipe as I am to pass it along to you. It’s a simple yet spectacular way to bring the warmth and flavor of fall into any gathering or quiet evening at home. Trust me, once you taste these creamy, spiced little balls of joy, they’ll become one of your personal favorites too. Happy baking and indulging!