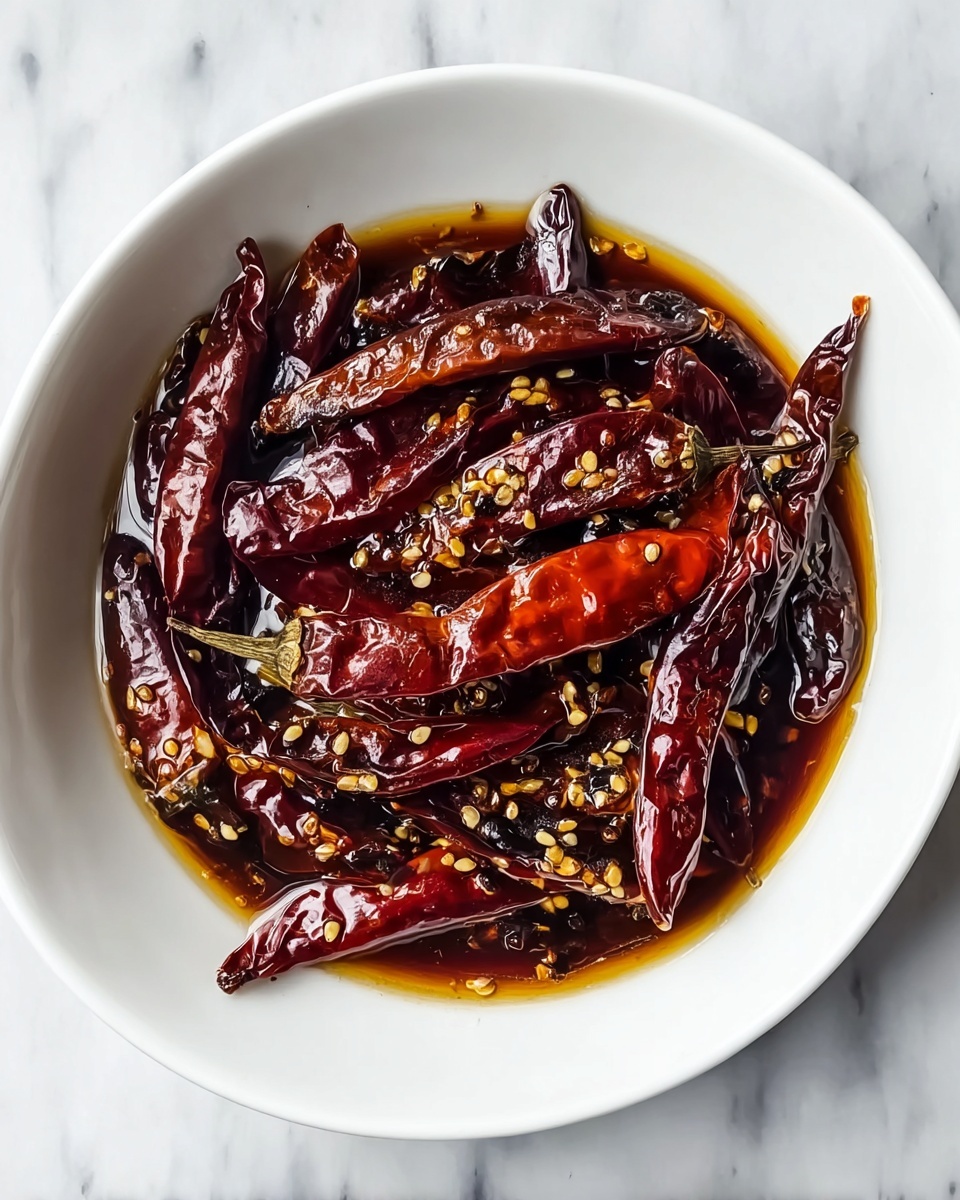
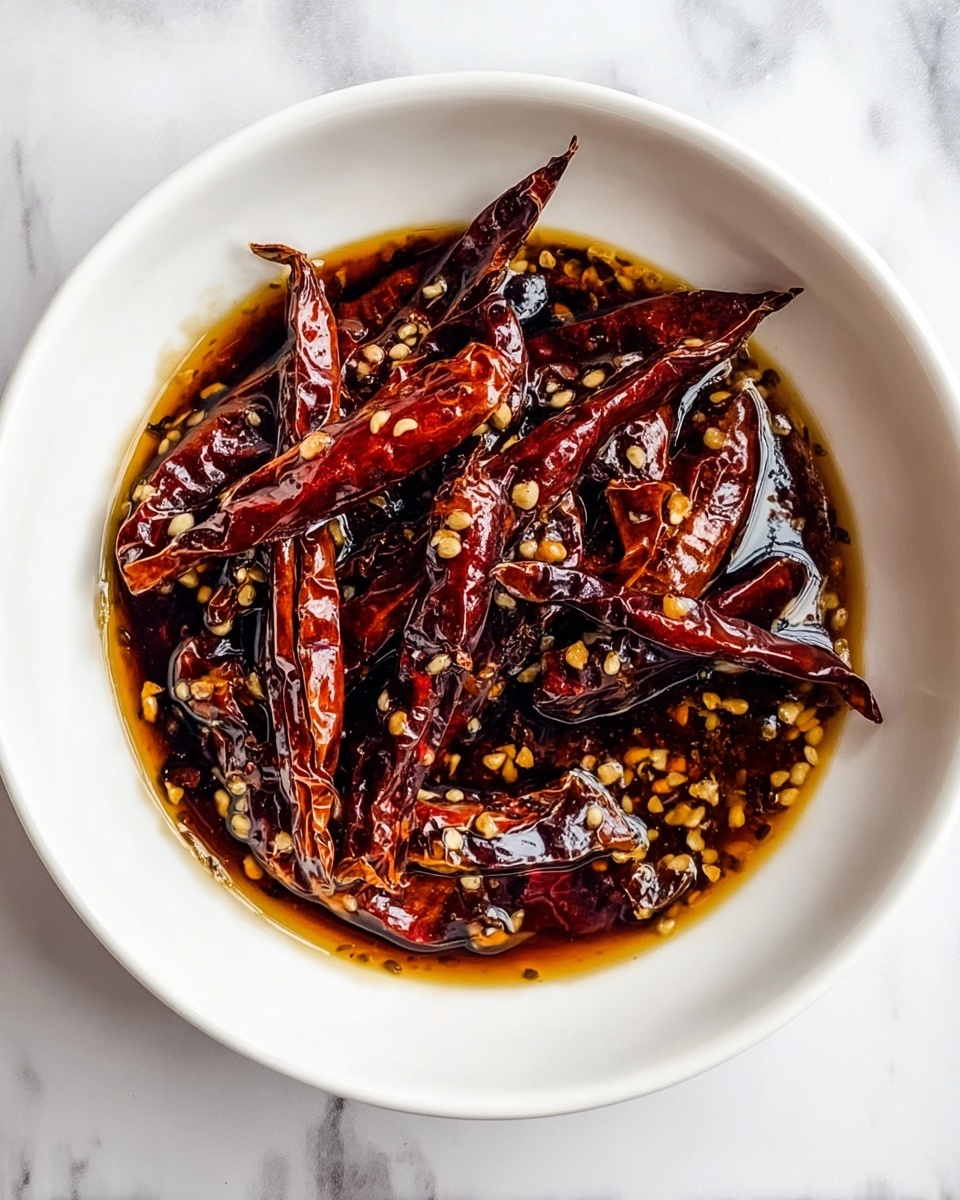
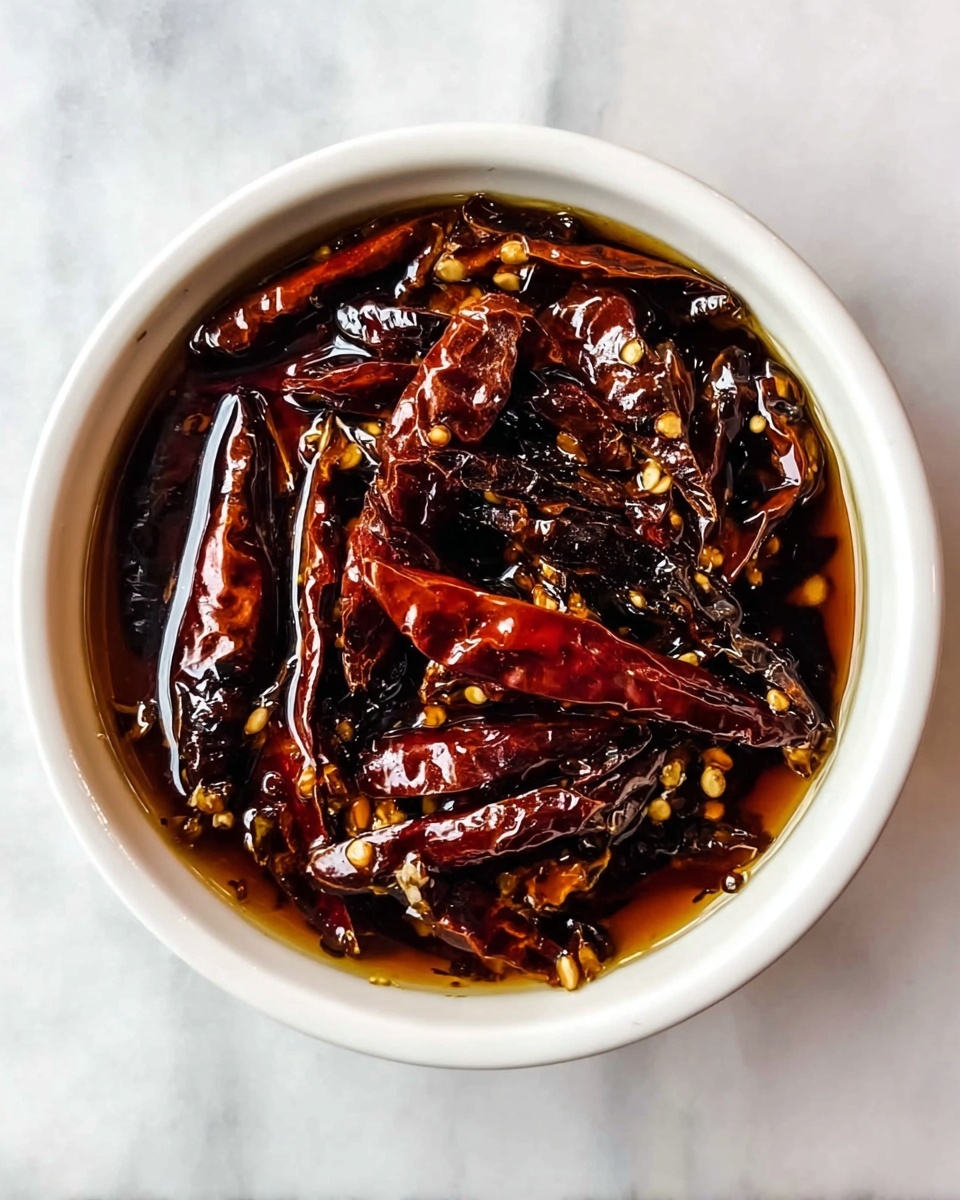
If you’ve ever craved that perfect zingy crunch with a spicy kick, then this Simple Homemade Chili Crisp Recipe is about to become your new best friend in the kitchen. It’s a vibrant, aromatic condiment bursting with crispy garlic, shallots, toasted sesame seeds, and the fiery charm of dried chili peppers all swimming in fragrant oil. This recipe transforms humble ingredients into a magical topping that instantly elevates everything from rice bowls to noodles, making every meal feel like a special occasion. Plus, it’s incredibly easy to whip up—the kind of recipe you’ll find yourself sharing over and over with friends because it’s just that good.
Ingredients You’ll Need
The beauty of this recipe lies in its simplicity. Each ingredient plays a key role in building layers of flavor, texture, and color, creating that signature irresistible crunch and spice.
- Dried Chili Peppers: Choose the heat level you prefer; these bring the signature fiery kick that defines chili crisp.
- Garlic (6-8 cloves, thinly sliced): Adds aromatic richness and a deep golden crisp texture when fried.
- Shallots (2 medium, thinly sliced): Create a sweet, crunchy contrast that balances the chilies.
- Vegetable Oil (1 cup): Use neutral oil like canola or sunflower to carry all those flavors without overpowering.
- Salt (1 teaspoon): Enhances and balances the overall flavor to taste.
- Sugar (1 teaspoon): Adds a subtle sweetness that tempers the heat and enriches complexity.
- Toasted Sesame Seeds (2 tablespoons): Bring nutty fragrance and an extra layer of crunch.
- Additional Spices (1 teaspoon cumin or fennel seeds, optional): Customize your chili crisp for an extra dimension of flavor if desired.
How to Make Simple Homemade Chili Crisp Recipe
Step 1: Gather and Prepare Ingredients
Start by gathering all your ingredients so everything is ready to go. Thinly slice the garlic cloves and shallots—getting them evenly sliced is key to achieving that perfect crisp.
Step 2: Heat Your Oil
In a medium pot or skillet, gently heat the vegetable oil over medium heat. The oil will act as the perfect cooking medium to release those mouthwatering flavors as it crisps the garlic and shallots.
Step 3: Fry the Garlic
Add the sliced garlic to the hot oil and fry for 2 to 3 minutes until it turns a beautiful golden brown and becomes crispy. This step fills your kitchen with an irresistible aroma that almost guarantees a smile.
Step 4: Remove and Drain Garlic
Carefully remove the garlic with a slotted spoon and set it aside on paper towels. This helps absorb any excess oil, keeping each piece perfectly crisp.
Step 5: Fry the Shallots
Using the same oil, fry the shallots for about 3 to 4 minutes until they also reach a lovely golden hue and crispy texture. Shallots add a sweet and mellow counterpoint to the fiery garlic and chilies.
Step 6: Remove and Drain Shallots
Transfer the fried shallots to paper towels as well, allowing them to drain and maintain their crunch.
Step 7: Fry the Dried Chili Peppers
Next, add the dried chili peppers to the hot oil and fry briefly for 1 to 2 minutes, just until their color brightens. This step intensifies their smoky and spicy essence without burning them.
Step 8: Cool the Oil Slightly
Once the chilies are cooked, remove the pot from heat and let the oil cool for a few minutes. This ensures the chili crisp’s flavors blend perfectly without burning your spices.
Step 9: Combine Crisps and Seasonings
In a large bowl, mix together the fried garlic, shallots, and chili peppers. Stir in salt, sugar, and toasted sesame seeds to evenly distribute the seasoning and add textural interest.
Step 10: Pour Warm Oil Over Mixture
Carefully pour the warm (not hot) oil over the bowl’s contents and stir to fully coat each component. The oil seeps into the crispy bits, marrying all the flavors into one harmonious blend.
Step 11: Cool Completely and Store
Allow your chili crisp to cool to room temperature before transferring it to a clean glass jar or airtight container. Store it in the refrigerator where it will happily keep its flavor and crunch for up to a month.
How to Serve Simple Homemade Chili Crisp Recipe
Garnishes
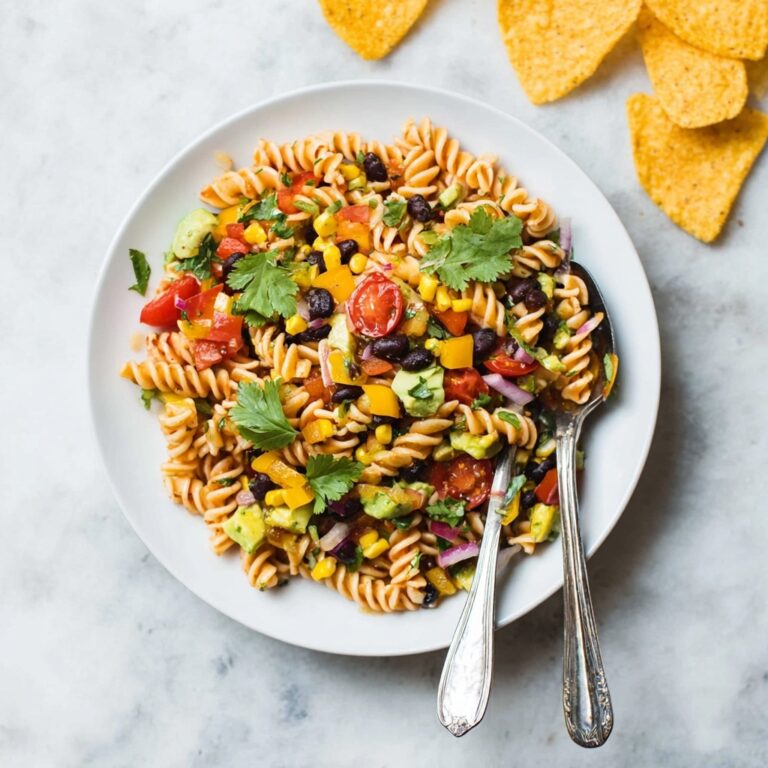
This chili crisp is a champion as a finishing touch. Spoon some over steamed rice, or nestle it atop stir-fried noodles for a burst of crunch and heat. It also makes an epic garnish for dumplings, adding layers of texture and flavor you’ll crave again and again.
Side Dishes
Pairing your homemade chili crisp with simple sides—think blanched veggies or grilled meats—can transform any meal. Its vibrant flavor infuses even the simplest greens or proteins, making side dishes sing with delightful spice and crispness.
Creative Ways to Present
Have fun with your chili crisp! Use it as a topping for avocado toast, mix it into creamy mayonnaise for a spicy sandwich spread, or swirl it into soups for a savory kick. Its versatility will make it your secret weapon in countless recipes.
Make Ahead and Storage
Storing Leftovers
Your chili crisp will keep wonderfully in an airtight container in the refrigerator for up to a month. Make sure to use a clean spoon each time to keep it fresh and delicious.
Freezing
While this chili crisp is best enjoyed fresh or refrigerated, you can freeze it if needed. Freeze in small portions using freezer-safe containers and thaw overnight in the fridge before using. Note that texture may slightly change after freezing.
Reheating
Because the crispiness comes from fried ingredients, reheating isn’t usually necessary. Simply bring to room temperature or stir into warm dishes to restore the delightful combination of crunch and flavor.
FAQs
Can I adjust the spiciness of this chili crisp?
Absolutely! By choosing milder or hotter dried chili peppers and adjusting the quantity, you can tailor the heat to perfectly suit your palate.
Is there a substitute for shallots if I can’t find them?
If shallots aren’t available, you can use finely sliced red onions, but shallots provide a sweeter, more delicate flavor that complements the garlic and chili perfectly.
Can I make this chili crisp vegan?
Yes! This recipe is naturally vegan since it uses vegetable oil and plant-based ingredients, making it a great addition to vegan meals.
How long does the chili crisp last in the fridge?
Stored properly in an airtight container, it will stay fresh and flavorful for up to one month, allowing you to enjoy it over many meals.
Can I add other spices to customize the flavor?
Definitely! Adding cumin or fennel seeds offers a lovely aromatic twist, but feel free to experiment with star anise, Sichuan peppercorns, or even dried herbs to create your own signature chili crisp.
Final Thoughts
Nothing beats the satisfaction of making your own Simple Homemade Chili Crisp Recipe from scratch. It’s a wonderfully versatile condiment that packs incredible flavor and texture into every bite. Once you try it, you’ll wonder how you ever lived without that perfect crunch and spicy spark brightening up your meals. So go ahead, give it a whirl, share it with loved ones, and enjoy every spicy, garlicky bite!